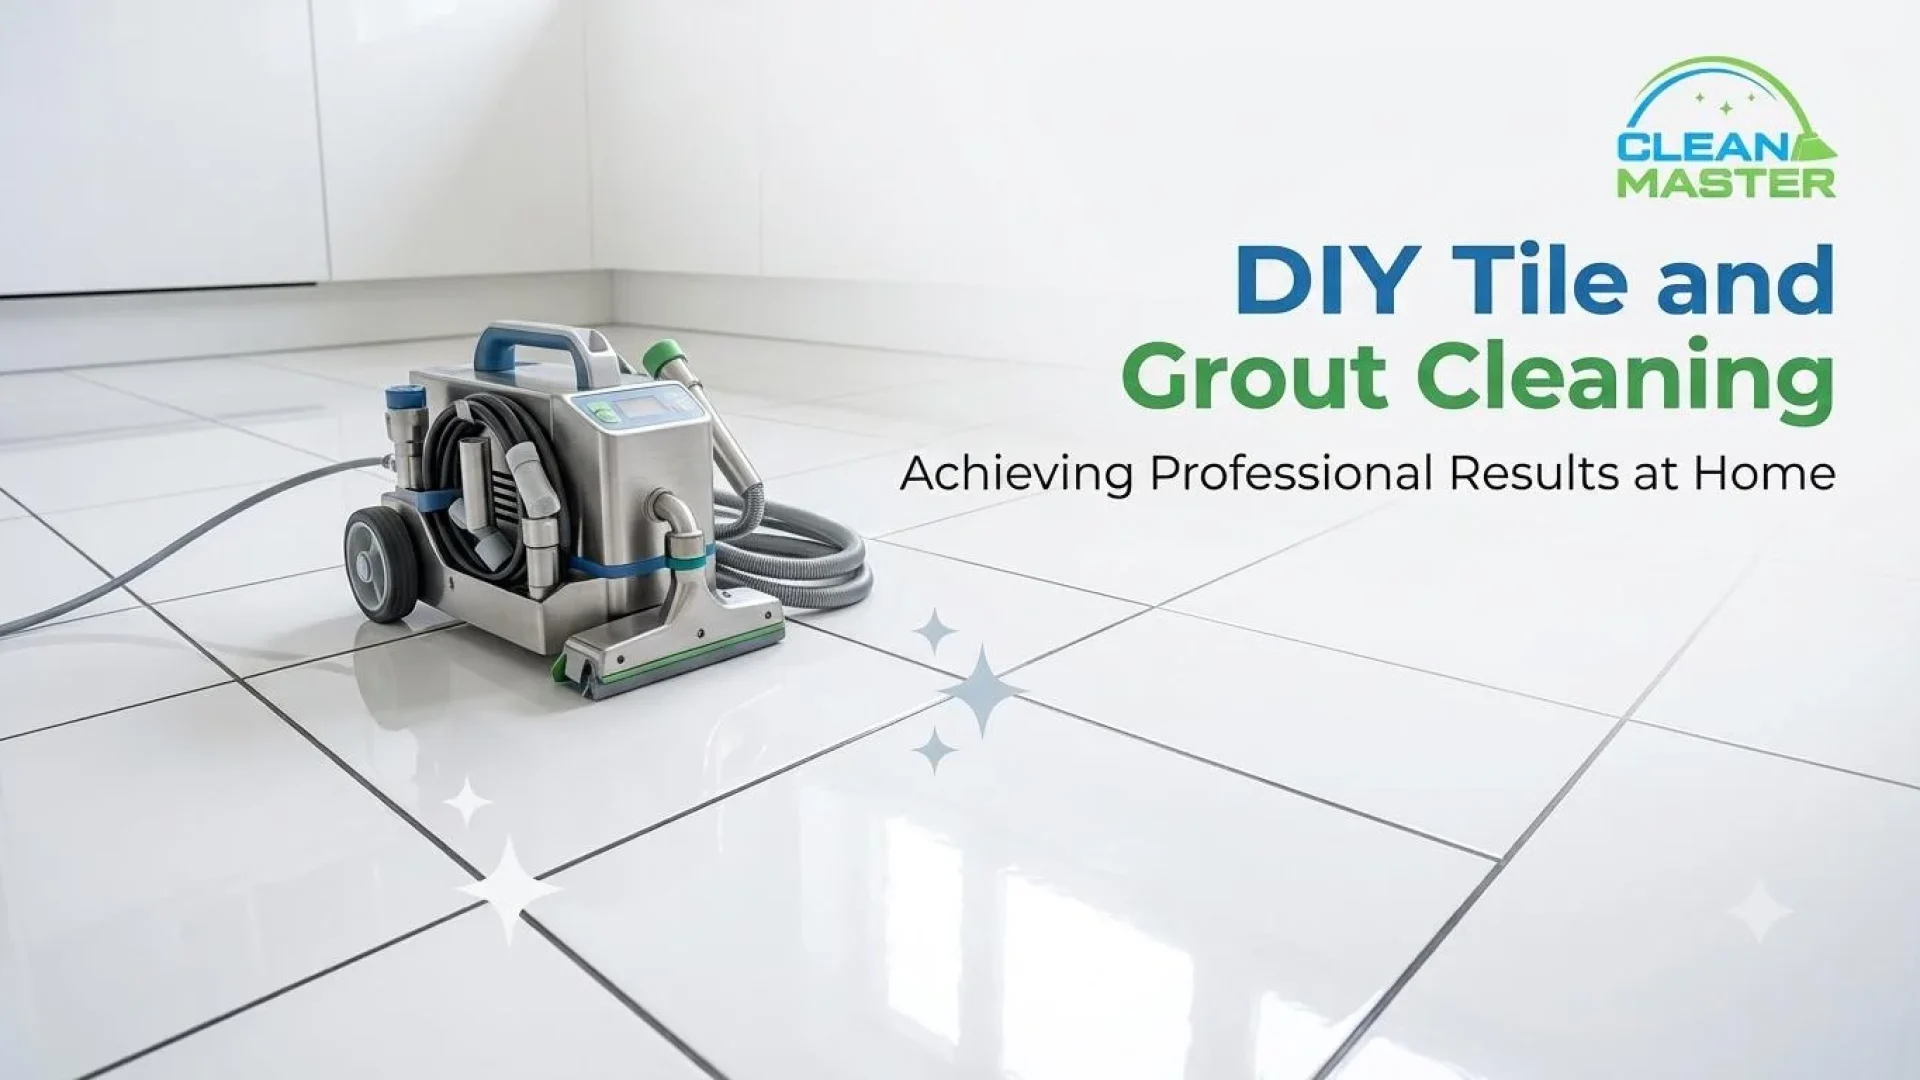
DIY tile and grout cleaning produces genuinely good results in the right situations, and falls short in others in ways that sometimes require professional correction to resolve. The difference between a satisfying outcome and a frustrating one almost always comes down to matching the method to the actual soil level and knowing where the ceiling of each approach is.
At Clean Master Carpet Cleaning, tile and grout cleaning is one of our core DFW services. We’ve assessed tile that homeowners maintained beautifully through consistent DIY cleaning, and we’ve been called in after DIY attempts that didn’t go as planned, incorrect product on natural stone, grout damage from aggressive scrubbing, or simply a soil level that hand cleaning couldn’t reach. Here’s the complete guide organized by soil level so you start with the right method.
Before Any Method: Know Your Tile Type
This determines which products are safe to use and which can cause permanent damage.
| Tile Type | Safe Chemistry | Avoid |
| Ceramic and porcelain | Mildly alkaline to neutral cleaners | Very high alkalinity (above pH 12) |
| Natural stone (marble, travertine) | pH-neutral stone cleaner only | Any acid, vinegar, lemon, citrus cleaners |
| Cement-based grout | Mildly alkaline cleaner | Acidic cleaners over time |
| Epoxy grout | Mild, neutral cleaner | Strong alkaline or solvent products |
Natural stone is the tile type where DIY mistakes are most consequential, etching from acid contact is permanent and requires professional stone restoration to address. If you have marble, travertine, or limestone tile, skip the vinegar and baking soda methods entirely and use only pH-neutral stone cleaner.
For Light Soil: Regular Maintenance Cleaning
Light soil, the dust, surface grime, and mild discoloration that accumulates between deeper cleans, responds well to maintenance approaches that don’t require heavy chemistry or significant scrubbing time.
Steam Cleaning for Light Maintenance
Steam cleaning is the most efficient regular maintenance method for ceramic and porcelain tile. The heat sanitizes, loosens surface grime from the tile face and grout, and leaves no chemical residue. Read our guide on whether steam cleaning is safe for tile and grout for a full breakdown by tile type before you start.
Effective steam technique for tile:
- Sweep or vacuum first, remove loose debris before steaming
- Use the narrow jet nozzle or detail brush attachment on grout lines, not the wide floor head, which diffuses steam too broadly for effective grout penetration
- Move slowly, one inch per second along grout lines for adequate dwell time
- Wipe immediately after each section with a clean microfiber cloth, steam loosens soil but doesn’t remove it; the cloth does
- Follow with the floor head on the open tile surface, microfiber pad attached
For regular maintenance every 2 to 4 weeks, this approach keeps tile looking clean without chemical buildup and is safe for sealed grout. On natural stone tile, check the manufacturer’s guidance before steam cleaning, some stone types are sensitive to the heat and moisture combination.
Commercial Tile Cleaner for Light to Moderate Soil
A purpose-made tile and grout cleaner in a spray bottle is the most accessible approach for a periodic deeper maintenance clean when steam isn’t sufficient.
Application:
- Vacuum or sweep the surface
- Spray cleaner onto the tile and grout, working in a manageable 3 to 4 square foot section
- Allow 5 to 10 minutes dwell time, the chemistry needs time to work on the grout pore
- Scrub grout lines with a stiff-bristle grout brush using moderate pressure in the direction of the line
- Rinse thoroughly with clean water, two full passes minimum
- Assess once dry, wet grout looks darker than clean dry grout
For ceramic and porcelain in light to moderate condition, this produces a genuinely clean result with reasonable effort. The key steps most people abbreviate, adequate dwell time and thorough rinsing, are the ones that determine whether the result satisfies.
The Baking Soda and Vinegar Method: What It Does and Doesn’t Do
This is the most widely shared DIY tile cleaning advice online and the one most frequently applied in the wrong situation. Here’s the honest assessment.
What it can do: baking soda’s mild abrasive quality helps loosen light surface soil from grout. Vinegar’s mild acidity can cut through soap scum on tile surface and assist with light mineral deposits. The combination produces a visible fizzing reaction that looks impressive.
What it can’t do:
- Clean heavily stained or deeply discolored grout
- Kill or remove mold and mildew effectively
- Match the performance of a commercial tile cleaner on anything beyond very light soiling
The critical caveat: never use vinegar on natural stone tile, marble, travertine, or limestone. The acid etches the surface permanently. Never use it on cement-based grout regularly, repeated acid exposure degrades grout over time. If your tile is ceramic or porcelain with cement grout and the soiling is light, occasional use is low-risk. It’s not a substitute for appropriate commercial cleaner on anything more than light maintenance.
If you use it:
- Make a paste with baking soda and water for grout lines
- Apply and allow 5 minutes dwell time
- Spray white vinegar over the paste and allow the reaction to work for 2 to 3 minutes
- Scrub with a stiff brush
- Rinse very thoroughly, baking soda residue on tile is visible as a white haze if not fully rinsed
For Heavy Staining and Mold: The Limits of DIY
This is where honest assessment of DIY tile cleaning capability matters most, because attempting methods that aren’t adequate for the soil level wastes time and can damage tile and grout in the process.
What “Heavy Staining” Means in Practice
Heavy staining is grout that has visibly and persistently darkened, not from recent soiling but from years of accumulated contamination embedded in the grout pore. The surface layer cleans with commercial cleaner and scrubbing; the discoloration deeper in the pore doesn’t.
We’ve seen DFW homeowners spend hours scrubbing darkened kitchen grout with commercial cleaners, achieving visible improvement at the surface while the deep-pore discoloration remained. The commercial cleaner and brush combination reaches the top of the grout surface, it doesn’t drive chemistry deep enough into the pore to address embedded contamination.
This is the fundamental limitation of hand cleaning: it’s a surface-level cleaning method on a porous material where the contamination is distributed throughout the depth of the pore.
Mold and Mildew in Grout
For bathroom tile with visible mold or mildew growth in grout lines, oxygen bleach is the most effective DIY approach, safer for surrounding surfaces than chlorine bleach and effective against the biological growth that commercial cleaners alone don’t fully address.
Oxygen bleach application for mold:
- Mix 1 to 2 cups sodium percarbonate (OxiClean or similar) per gallon of warm water
- Apply to affected grout with a spray bottle or brush
- Allow 15 to 20 minutes dwell time, don’t let it dry
- Scrub with a stiff grout brush
- Rinse thoroughly
This addresses surface mold effectively. For mold that has established itself in the grout pore or behind the tile, visible as persistent discoloration that doesn’t respond to surface treatment, professional cleaning with appropriate chemistry and extraction is required.
The risk of aggressive DIY on mold: scrubbing visible mold without adequate dwell time from an appropriate product distributes spores across the surrounding tile surface rather than killing them. Always apply the oxygen bleach solution and allow full dwell time before scrubbing begins.
What DIY Cannot Replace on Heavily Soiled Tile
Professional tile and grout cleaning uses high-pressure hot water extraction through rotary cleaning heads that drive cleaning chemistry into the grout pore under pressure, reaching contamination at depths hand scrubbing doesn’t access, extract that contamination simultaneously, removing it from the grout rather than loosening it into the rinse water where it can redeposit, and operate at water temperatures that enhance chemistry effectiveness beyond what ambient-temperature cleaning achieves.
The visual difference between professional extraction on heavily soiled grout and the best DIY scrubbing result is typically significant, particularly on kitchen floors and bathroom tile that hasn’t had a professional clean in several years.
Tools That Make the Biggest Difference
The right tools matter as much as the right product for DIY tile cleaning.
| Tool | What It Does Well | When to Use It |
| Stiff-bristle grout brush | Focused scrubbing in grout lines | Any DIY grout cleaning method |
| Electric scrubbing brush with grout tip | Same as above with significantly less effort | Large floor areas |
| Steam cleaner with jet nozzle | Concentrates steam into grout lines | Light maintenance and sanitizing |
| Microfiber mop | Applies cleaner and collects loosened soil | Tile surface cleaning and rinsing |
| Wet/dry vac | Extracts dirty rinse water | After scrubbing, before final rinse |
A wet/dry vac for extracting the dirty rinse water after scrubbing is a tool most DIY tile cleaners don’t use and should. Mopping dirty rinse water across the floor redeposits loosened soil rather than removing it, a wet/dry vac pulls it up cleanly before the final rinse pass.
At a Glance: DIY Method by Soil Level
| Soil Level | Recommended Method | Expected Result |
| Light surface dust and grime | Steam cleaning and microfiber wipe | Very good, maintains clean tile |
| Moderate soiling, light grout discoloration | Commercial tile cleaner and stiff brush | Good, significant improvement |
| Surface mold and mildew in grout | Oxygen bleach solution, scrub, and rinse | Good for surface mold |
| Heavy embedded grout discoloration | Commercial cleaner, extended dwell, and scrub | Partial, surface improvement only |
| Deep-pore contamination, persistent staining | Professional hot water extraction | Full restoration |
| Natural stone tile (any soil level) | pH-neutral stone cleaner or professional | Variable, professional recommended |
When to Call Clean Master
DIY tile and grout cleaning maintains tile that’s already in reasonable condition. It reaches the ceiling of what hand cleaning can achieve relatively quickly on heavily soiled tile. The right time to call Clean Master:
- Grout that doesn’t improve meaningfully after commercial cleaner and adequate dwell time
- Persistent mold that returns within weeks of cleaning
- Natural stone tile that needs anything beyond light maintenance
- Grout sealing after cleaning, DIY sealing is possible but professional application is more thorough and durable
- Large tile areas where the time and physical effort of hand cleaning isn’t practical
Clean Master serves the entire DFW area with professional tile and grout cleaning, using high-pressure extraction that reaches where hand cleaning can’t. Post-clean sealing is available as an add-on. Contact Clean Master Carpet Cleaning today for professional tile and grout cleaning across the entire DFW area and floors that look the way DIY cleaning was trying to achieve.