
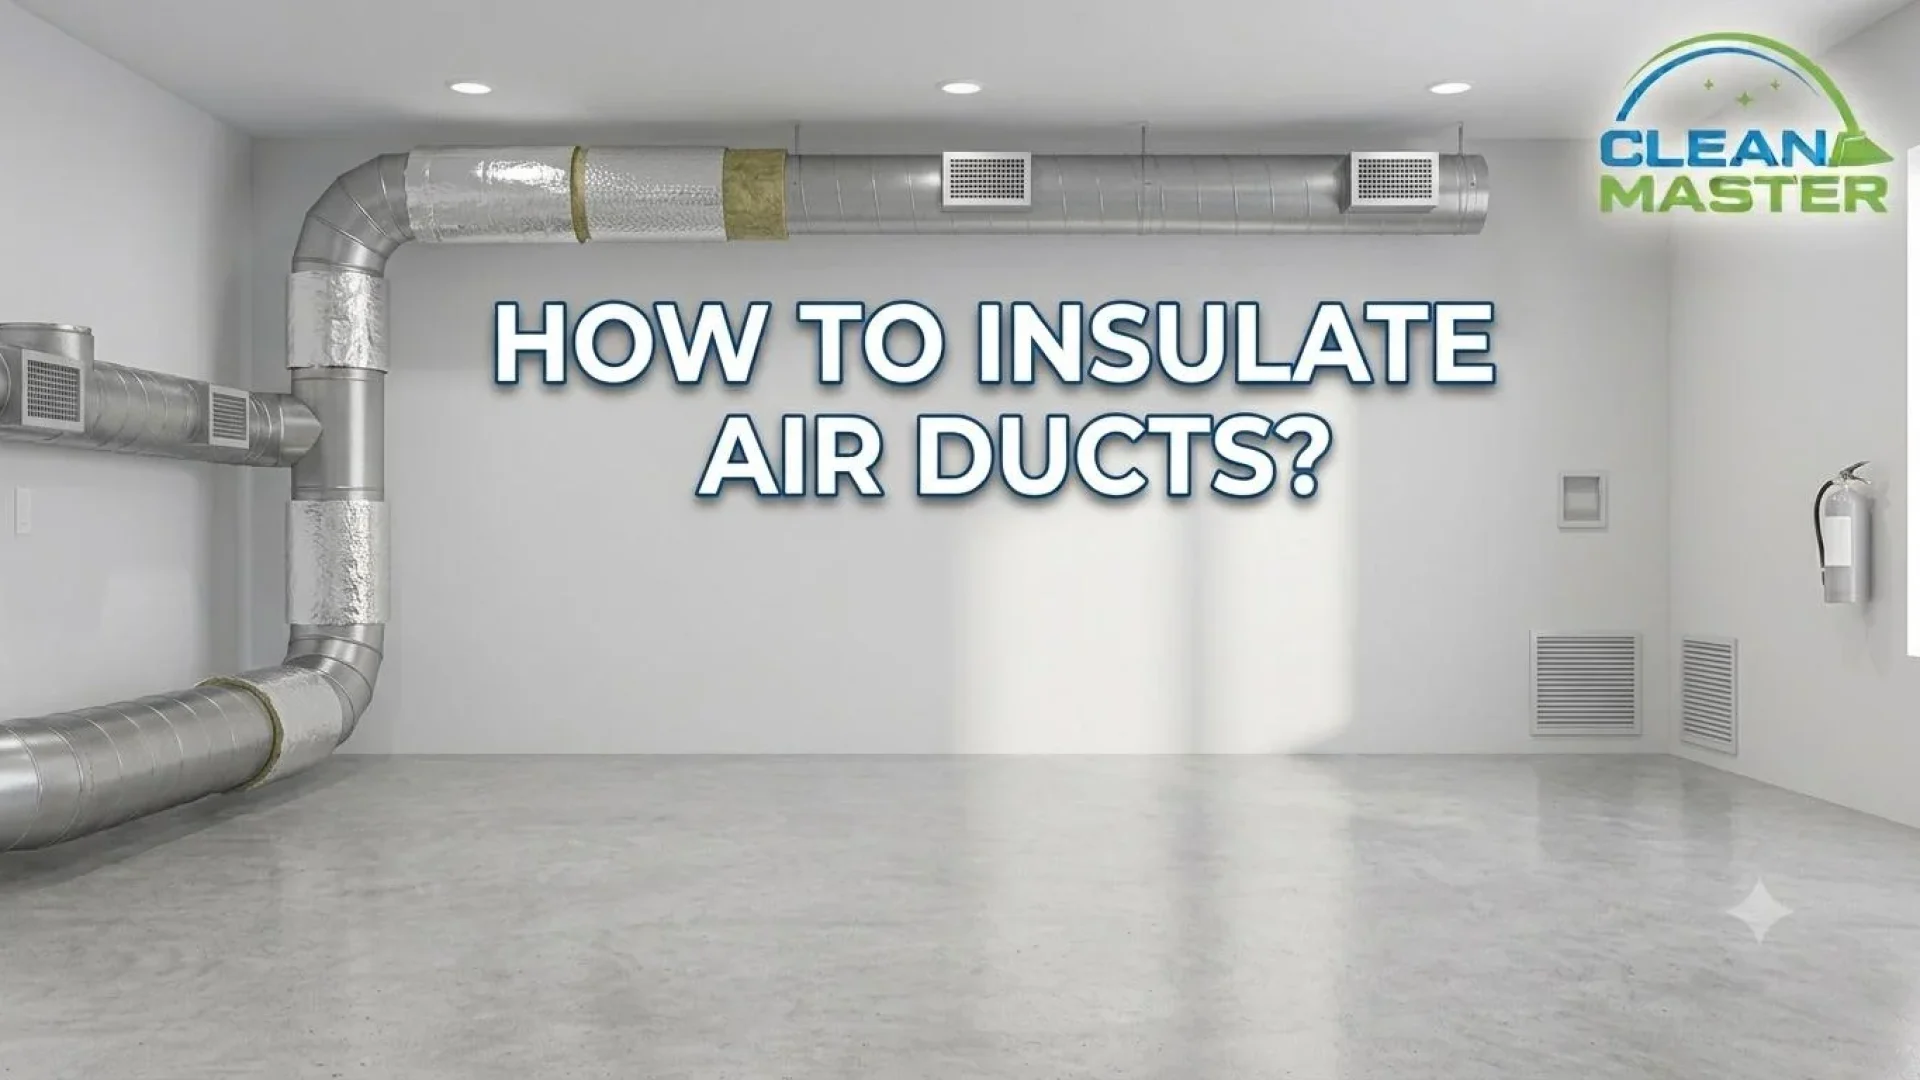
In most parts of the country, air duct insulation is a moderate efficiency concern. In DFW, it’s significantly more urgent, because North Texas attics regularly reach temperatures of 130°F to 150°F during summer, and uninsulated or under-insulated ducts running through that environment lose a substantial portion of the cooling they’re carrying before it reaches the living space.
At Clean Master Carpet Cleaning, air duct cleaning is one of our core DFW services. While we’re not HVAC insulation contractors, duct insulation is something we observe and discuss with clients regularly, and understanding what to check and what to do about inadequate insulation is genuinely useful for any DFW homeowner managing their home’s HVAC performance. Here’s the complete step-by-step guide.
Why Duct Insulation Matters More in DFW Than Almost Anywhere Else
The physics are straightforward: when a duct carrying 55°F cooled air runs through a 140°F attic, heat transfers from the attic into the duct. The less insulation between the duct and the attic environment, the more heat transfer occurs, and the warmer the air arriving at the supply register.
Energy efficiency loss is the most direct consequence. Every degree of heat gain in the supply air means the HVAC system has to run longer to achieve the thermostat setpoint. The Department of Energy estimates that duct heat gain and air leakage can account for 20 to 30% of total cooling energy in homes with poorly insulated duct systems. In DFW, where cooling runs for 7 to 8 months annually, this represents a meaningful and continuous energy cost.
Comfort impact is the consequence homeowners feel most directly. Rooms far from the air handler, where supply air has traveled the longest distance through poorly insulated attic ducts, receive air that’s meaningfully warmer than what left the air handler. This shows up as rooms that are consistently harder to cool, uneven temperature distribution between floors or sections of the home, and a system that runs almost continuously during peak summer heat without achieving the setpoint in distant rooms.
Condensation problems occur when under-insulated ducts in humid conditions sweat, the duct surface temperature drops below the dew point and moisture condenses on the exterior. In DFW’s humid summer mornings, this can produce visible moisture on accessible ducts and, in severe cases, dripping that affects surrounding insulation, framing, or ceiling materials.
How to Check If Your Existing Duct Insulation Is Adequate
Before adding insulation, it’s worth assessing what you currently have, because in some cases existing insulation is present but damaged, compressed, or incomplete rather than absent.
Visual Inspection of Accessible Ductwork
Most DFW homes have attic-mounted duct systems accessible through the attic hatch. Inspect with a flashlight during cooler morning hours, attic temperatures can reach dangerous levels by midday in summer.
What to look for:
- Flex duct (the corrugated insulated tube used in most residential DFW systems) should have a visible insulating layer, typically fiberglass batting, between the inner duct liner and the outer jacket. A flex duct that looks thin, has a compressed or deflated appearance, or has torn or missing outer jacket sections is under-insulated or damaged
- Rigid metal duct should be wrapped with duct wrap insulation, an external layer of fiberglass batting with a foil facing. Bare silver metal duct with no external wrap has no insulation and should be addressed
- R-value assessment, duct insulation effectiveness is measured in R-value. The Department of Energy recommends R-6 or higher for ducts in unconditioned attic spaces. Most pre-2000 DFW construction used R-4 or lower. Check the insulation label if visible, or assess thickness (R-6 flex duct has approximately 2 inches of fiberglass insulation; R-8 has approximately 3 inches)
Common problem patterns in DFW homes:
- Flex duct with intact outer jacket but compressed batting from age or improper support, compression significantly reduces effective R-value
- Sections where flex duct has separated from insulated connections, exposing bare inner liner to attic air
- Older rigid metal systems with original insulation that has deteriorated, separated from the duct surface, or been disturbed during previous attic work
Types of Duct Insulation: Which One for Your Situation
Different duct configurations require different insulation approaches.
Duct Wrap (Blanket Insulation)
Best for rigid metal ductwork and exposed rectangular or round metal duct sections. Duct wrap, typically fiberglass batts with a foil or kraft paper facing, is the standard solution for insulating bare rigid metal ductwork. It comes in rolls and is cut to length, wrapped around the duct exterior, and secured with HVAC tape or wire. Available in R-4, R-6, and R-8 ratings. For DFW attic applications, R-6 minimum is appropriate; R-8 is preferred for trunk lines and long duct runs where heat gain has the most impact.
Duct Sleeve (Pre-Insulated Flex Duct)
Best for replacing degraded flex duct sections. When flex duct insulation is significantly compromised, tears in the outer jacket, heavily compressed batting, or sections where the inner liner has been exposed, replacing the section with new pre-insulated flex duct sleeve is typically more effective and more durable than attempting to repair or wrap around damaged existing insulation. Pre-insulated flex duct is available at DFW hardware stores in R-6 and R-8 ratings and 25-foot rolls.
Mastic Sealant and HVAC Tape for Sealing Before Insulating
Best for sealing duct joints and connections before adding or replacing insulation. This isn’t insulation itself, it’s the step that should always precede insulation on metal ductwork. Insulating an unsealed leaky duct wraps the leak in insulation without fixing it. Sealing first, then insulating, addresses both the leakage and the heat gain.
Mastic sealant, a thick paste-like compound applied with a brush to duct joints, seams, and connections, is the most durable sealing method and is appropriate for any accessible metal duct joint. UL 181-rated foil tape (not standard grey duct tape, which fails with heat cycling) is appropriate for sealing flex duct connections and for securing insulation wrap edges after application.
Step-by-Step: How to Insulate Accessible Rigid Metal Ductwork
For homeowners with accessible bare or under-insulated rigid metal ductwork in the attic, here’s the complete process.
What You’ll Need
- Duct wrap insulation (R-6 or R-8, sufficient rolls for your duct footage)
- Mastic sealant and application brush
- UL 181-rated foil tape (not standard duct tape)
- Utility knife and straight edge
- HVAC-rated wire or mechanical fasteners for securing wrap
- N95 respirator, safety glasses, and long sleeves, fiberglass insulation is a skin and respiratory irritant
- Flashlight and knee boards or planks for moving through the attic without stepping through the ceiling
Step 1: Seal All Duct Joints Before Insulating
Work through all accessible rigid metal duct joints, seams, and connections and apply mastic sealant to any gaps. Use the brush to work mastic into joints fully and extend it 1 to 2 inches onto each connecting surface. Allow mastic to cure, typically 4 to 8 hours, before proceeding to insulation.
For connections between flex duct and rigid sections or at register boots, apply mastic and reinforce with foil tape.
Step 2: Measure and Cut Duct Wrap
Measure the circumference of the duct section plus 1 to 2 inches of overlap, and cut the duct wrap to length using a utility knife on a flat surface. Cut the insulation from the facing side for a cleaner cut. For rectangular duct, wrap each face separately where the duct geometry makes continuous wrapping impractical, ensuring all faces are covered with no gaps at corners.
Step 3: Wrap the Duct With Foil Facing Out
Apply the duct wrap with the foil or kraft paper facing outward toward the attic environment, and the fiberglass insulation against the duct surface. The foil facing provides radiant barrier protection in addition to the conductive insulation value of the fiberglass, particularly important in DFW’s high-radiant-heat attic environment.
Overlap the wrap at the seam by 1 to 2 inches and secure with foil tape along the full seam length. Don’t leave gaps at the seam, any break in the insulation coverage creates a thermal bridge where heat gain concentrates.
Step 4: Secure the Wrap and Tape All Edges
Use HVAC wire or mechanical staples to secure the wrap around the duct at 18-inch intervals, particularly important on horizontal duct runs where gravity works against the wrap staying in contact with the duct surface. Tape all edges where the wrap terminates at connections, fittings, and the end of each section.
At duct transitions, where flex duct connects to rigid sections, or where rigid duct changes direction at elbows, ensure the insulation wrap covers the full fitting without gaps. Fittings and transitions are the most common locations for insulation discontinuity.
Step 5: Check Coverage and Repair Any Gaps
Walk the accessible duct runs with a flashlight after wrapping and look for unsealed seams or edges where insulation has separated, uncovered sections at fittings, elbows, or connections, and compressed wrap areas where the batting isn’t in full contact with the duct surface.
Address any gaps with additional wrap sections and foil tape before leaving the attic. Partial coverage significantly reduces the effectiveness of the overall insulation, the goal is continuous, uninterrupted coverage across the full duct run.
When DIY Isn’t Appropriate: Call an HVAC Contractor
Several duct insulation situations are beyond appropriate DIY scope:
- In-wall or in-ceiling duct sections, not accessible without opening finished surfaces
- Duct system redesign, if the layout is inefficient and causing the comfort problems, insulation alone won’t resolve it
- Damaged flex duct requiring full replacement, replacing long runs of flex duct is more practical with professional equipment and expertise
- Systems with existing mold or significant contamination, insulating over contaminated ductwork without cleaning first seals in the problem
For DFW homeowners, a licensed HVAC contractor can assess the full duct system condition, recommend the appropriate insulation R-value and material for the specific system, and address any issues that DIY can’t safely handle.
At a Glance: Duct Insulation by Situation
| Situation | Insulation Type | DIY Appropriate? |
| Bare rigid metal duct in attic | Duct wrap R-6 or R-8 | Yes, with proper PPE |
| Damaged flex duct outer jacket | Flex duct sleeve replacement | For short sections |
| Leaking duct joints before insulating | Mastic sealant and foil tape | Yes |
| Long flex duct runs needing full replacement | New pre-insulated flex duct | Professional recommended |
| In-wall or in-ceiling duct sections | Access requires opening walls | Professional required |
| Mold or contamination present | Clean before insulating | Professional cleaning first |
Frequently Asked Questions
How much can proper duct insulation reduce my DFW energy bills?
The improvement varies significantly by existing insulation condition and home layout, but upgrading from uninsulated rigid metal to R-8 duct wrap in a DFW attic can produce meaningful cooling energy reductions, particularly for homes where supply air has been gaining significant heat before reaching distant rooms. Homes with severely degraded insulation see the most dramatic improvement; homes with adequate existing insulation see less.
Should I insulate ducts before or after cleaning them?
Always clean before insulating. Professional duct cleaning removes contamination from the interior duct surfaces, insulating over dirty ducts seals in contamination and makes future cleaning more involved. Schedule Clean Master’s duct cleaning service, allow the system to be fully assessed for condition, and then address insulation as a follow-up step.
What R-value should I use for DFW attic ducts?
R-6 is the current DOE minimum recommendation for ducts in unconditioned attic spaces. For DFW specifically, where attic temperatures are among the highest in the country, R-8 is the preferred standard, particularly for main trunk lines and long supply duct runs. The additional cost of R-8 versus R-6 wrap is modest relative to the cooling season energy savings in this climate.
The Bottom Line: Insulate After You Clean, Seal Before You Wrap
Proper duct insulation in DFW’s extreme attic environment makes a meaningful difference to cooling efficiency and whole-home comfort, particularly in rooms far from the air handler where supply air has the most exposure to attic heat gain. The DIY process for accessible rigid metal ductwork is manageable with the right materials, proper PPE, and the sequence: seal joints first, then wrap continuously with R-6 or R-8 insulation.
Before insulating, start with a Clean Master professional air duct cleaning, so you’re insulating a clean, assessed system rather than sealing in what’s already accumulated. Contact Clean Master Carpet Cleaning today for professional air duct cleaning across the entire DFW area and the right first step before any duct insulation project.