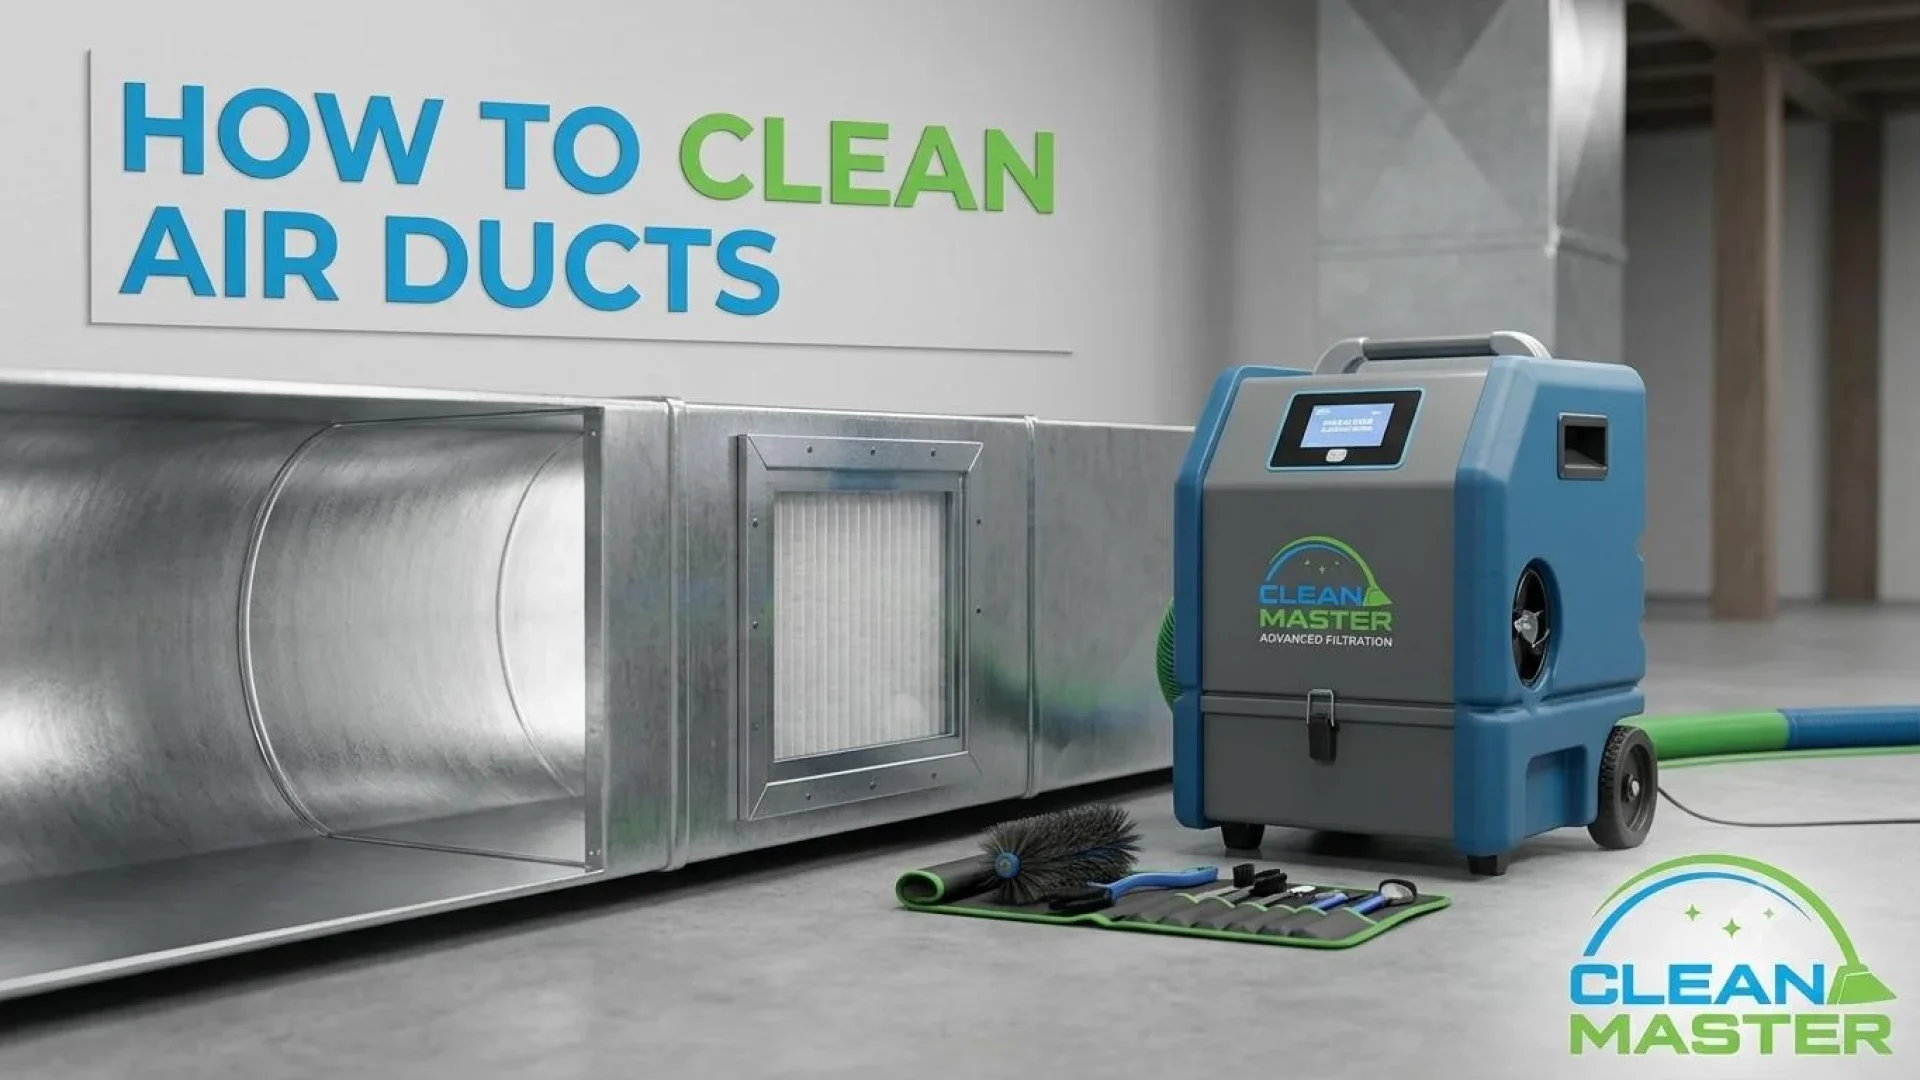
Most homeowners who book air duct cleaning have a general sense that something goes through the vents and comes out cleaner, but a surprisingly unclear picture of what actually happens between those two points. Understanding the professional process matters for two reasons: it helps you evaluate whether a quoted service is legitimate and thorough, and it explains why professional cleaning produces results that DIY approaches can’t replicate.
At Clean Master Carpet Cleaning, air duct cleaning is one of our core services across the entire DFW area. Here’s the complete, transparent explanation of how professional air duct cleaning works, what each step does, why it’s part of the process, and what would be missing without it.
What DIY Duct Cleaning Can Do First
Before explaining the professional process, it’s worth being clear about what homeowners can meaningfully address themselves, because this context makes the professional process more understandable by contrast.
The air handler and return air area is one of the most accessible and highest-impact DIY maintenance areas. The air handler, the indoor HVAC unit typically located in a utility closet, attic, or garage, has a return air section where the filter sits. This is where all return air passes through before being conditioned and recirculated. With the system off:
- Vacuum around the exterior of the air handler cabinet and the return air area
- Remove the filter access panel and vacuum the filter housing
- Check the condensate drain pan below the air handler for debris or standing water, a clogged drain is one of the most common sources of moisture problems in HVAC systems
- Wipe down accessible exterior surfaces with a dry cloth
Changing the HVAC filter is the single highest-impact maintenance action available and the one most consistently underperformed. A clogged filter doesn’t just reduce air quality, it reduces airflow through the entire duct system, causing the HVAC to work harder and accumulate contamination faster. Replacing the filter immediately before a professional cleaning also ensures the system has a fresh filter to capture the fine particulates disturbed during the cleaning process. Read our full guide on how to do household air duct cleaning for a complete DIY maintenance walkthrough.
What DIY can’t do is what makes professional cleaning necessary: the interior of the main trunk lines, branch ducts running through walls and ceilings, and the duct surfaces accessible only with commercial-grade vacuum equipment and rotary brush systems. This is where the professional process begins where DIY ends.
The Professional Air Duct Cleaning Process: Step by Step
Professional duct cleaning is a multi-phase process, not a single pass with a vacuum. Each phase addresses a different component of the system and contributes to the overall result. Here’s what a legitimate, thorough professional duct cleaning involves.
Phase 1: Pre-Cleaning Inspection and Assessment
Before any equipment enters the system, a professional technician inspects the duct system to understand what they’re working with:
- Duct material and condition, flex duct, rigid metal, and duct board each require different handling during cleaning. Damaged sections need to be identified before brush agitation begins to avoid worsening existing issues
- Evidence of mold, pests, or unusual contamination, visible mold, rodent evidence, or unusual debris changes the cleaning protocol and may require additional remediation steps
- System layout, identifying where trunk lines, branch runs, supply vents, and return vents are located so the cleaning sequence addresses the full system
This inspection step is what separates a professional clean from a low-quality service. Companies that don’t inspect before cleaning can’t tailor the process to the specific system, and may miss sections or use inappropriate technique on damaged ductwork.
Phase 2: System Preparation and Negative Pressure Setup
Professional duct cleaning uses negative pressure, a powerful vacuum connected to the duct system that creates suction throughout the network during the cleaning process. This is the element that makes professional cleaning categorically different from any DIY approach.
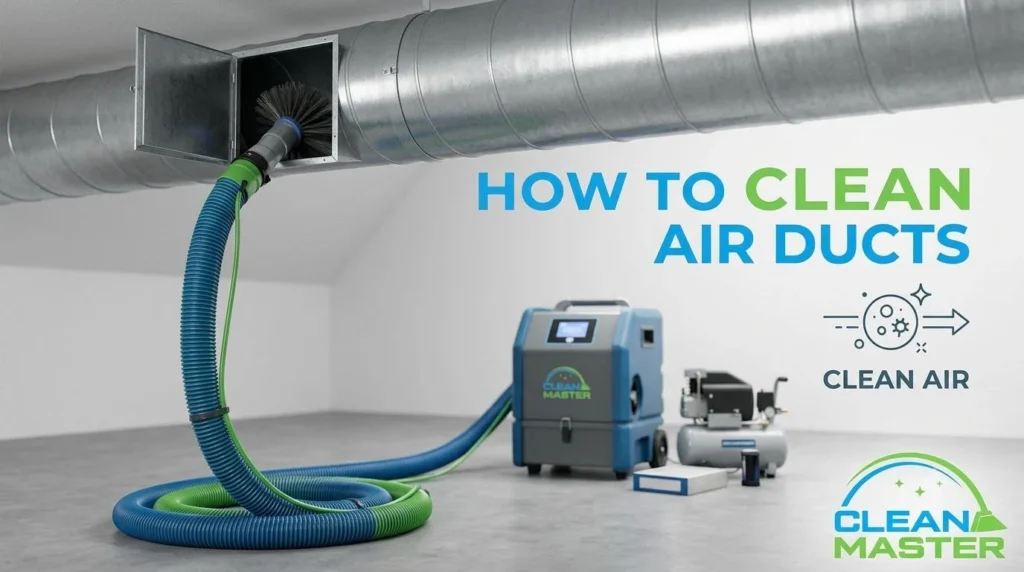
The negative pressure vacuum, typically truck-mounted or a high-powered portable commercial unit, is connected to the main trunk line or a supply register near the air handler. When activated, it creates suction throughout the entire connected duct system. This suction serves two critical functions:
- It captures debris as it’s dislodged, whatever the rotating brush loosens in the branch ducts is immediately drawn toward the vacuum rather than settling back into the duct or being blown into the living space
- It prevents cross-contamination, with the system under negative pressure, loosened debris travels toward the vacuum rather than toward the registers, which means the cleaning process moves contamination out of the system rather than redistributing it
Registers throughout the home are covered with foam plugs or tape during this phase to concentrate the negative pressure and prevent air from bypassing the cleaning process through open vents.
Phase 3: Rotating Brush Agitation of Branch Ducts
With negative pressure established throughout the system, technicians work systematically through each supply and return duct branch using a rotating brush system inserted through the register openings.
The rotating brush, driven by a flexible cable that can navigate duct bends and transitions, physically agitates the accumulated debris on the interior duct surface. This agitation serves a purpose that suction alone can’t achieve: debris that has compacted and adhered to duct walls over years of accumulation needs mechanical disturbance to become mobile enough for the vacuum to extract.
Different brush types for different situations:
- Soft nylon brushes for flex duct, the flexible corrugated interior of flex duct is vulnerable to damage from stiff bristles; softer brushes agitate without abrading or tearing the inner liner
- Stiffer bristle or brass brushes for rigid metal duct, metal duct handles more aggressive agitation, and the smooth interior surface benefits from firmer contact to loosen compacted debris
- Detail brushes for transitions and boot connections, the connections between branch ducts and register boots collect debris at right angles that straight brush passes don’t reach
Technicians work each branch duct from the register end toward the trunk line, ensuring agitation debris moves in the direction of the negative pressure vacuum rather than toward the living space.
Phase 4: Trunk Line Cleaning
The main supply and return trunk lines, the largest duct sections that connect the air handler to the branch duct network, carry the highest volume of air and accumulate significant debris over time. They’re also the sections that require the most powerful agitation and extraction equipment to clean effectively.
Trunk line cleaning uses the same rotating brush principle as branch cleaning but with larger brush heads appropriate for the wider duct dimensions. The negative pressure vacuum is positioned for maximum extraction efficiency during this phase.
On older or damaged flex duct sections in the trunk line, technicians assess whether aggressive brush agitation could worsen existing damage and adjust technique accordingly, sometimes using air whip agitation tools that loosen debris with compressed air bursts rather than mechanical contact on fragile sections.
Phase 5: Air Handler and Coil Cleaning
This is the component most commonly skipped by lower-quality duct cleaning services, and one of the most important for both air quality and HVAC efficiency.
Air handler interior cleaning addresses the blower compartment and associated surfaces inside the air handler cabinet. The blower wheel, the fan that moves air through the entire system, accumulates a coating of fine debris over time that reduces its efficiency and becomes a source of particles entering the clean airstream. Cleaning the blower wheel and interior cabinet surfaces removes this accumulation.
Evaporator coil cleaning is the highest-impact component for air quality and system efficiency. The evaporator coil, where refrigerant absorbs heat from the return air, has a fin surface that collects debris, dust, and in humid DFW conditions, mold growth. A dirty coil reduces heat transfer efficiency making the system work harder to cool the home, provides a surface for mold spore growth that then distributes through the supply air, and restricts airflow across the coil increasing static pressure throughout the system.
Coil cleaning uses appropriate chemistry for the coil fin material, typically a foaming coil cleaner that penetrates between fins and is then rinsed through the condensate drain system. Restored coil efficiency is often one of the most immediately noticeable outcomes of a professional air duct service in DFW homes.
Phase 6: Register Cleaning and Reinstatement
With the duct interior and air handler addressed, technicians remove and clean each supply and return register individually:
- Registers are removed and taken to a utility area or exterior
- Washed with warm soapy water to remove accumulated dust, oils, and debris from the grille surface
- Rinsed and dried completely before reinstallation, a wet register reinstalled in a dry wall creates condensation and potential rust issues
- Reinstalled and secured
This step addresses the most visible surface of the duct system, the grilles that room occupants see and breathe air through. Registers returned clean and properly reinstalled are part of what makes a thorough professional service visually satisfying as well as functionally effective.
Phase 7: Final Inspection, Filter Installation, and System Test
With cleaning complete across all components, the final steps restore the system to operation:
- New HVAC filter installed, the fresh filter captures any residual fine particles remaining in the airstream following cleaning
- All register covers reinstalled and negative pressure equipment disconnected
- System test run, the HVAC is operated briefly to confirm normal airflow from all registers, no unusual sounds, and that the system is functioning as expected post-cleaning
- Homeowner walkthrough, the technician reviews what was found during the clean, documents any concerns (damaged duct sections, evidence of mold, potential pest entry points), and confirms the homeowner is satisfied with the work
What the Professional Process Delivers That DIY Cannot
The gap between DIY duct maintenance and professional cleaning comes down to three things that require commercial equipment.
Negative pressure extraction: no consumer vacuum creates the system-wide suction that captures debris as it’s dislodged throughout the entire network. Without it, agitation redistributes debris rather than removing it.
Rotating brush reach: consumer brush attachments reach a few feet into accessible duct openings. Professional flex-cable brush systems reach the full length of every branch duct and into the trunk lines.
Air handler and coil access: cleaning the evaporator coil and blower wheel requires the equipment and chemistry that consumer maintenance doesn’t typically involve, and these components have the highest impact on both air quality and system efficiency.
At a Glance: DIY Maintenance vs. Professional Cleaning
| Component | DIY Maintenance | Professional Cleaning |
| Register surfaces | Fully addressable | Included |
| Accessible duct openings (1 to 2 inches) | Partially | Full depth with rotating brush |
| Branch duct interiors (full length) | Not reachable | Rotating brush and negative pressure |
| Main trunk lines | Not reachable | Commercial brush and extraction |
| Air handler exterior | Accessible | Included |
| Evaporator coil | Not appropriate DIY | Professional coil cleaning |
| Blower wheel | Not appropriate DIY | Included in full service |
| HVAC filter | Primary DIY task | New filter installed |
Frequently Asked Questions
How long does professional air duct cleaning take?
For a standard DFW home, a thorough professional air duct cleaning covering all supply and return branches, trunk lines, air handler, and registers typically takes 2 to 4 hours. Larger homes, systems with more registers, or systems with significant contamination extend this timeline. Any service completed in under 90 minutes for a full-size home should prompt questions about what was omitted.
How do I know if a duct cleaning company is doing a thorough job?
The presence of a negative pressure vacuum system connected to the duct network is the clearest indicator of a legitimate professional process. Companies that use only portable shop vacuums at individual registers without establishing system-wide negative pressure are not cleaning the duct system, they’re cleaning register openings. Ask specifically about their vacuum setup, brush system, and whether air handler and coil cleaning are included in the quoted service.
Does Clean Master clean air handler coils?
Yes. Clean Master’s air duct cleaning service in DFW includes air handler cleaning as part of the standard process. Coil cleaning is a critical component of a thorough service, and we don’t quote duct cleaning without including the components that determine whether the service produces a meaningful air quality and efficiency result.
The Bottom Line: The Process Is Why Professional Results Are Different
Air duct cleaning isn’t a vacuum run through a register, it’s a systematic, multi-phase process that requires commercial equipment to do correctly. Negative pressure extraction, rotating brush agitation through the full duct network, and air handler and coil cleaning together produce the result that makes professional duct cleaning worthwhile.
Understanding the process means you can evaluate any cleaning service on whether it’s actually delivering what the job requires, and know that Clean Master’s approach covers every component from register to coil. Contact Clean Master Carpet Cleaning today for professional air duct cleaning across the entire DFW area and a transparent, thorough service that covers the whole system.