
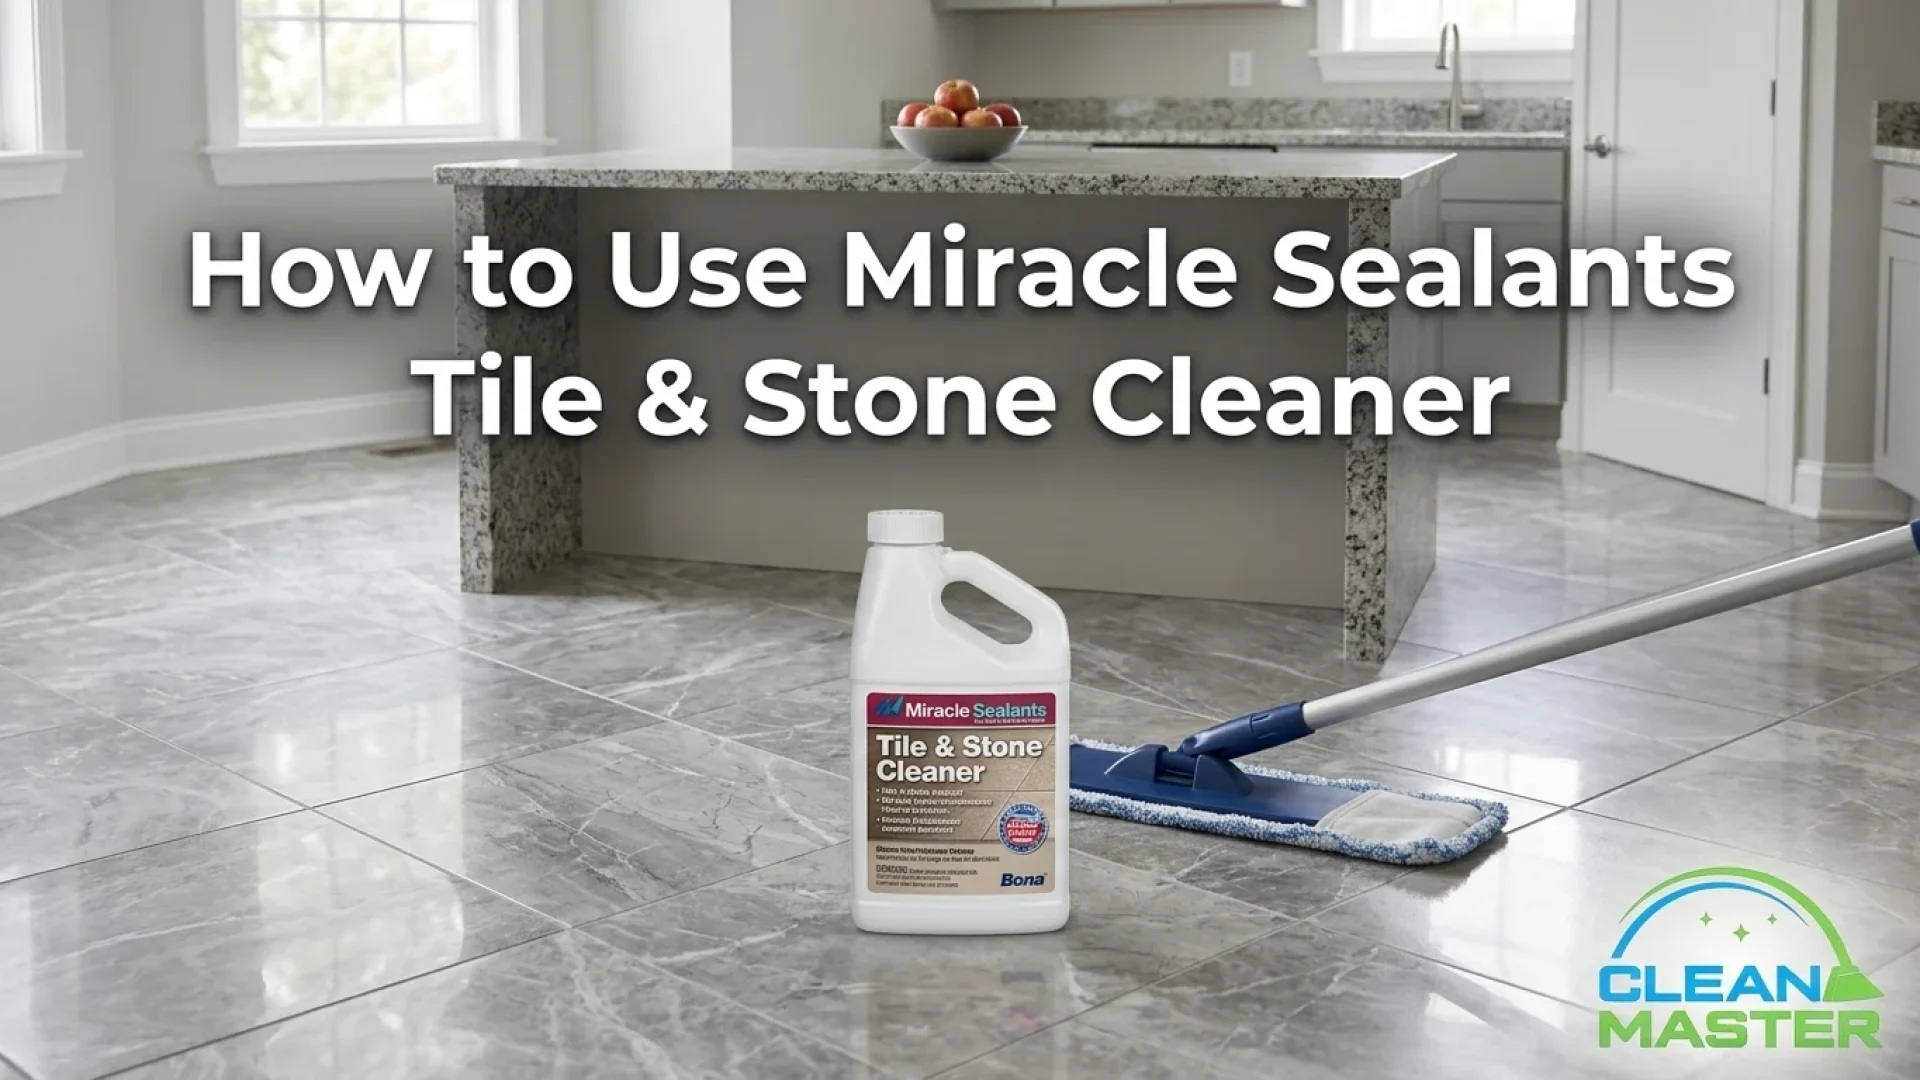
Miracle Sealants Tile & Stone Cleaner is one of the more versatile cleaners on the market, since it’s formulated to work across an unusually wide range of surfaces, from granite and marble to ceramic tile, grout, and even concrete. That versatility is exactly why the correct technique varies depending on what you’re cleaning and how dirty it actually is. We’ve used this product on professional jobs, and the biggest difference between a good result and a mediocre one usually comes down to matching the dilution and dwell time to the actual condition of the surface, not just spraying and wiping.
This guide covers what the product is formulated to do, the correct process for everyday cleaning versus tougher stains, and specific notes for grout and different stone types. If your tile or grout need more than what a routine cleaner can offer, our tile and grout cleaning service is also worth considering.
What Makes This Cleaner Different
Miracle Sealants Tile & Stone Cleaner is a pH-neutral cleaner and degreaser, which is a meaningful detail since it means the formula is non-acidic and won’t etch polished stone or damage surfaces that have been treated with a penetrating sealer. This is part of why it’s approved for such a broad list of surfaces, including granite, marble, quartz, quarry tile, ceramic tile, porcelain tile, polished stone, natural stone, slate, limestone, flagstone, sandstone, travertine, Saltillo, terra cotta, masonry, brick, grout, and concrete.
It comes in two formats: a ready-to-use 32 oz spray for quick jobs, and a concentrate in quart or gallon sizes that requires dilution with water depending on how tough the cleaning job is.
Everyday Cleaning: Light Maintenance
For regular upkeep on tile, stone, or grout that isn’t heavily soiled, the ready-to-use spray is the simplest option.
Step 1: Test a Small Area First
Before treating a larger surface, apply the cleaner to a small, inconspicuous spot and check for any color change. This is especially worth doing on natural stone or colored grout you haven’t cleaned with this product before.
Step 2: Remove Loose Debris
Sweep or wipe away loose dirt and debris before applying the cleaner, so you’re not working the cleaner through grit unnecessarily.
Step 3: Apply a Light Mist
Spray a light, even mist directly onto the surface using the spray bottle.
Step 4: Let It Dwell
Allow the cleaner to sit for about 2 to 3 minutes. This dwell time gives the pH-neutral formula a chance to break down surface grime before you start agitating it.
Step 5: Agitate
Scrub gently in a circular motion using a stiff nylon brush, sponge, or cloth, depending on the surface. For grout specifically, a brush with angled bristles reaches into the grout line more effectively than a flat sponge.
Step 6: Rinse Thoroughly
Rinse the area with clean water to remove any cleaner residue.
Step 7: Buff Dry
Buff the surface dry with a soft cloth or microfiber towel for the cleanest finish, particularly on polished stone where residual moisture can leave water spots if left to air dry.
Tackling Tougher Stains and Grease
For heavier buildup, grease, or stains that don’t respond to the light everyday method, the process shifts toward using the concentrate at a stronger dilution.
Step 1: Mix the Dilution
Combine one part Tile & Stone Cleaner with three parts hot water. Hot water improves the cleaning action compared to cold, though cold water can still be used if needed.
Step 2: Apply With a Mop or Floor Machine
For floors, apply the diluted solution with a clean mop or a self-feeding floor machine if you have access to one. For counters, showers, or walls, a sponge, cloth, brush, or sprayer works well instead.
Step 3: Let It Dwell Longer
Allow the solution to stand for about 10 minutes, agitating periodically with an appropriate scrub brush during that time rather than letting it sit completely undisturbed.
Step 4: Don’t Let It Dry on the Surface
This is an important detail specific to tougher cleaning jobs. Unlike the light everyday method, where a short dwell time is fine, this stronger application shouldn’t be left to dry on the surface, since that can leave behind a residue that’s harder to remove than the original grime.
Step 5: Extract or Rinse Thoroughly
In a commercial setting, this typically means extracting the dirty solution with a wet vacuum system. For home use, thoroughly rinsing with clean water and mopping up the rinse water achieves a similar result.
Step 6: Repeat if Needed
For porous surfaces, heavily soiled areas, or set-in stains, a second application may be necessary to fully lift the buildup.
Grout-Specific Application
Grout responds a bit differently than the smooth tile or stone around it, since it’s more porous and tends to hold onto more embedded grime.
- For general grout cleaning: Follow the everyday cleaning steps, but use a dedicated grout brush with angled bristles to work the cleaner into the grout lines specifically.
- For grout haze removal: Allow the cleaner to dwell for 3 to 5 minutes, slightly longer than the standard everyday dwell time, before scrubbing and rinsing.
- For extremely dirty grout: A stronger dilution, closer to the tougher-stain method, may be needed, along with a longer dwell time and possibly a second application.
Application Method by Surface Type
| Surface | Recommended Tool | Notes |
| Floors (tile, stone) | Clean mop or floor machine | Best for larger areas, works well with either dilution strength |
| Countertops | Soft sponge or cloth | Buff dry for polished stone to avoid water spotting |
| Walls, showers | Sponge, cloth, or sprayer | Rinse thoroughly given constant moisture exposure in these areas |
| Grout lines | Angled-bristle grout brush | Longer dwell time for haze removal or heavy buildup |
| Large commercial areas | Self-feeding floor machine with wet vacuum extraction | Matches the tougher-stain dilution and process |
Working With Sealed Surfaces
One of the more useful features of this cleaner is that it’s specifically compatible with surfaces already treated with a penetrating sealer or impregnator, and it’s actually recommended as an ongoing maintenance cleaner for previously sealed stone. Because it’s pH-neutral, it won’t strip or degrade sealant the way an acidic or highly alkaline cleaner might, which matters if you’ve already invested in sealing natural stone tile or countertops.
Comparing the Two Cleaning Approaches
| Everyday Light Cleaning | Tough Stains / Heavy Buildup | |
| Format | Ready-to-use spray | Concentrate diluted 1:3 with hot water |
| Dwell time | 2-3 minutes | 10 minutes, with periodic agitation |
| Application | Light mist | Applied with mop, machine, or sprayer |
| Key caution | Test for colorfastness first | Don’t let the solution dry on the surface |
| Finish | Rinse and buff dry | Extract or rinse thoroughly |
A Few Practical Notes From Using It on the Job
In our own use, a few small habits make a noticeable difference in results. Investing in a genuinely good microfiber mop or angled grout brush, rather than whatever’s cheapest, tends to pick up more grime with less repeated effort, especially on floors. For backsplashes or vertical surfaces with grease buildup, the diluted, longer-dwell method consistently outperforms the light everyday spray, since grease needs more contact time to actually break down rather than just being wiped around. And on natural stone specifically, buffing dry rather than air drying makes a visible difference in avoiding the hazy water spotting that can otherwise show up on a polished finish.
Safety Notes
- Work in a well-ventilated area, opening windows or using fans, particularly when using the concentrate.
- Wear gloves when handling the concentrated solution before dilution.
- Test an inconspicuous area first for colorfastness, especially on natural stone or colored grout.
- Avoid applying to surfaces you’re unsure about without testing, given the wide variety of stone and tile types this product is used on.
When Routine Products Reach Their Limit
Even a well-formulated, versatile cleaner like this one has a ceiling on what it can address. Grout that’s absorbed years of grime, natural stone with existing etching or staining, or floors that haven’t been deep cleaned in a very long time often need more than a routine cleaner, however correctly applied, can fully resolve. In those cases, professional tile and grout cleaning uses equipment and techniques built for exactly this kind of long-term buildup.
Related Tile & Grout Guides
- How Much Does Professional Tile Cleaning Cost?
- What Is the Best Cleaner for Slate Tile?
- What Is the Best Shower Tile Cleaner?
Frequently Asked Questions
Is Miracle Sealants Tile & Stone Cleaner safe for polished stone?
Yes, it’s specifically formulated to be pH-neutral and won’t harm the polish on polished stone surfaces like marble or granite.
How long should I let the cleaner sit before scrubbing?
For everyday light cleaning, 2 to 3 minutes is generally enough. For tougher stains or grease using the diluted concentrate, let it dwell for about 10 minutes with periodic agitation.
Can I use this cleaner on sealed grout?
Yes, it’s compatible with surfaces treated with a penetrating sealer and is actually recommended as an ongoing maintenance cleaner for previously sealed stone and grout.
What’s the right dilution for tough stains like grease?
Mix one part cleaner to three parts hot water for grease and other difficult stains, applying with a mop, sprayer, or scrub brush.
Do I need to rinse after using this cleaner?
Yes, especially with the stronger dilution used for tough stains. For everyday light cleaning, rinsing and buffing dry gives the cleanest finish, particularly on polished stone.
Can this cleaner be used on colored grout without fading it?
It’s formulated to be gentle enough for everyday use without etching or damaging surfaces, but testing a small, inconspicuous area first is still a good practice with any colored grout.
What tools work best for applying this cleaner?
A microfiber mop works well for floors, a soft sponge or cloth for counters and walls, and an angled-bristle grout brush for grout lines specifically. For larger commercial areas, a floor machine with wet vacuum extraction is appropriate for tougher cleaning jobs.
For more common questions about our services, visit our full FAQ page.
Final Thoughts
Miracle Sealants Tile & Stone Cleaner earns its versatility through a genuinely pH-neutral, non-acidic formula that’s gentle enough for polished stone but still effective on grease and set-in grime when used at the right dilution. The key distinction worth remembering is that light, everyday cleaning and tougher stain removal call for different approaches, a quick mist and short dwell time for the former, a stronger dilution with a longer dwell time and thorough rinsing for the latter.
Matching the method to the actual condition of the surface, rather than using the same light spray-and-wipe approach for every job, is what gets the most out of this product, whether you’re maintaining a countertop or tackling grease on a kitchen backsplash. For buildup that’s gone beyond what any routine cleaner can fix, reaching out for a professional assessment is the next reasonable step.