
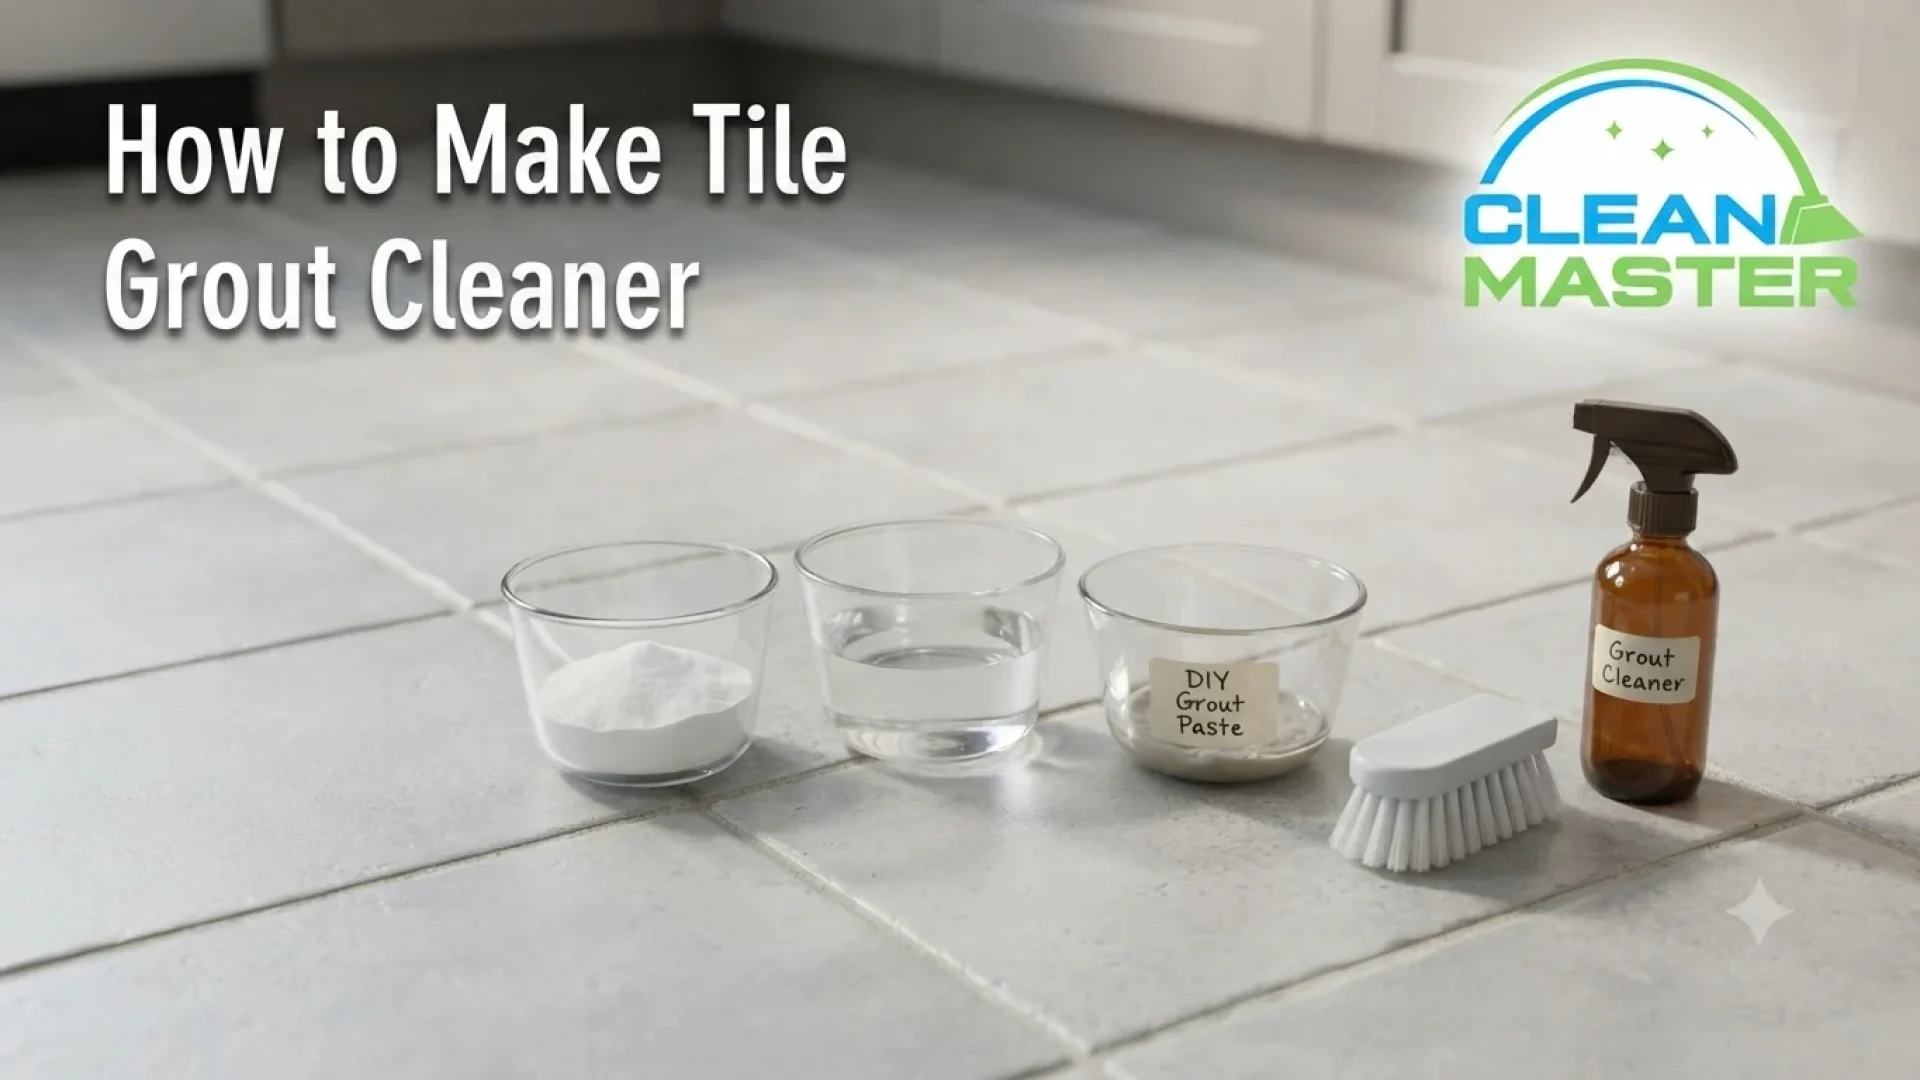
Grout responds differently than the smooth tile around it, which means a generic “spray and wipe” approach rarely gets it fully clean. What actually makes a difference is using the right recipe for your specific grout problem, applying it correctly, and giving it enough time to work before scrubbing.
Below are five tested homemade grout cleaner recipes, each with exact ratios, application steps, and how long to let it sit before scrubbing. If your grout has gone beyond what a homemade recipe can resolve, our tile and grout cleaning service is also worth considering.
Before You Start: A Few Ground Rules
- Test any recipe on a small section first, especially with colored or sanded grout.
- Never combine bleach with vinegar or ammonia. This creates dangerous fumes. Use bleach-based recipes entirely on their own.
- Ventilate the room when using anything bleach-based.
- Sweep or vacuum first, so you’re not cleaning over loose grit that can scratch the grout during scrubbing.
Recipe 1: Everyday Maintenance Grout Cleaner
For: Light, regular grime on ceramic or porcelain grout.
Ingredients:
- 2 cups warm water
- 1 tablespoon dish soap
- 1 tablespoon baking soda
How to make it: Combine all three ingredients in a spray bottle, shaking gently until the baking soda is mostly dissolved.
Application: Spray directly onto grout lines.
Dwell time: 5 minutes.
Method: Scrub with a grout brush in a back-and-forth motion along the length of the grout line, then rinse thoroughly with clean water.
Safe for colored/sanded grout: Yes, this is the gentlest recipe in this list and generally safe for colored and sanded grout.
Recipe 2: Baking Soda and Vinegar Paste
For: Moderate grime and everyday buildup that Recipe 1 doesn’t fully address.
Ingredients:
- 1/2 cup baking soda
- 2 tablespoons white vinegar (added gradually)
How to make it: Place the baking soda in a small bowl. Add vinegar a little at a time, stirring, until it forms a thick, spreadable paste. It will fizz as you mix it, this is expected.
Application: Apply the paste directly onto grout lines with an old toothbrush or your fingers (wearing gloves).
Dwell time: 10 minutes.
Method: Scrub firmly along the grout lines with a stiff grout brush, then rinse thoroughly.
Caution for colored/sanded grout: Test a small area first. The mild abrasive action of baking soda combined with vinegar’s acidity can, with repeated use, cause slight lightening on some darker colored grout over time.
Recipe 3: Oxygen Bleach Soak
For: Moderate to heavy staining and general discoloration.
Ingredients:
- 1/4 cup oxygen bleach powder (sodium percarbonate)
- 2 cups warm water
How to make it: Dissolve the oxygen bleach powder fully into the warm water, stirring until no clumps remain.
Application: Pour or spray the solution directly onto grout lines, saturating them well.
Dwell time: 15 minutes. For heavier staining, this can be extended to 30 minutes, but check periodically to avoid over-saturating the surrounding tile.
Method: Scrub with a grout brush, then rinse thoroughly with clean water.
Safe for colored/sanded grout: Generally yes, oxygen bleach is milder than chlorine bleach and less likely to cause fading, but testing is still recommended for darker or more vibrant grout colors.
Recipe 4: Chlorine Bleach Solution for Mold and Mildew
For: Visible mold or mildew in grout, particularly in bathrooms.
Ingredients:
- 1/4 cup chlorine bleach
- 2 cups water
How to make it: Combine in a spray bottle, mixing gently.
Application: Spray directly onto affected grout lines only. Ensure good ventilation before starting.
Dwell time: 10 minutes.
Method: Scrub with a grout brush, then rinse thoroughly. Do not combine with any other cleaning product before, during, or immediately after use.
Caution for colored/sanded grout: This recipe carries the highest risk of fading or discoloration on colored grout of any recipe here. Test a small, inconspicuous area first, and consider Recipe 3 as a gentler alternative if your grout is colored.
Recipe 5: Hydrogen Peroxide and Baking Soda for Set-In Stains
For: Older, more stubborn staining that hasn’t responded to lighter cleaning.
Ingredients:
- 1/2 cup baking soda
- 3% hydrogen peroxide (added gradually, roughly 3 tablespoons)
How to make it: Mix the baking soda with hydrogen peroxide gradually until it forms a spreadable paste, similar in consistency to Recipe 2.
Application: Apply directly to stained grout lines.
Dwell time: 20 minutes.
Method: Scrub with a stiff grout brush, then rinse thoroughly.
Safe for colored/sanded grout: Generally safer than the chlorine bleach recipe, though testing is still worthwhile for grout with strong, saturated color.
Quick Reference: Which Recipe for Which Problem
| Recipe | Best For | Dwell Time | Colored Grout Risk |
| 1. Dish soap + baking soda spray | Everyday light grime | 5 minutes | Low |
| 2. Baking soda + vinegar paste | Moderate grime | 10 minutes | Low to moderate |
| 3. Oxygen bleach soak | Moderate to heavy staining | 15-30 minutes | Low to moderate |
| 4. Chlorine bleach solution | Mold and mildew | 10 minutes | Highest risk |
| 5. Hydrogen peroxide + baking soda | Set-in, older stains | 20 minutes | Moderate |
A Note on Colored and Sanded Grout Specifically
Colored grout has dye mixed throughout, and repeated exposure to stronger cleaning agents, especially chlorine bleach, can gradually cause fading or uneven lightening, particularly in darker tones like charcoal, brown, or terracotta shades. Sanded grout, which contains fine sand particles for texture and durability, can also be more prone to showing wear from abrasive pastes like Recipe 2 if used very frequently over a long period.
If you have colored or sanded grout, a reasonable approach is starting with the gentler recipes (1, 3, or 5) and reserving the chlorine bleach recipe specifically for mold or mildew situations where a milder option genuinely isn’t effective enough. It’s also worth keeping a small, hidden test patch, like a section behind an appliance or inside a closet, that you always check any new recipe against before committing to a full room, since even a “low risk” recipe can behave differently on grout that’s already partially faded from sun exposure or previous cleaning attempts.
Why Dwell Time Matters More Than People Expect
Across every recipe here, the dwell time listed isn’t arbitrary. Grout’s porous surface needs time for the cleaning solution to actually penetrate into the texture and break down embedded grime, not just sit on the surface. Wiping away a cleaner too early is one of the most common reasons a genuinely effective recipe seems to underperform. If you’re short on time, it’s better to apply the cleaner and come back to it after doing something else, rather than rushing the scrubbing step immediately after application.
This is also why batching your cleaning session by area helps. Applying a recipe to one section of the floor, moving on to prepare the next section, and then circling back to scrub the first section once its dwell time has passed is generally more efficient than waiting idle in one spot for the full dwell time to elapse.
Storage and Shelf Life for These Recipes
None of these recipes are designed for long-term storage, and it’s worth mixing only what you plan to use in a single session:
- Recipe 1 (dish soap and baking soda spray) can be stored in a labeled spray bottle for a few days, though the baking soda may settle and need shaking before each use.
- Recipes 2 and 5 (pastes) should be mixed fresh each time, since the reaction between the ingredients loses potency once it’s fully settled.
- Recipes 3 and 4 (bleach-based solutions) should be mixed immediately before use and any leftover solution discarded, since both oxygen bleach and chlorine bleach lose effectiveness over time once dissolved in water, and storing a bleach solution in an unlabeled or repurposed container also creates a safety risk for anyone else in the household.
What to Do If None of These Recipes Fully Work
If you’ve tried the appropriate recipe for your specific problem, given it proper dwell time, and scrubbed thoroughly, but the grout still isn’t coming clean, that’s usually a sign the buildup has gone beyond what homemade recipes are formulated to handle. Years of accumulated grime, deeply established mold, or grout that’s absorbed staining over a very long period often needs either a stronger commercial product or professional-grade cleaning equipment to fully resolve.
This isn’t a reflection of doing something wrong. Homemade recipes are formulated at household-safe concentrations, which naturally puts a ceiling on how much deeply set-in buildup they can address, regardless of how carefully the technique is followed.
Frequently Asked Questions
Which homemade grout cleaner recipe is strongest?
The chlorine bleach solution (Recipe 4) is the strongest option here, particularly for mold and mildew, but it also carries the highest risk of fading colored grout, so it’s worth reserving for situations where gentler recipes haven’t worked.
How long should I leave homemade cleaner on grout before scrubbing?
This varies by recipe, generally ranging from 5 minutes for light, everyday grime to 20-30 minutes for set-in staining or heavier buildup. Longer dwell time generally improves results within these ranges.
Can I use these recipes on colored grout?
Most can be used with caution, but it’s worth testing a small area first, especially with the chlorine bleach recipe, which carries the highest risk of fading darker grout colors.
What’s the safest recipe for grout with mold?
The chlorine bleach solution (Recipe 4) is specifically effective at killing mold, since bleach’s chemistry addresses the organism itself rather than just the visible staining. For milder cases, oxygen bleach (Recipe 3) is a gentler alternative worth trying first.
Can I combine any of these recipes for a stronger effect?
No. In particular, never combine the chlorine bleach recipe with any other recipe on this list, especially the vinegar-based ones, since mixing bleach with acids creates dangerous fumes.
Why didn’t my homemade grout cleaner work?
The most common reason is not letting the cleaner sit long enough before scrubbing. If you followed the recommended dwell time and technique and still aren’t seeing results, the buildup may be beyond what a homemade recipe can fully resolve.
Can I store leftover homemade grout cleaner for next time?
It’s best to mix only what you’ll use in one session, especially for the bleach-based recipes, since both oxygen bleach and chlorine bleach lose effectiveness once dissolved and storing them creates an unnecessary safety risk.
Final Thoughts
Making an effective grout cleaner at home comes down to matching the right recipe to your specific grout problem, then giving it the dwell time it actually needs before scrubbing. Light, everyday grime responds well to the gentlest recipes here, while mold, mildew, and set-in staining need the stronger oxygen bleach or chlorine bleach options, with appropriate caution for colored or sanded grout.
If you’ve worked through the right recipe with proper technique and dwell time and your grout still isn’t responding, that’s a genuine sign the buildup has exceeded what homemade cleaning can address, and it’s worth considering a professional-grade approach instead of repeatedly trying stronger homemade combinations.