
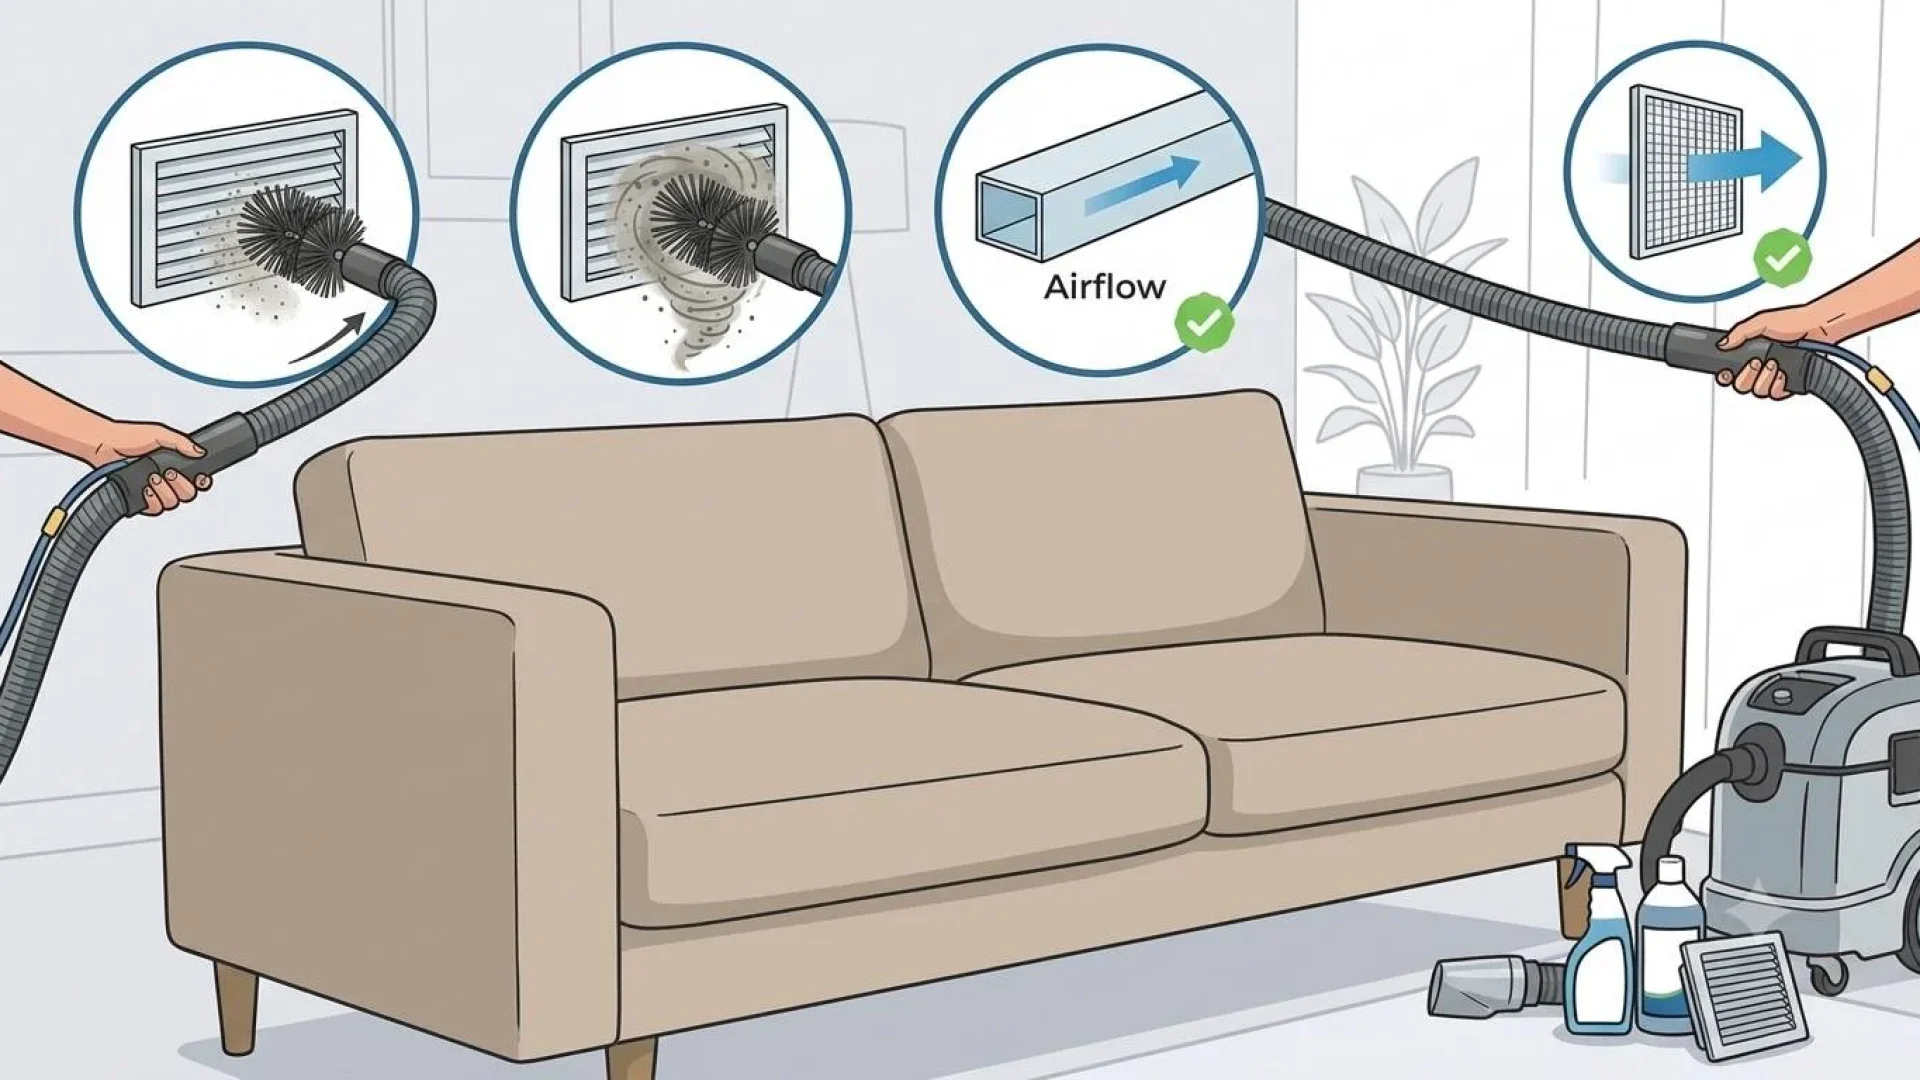
Air duct cleaning is one of those home maintenance tasks that sounds more complicated than it is, at the DIY level. With the right approach and a few basic tools, a homeowner can meaningfully improve the cleanliness of their HVAC system’s accessible components, reduce dust circulation, and extend the interval between professional cleanings.
The key phrase there is “accessible components.” DIY air duct cleaning has a clear ceiling, what it can reach and what it can do, and understanding that ceiling is what separates a useful maintenance effort from a false sense of security. At Clean Master Carpet Cleaning, air duct cleaning is one of our core DFW services, and we see the difference between homes that maintain their accessible ductwork regularly and those that don’t. Regular DIY maintenance genuinely matters. Here’s how to do it right.
What You’ll Need
Before starting, gather:
- Vacuum cleaner with a hose and brush attachment, a shop vac is ideal for this task
- Microfiber cloths or rags for wiping register interiors and grilles
- Screwdriver, flathead or Phillips depending on your register screws
- Replacement HVAC filter in the correct size for your system
- Flashlight or phone torch for inspecting duct interiors
- Disposable gloves and a dust mask, duct interiors accumulate years of particulates
Step 1: Turn Off Your HVAC System
Before removing any registers or working near duct openings, turn your HVAC system off at the thermostat. This prevents the system from pulling dust and debris further into the ductwork while you’re working, and keeps loose material from being distributed through the home.
If your system has a separate fan setting, turn that off too, you want no airflow through the system while registers are open.
Step 2: Remove and Clean All Supply and Return Registers
Registers, the grilles covering your supply vents where conditioned air comes out and return vents where air is pulled back to the system, are the most accessible and most frequently neglected part of residential ductwork.
To clean registers:
- Unscrew each register from the wall, ceiling, or floor using your screwdriver
- Take them outside or to a utility sink, they accumulate significant dust and in some cases pet hair and debris that shakes loose during handling
- Wash with warm soapy water, rinse thoroughly, and allow to dry completely before reinstalling
- While the register is off, use your vacuum’s brush attachment to clean the duct opening immediately behind it, reach in as far as the hose allows and vacuum all four interior surfaces
This step alone makes a noticeable difference in homes where registers haven’t been removed in years. We’ve worked with DFW clients who were surprised by how much accumulated debris was sitting directly behind their registers, material that the HVAC system was pulling air across every time it ran.
Work through every register in the home systematically, supply vents and return vents alike. Mark registers with tape as you go if you have a large home and want to track progress.
Step 3: Change the HVAC Filter
This is the single highest-impact maintenance step for air quality in any home, and the one most consistently neglected. The HVAC filter is the system’s primary defense against dust, pollen, pet dander, and particulates circulating through the ductwork. A clogged filter restricts airflow, reduces system efficiency, and allows material to bypass filtration and settle in the ductwork itself.
Filter replacement schedule:
| Filter Type | Replacement Frequency |
| Standard 1-inch fiberglass | Every 30 days |
| Standard 1-inch pleated | Every 60 to 90 days |
| High-efficiency pleated (MERV 8 to 11) | Every 90 days |
| Thick media filter (4 to 5 inch) | Every 6 to 12 months |
In DFW homes with pets, allergy sufferers, or high dust levels, replace filters at the shorter end of these ranges. A filter that looks grey and compressed has already been overdue for weeks.
When replacing the filter, note the airflow direction arrow on the filter frame and install the new filter with the arrow pointing toward the air handler, not away from it. Incorrect installation is more common than most homeowners realize and significantly reduces filtration effectiveness.
Step 4: Wipe Accessible Duct Interiors Near Registers
With the registers removed and the vacuum pass complete, use a microfiber cloth slightly dampened with clean water to wipe the interior duct surfaces you can reach from each opening, typically 6 to 12 inches in from the register opening.
This removes the fine dust film that vacuum suction doesn’t fully lift from smooth metal surfaces, and cleans the transition point between the register and the deeper ductwork where debris tends to collect first.
Use your flashlight to inspect what you’re cleaning and check for anything that warrants closer attention, discoloration, moisture marks, or debris that looks unusual. Note anything that seems out of the ordinary for the professional assessment section below.
Don’t attempt to reach further into the ductwork than your arm and a cloth can comfortably access. The flex ductwork and transitions deeper in the system can be damaged by improvised tools, and disturbing buildup deeper in the system without professional extraction equipment can redistribute debris throughout the home rather than removing it.
Step 5: Clean Around the Air Handler and Return Air Plenum
The area immediately around your air handler, the indoor unit of your HVAC system typically in a utility closet, attic, or garage, accumulates dust and debris that affects system performance. With the system off:
- Vacuum around the exterior of the air handler cabinet
- Wipe the cabinet surfaces with a dry or barely damp cloth
- Check the condensate drain pan beneath the air handler for standing water or debris, a clogged drain pan can cause water damage and mold
- Inspect the return air plenum, the large box connecting to the return duct, for visible debris accumulation
Don’t open the air handler cabinet itself unless you’re comfortable with HVAC components, the coil, blower, and electrical components inside are not DIY cleaning territory for most homeowners.
Step 6: Restore Everything and Run the System
Once all registers are cleaned and reinstalled, the filter is replaced, and accessible surfaces are wiped, turn the HVAC system back on and run it for 15 to 20 minutes. This clears any fine dust that was disturbed during cleaning and circulates it through the new filter.
During this run, check that all registers are seating correctly, air should flow from supply vents and be pulled at return vents without unusual noise or restriction. Any register that whistles or has reduced airflow may not be fully seated or may indicate a duct issue worth noting.
What DIY Duct Cleaning Cannot Reach
This is the honest part of the guide, and it matters.
DIY cleaning addresses the accessible 10 to 15% of your ductwork system. The rest, the main supply and return trunk lines, the branch ducts running through walls and ceilings, the plenum connections, and the blower assembly inside the air handler, cannot be effectively cleaned without professional equipment.
Professional air duct cleaning uses truck-mounted vacuum systems and rotary brush equipment that accesses the full duct network, dislodges debris from deep inside trunk lines, and extracts it completely rather than redistributing it. It’s categorically different from what a household vacuum and cloth can accomplish.
DIY maintenance keeps the accessible portion clean and extends the interval between professional cleanings. It does not replace professional cleaning, and in homes where the deeper ductwork is contaminated, it addresses a small fraction of the actual issue.
Signs You Need Professional Air Duct Cleaning, Not Just DIY
Some situations are beyond what register cleaning and filter changes can address. Contact Clean Master for professional air duct cleaning if you notice any of the following:
| Sign | What It May Indicate |
| Visible mold inside or around registers | Mold established in the duct system requiring professional remediation |
| Pest evidence such as droppings or nesting material | Active or previous infestation requiring full duct sanitization |
| Excessive dust returning within days of cleaning | Significant accumulation in main trunk lines redistributing through registers |
| Recent renovation or construction | Drywall dust, insulation particles, and debris in ductwork |
| Worsening allergy or respiratory symptoms at home | Contamination in the duct system affecting indoor air quality |
Any one of these signs warrants professional assessment rather than continued DIY maintenance. Mold in ductwork in particular is a situation where DIY cleaning, which disturbs mold without extracting it, can make air quality worse rather than better.
How Often Should You DIY Clean Your Air Ducts?
Register and grille cleaning should happen every 3 to 6 months in DFW homes, more frequently in homes with pets or high dust levels. Filter replacement should follow the schedule above, at minimum every 90 days and monthly in high-dust or pet households. Professional deep cleaning is recommended every 3 to 5 years for a well-maintained home, or sooner if any of the signs above are present. Post-renovation cleaning should be done regardless of the regular schedule.
More Air Duct Guides
Frequently Asked Questions
Does DIY air duct cleaning actually improve air quality?
Yes, meaningfully so at the register level. Registers and the accessible duct openings behind them accumulate significant debris that circulates through the home every time the HVAC runs. Cleaning these regularly, combined with regular filter replacement, reduces the particulate load the system distributes. It’s not equivalent to professional deep cleaning but it’s a genuine improvement over no maintenance.
How do I know if my ducts need professional cleaning?
The most reliable indicators are the signs in the table above. If you’re not sure, a professional inspection, which Clean Master can provide across DFW, assesses the condition of the duct system and gives you an accurate picture of what needs to be addressed and at what priority.
Can I use a leaf blower or compressed air to clean ducts myself?
No, this is one of the more common DIY mistakes. Blowing air into ducts without simultaneous extraction redistributes dust and debris throughout the system and into the home rather than removing it. Effective duct cleaning requires suction and extraction, not just agitation. Leave forced-air approaches to professional equipment where extraction is simultaneous.
The Bottom Line: DIY Maintains, Professional Cleans
Regular DIY air duct maintenance, registers cleaned every few months, filters replaced on schedule, accessible interiors wiped, genuinely improves HVAC performance and indoor air quality in DFW homes. It’s worth doing consistently and it makes a difference our clients can often feel in reduced dust and improved airflow.
What it doesn’t do is clean the deeper ductwork that professional equipment reaches. When the system needs a full clean, whether due to the signs above, a renovation, or simply years of accumulation, that’s Clean Master’s territory. Contact Clean Master Carpet Cleaning today for professional air duct cleaning across the entire DFW area and find out what a deep-cleaned duct system does for the air quality in your home.