How Much Is Carpet Cleaning Service

How Much Is Carpet Cleaning Service

When you ask “how much is a carpet cleaning service,” the honest answer depends less on a single number and more on what’s actually included in that service call. Two companies can quote similar prices and deliver meaningfully different scope, one includes furniture moving, stain pre-treatment, and a final inspection; the other covers a basic pass and little else. Understanding what a service call should include is what makes any price comparison meaningful. At Clean Master Carpet Cleaning, we serve the entire DFW area, and the question we hear most isn’t really “how much,” it’s “what am I actually getting for that price.” Here’s the breakdown. What a Standard Carpet Cleaning Service Call Should Include A legitimate, thorough professional carpet cleaning service typically covers the following as standard, not as upsells: If a quote doesn’t specify these as included, it’s worth asking directly, because services that exclude furniture moving, pre-treatment, or inspection are often priced lower for a reason, and you may end up paying separately for what should be standard. Service Tiers: How Carpet Cleaning Companies Typically Structure Pricing Most professional carpet cleaning companies, Clean Master included, structure their offering in tiers based on scope rather than offering one flat rate for everything. Basic and Maintenance Clean The entry-level service tier, appropriate for carpet that’s regularly maintained and doesn’t have significant staining or odor concerns. Covers standard hot water extraction across the carpeted area with light pre-treatment on visible traffic patterns. This is the tier most homeowners book for routine annual or biannual cleaning. Standard and Deep Clean The most commonly booked tier for carpet that hasn’t been cleaned in a year or more, or that has moderate soiling. Includes more thorough pre-treatment, slower extraction passes for deeper soil removal, and typically addresses multiple stain types as part of the standard service rather than as separate line items. Premium and Restoration Clean For heavily soiled carpet, carpets with significant pet contamination, or situations requiring multiple passes and extended treatment. This tier often includes enzyme pre-treatment for pet areas, extended dwell times, and sometimes a follow-up pass built into the appointment. Knowing which tier applies to your carpet’s actual condition, not just picking the cheapest option, is what determines whether the service achieves the result you’re expecting. A heavily soiled carpet booked at the basic tier often produces a disappointing result, not because the company did poor work, but because the scope didn’t match the need. Minimum Job Fees: Why a Small Job Sometimes Costs More Than Expected Most professional carpet cleaning services have a minimum job fee, a fixed cost that applies regardless of how small the area being cleaned is. In the DFW market, this typically runs $95 to $150. This exists because a service call has fixed costs, travel, setup, equipment positioning, and the technician’s time, that don’t scale down proportionally for a single small room. A one-room job priced purely per square foot might come out to $30 on paper, but the actual cost of sending a technician and truck-mounted equipment to a home doesn’t change much whether they’re cleaning one room or three. The practical implication: if you’re only cleaning one small room, you’re likely to hit the minimum regardless. It’s often worth asking whether adding an adjacent room or area gets you meaningfully more value for a similar total cost, many homeowners find that expanding the scope slightly is the better use of a minimum-fee appointment. What’s Typically an Add-On, Not Part of the Base Service These services genuinely add labor, product, or time beyond a standard clean, and it’s reasonable for them to be priced separately: Add-On What It Does Why It’s Separate Carpet protector application Repels future spills, slows resoiling Additional product and application time Pet odor and enzyme treatment Breaks down uric acid at the source Requires extended dwell time and specific chemistry Heavy stain or deep soil surcharge Addresses contamination beyond standard scope Extra pre-treatment and pass time Stair cleaning Cleans carpeted stairs Labor-intensive per square foot compared to flat flooring Heavy furniture moving Moving beds, wardrobes, large pieces Liability and labor outside standard scope None of these are unreasonable to charge separately, they represent real additional work. What matters is that they’re disclosed clearly at the time of quoting, not added as a surprise once the technician is already in your home. How to Compare Carpet Cleaning Service Quotes Properly When you’re comparing quotes from different companies, the price alone tells you very little. Ask each company the same set of questions: A lower quote that excludes furniture moving and pre-treatment is not necessarily a better deal than a higher quote that includes both, once you account for what you’d pay to add those services separately, the totals often land much closer together than the headline price suggested. What Clean Master Includes in Every Service Call At Clean Master, every standard carpet cleaning appointment across the DFW area includes pre-inspection, furniture moving for medium-weight pieces, stain pre-treatment, full hot water extraction, post-clean walkthrough, and air mover setup for faster drying, as part of the base service, not as upsells. Add-ons like carpet protector, enzyme pet treatment, and stair cleaning are quoted transparently at booking, with no surprises once we’re in your home. Frequently Asked Questions Is a more expensive carpet cleaning service always better? Not automatically, but a quote that’s significantly cheaper than the market range is worth scrutinizing for what’s been left out. Compare scope, not just price, using the questions above. Should I book the cheapest tier if my carpet looks fine? If your carpet is regularly maintained and you’re booking for routine upkeep, the basic and maintenance tier is appropriate. If it’s been over a year since the last professional clean, or you have pets, the standard or premium tier is more likely to deliver the result you’re expecting. Read our guide on how often you should get your carpet cleaned to figure out where your home falls. What if I’m not sure which service
Read more
clean cause mold.2

Can Carpet Cleaning Cause Mold

Carpet cleaning, done properly, doesn’t cause mold, but certain conditions around the cleaning genuinely do create the right environment for it, and DFW’s climate makes a few of these risk factors more relevant here than in drier parts of the country. Understanding the specific situations that lead to mold growth after a clean is more useful than a blanket yes or no, because it tells you exactly what to watch for and avoid. At Clean Master Carpet Cleaning, we factor these risk conditions into every appointment across the DFW area. Here’s what actually creates the risk. The Real Cause: Trapped Moisture, Not the Cleaning Itself Mold needs three things to establish itself: moisture, an organic food source (carpet fiber, padding, and the dust and skin cells embedded in it qualify), and time. Carpet cleaning introduces the first ingredient temporarily, that’s unavoidable, since water is part of how the process works. The risk only becomes real when that moisture doesn’t fully evaporate within a reasonable window, typically 24 to 48 hours. So the honest framing isn’t “does cleaning cause mold,” it’s “does cleaning create conditions where moisture sits in the carpet long enough for mold to take hold.” That distinction is what the specific risk factor below is really about. Risk Factor: Cleaning in Humid Weather Without Adequate Ventilation This is the single most relevant risk factor for DFW homeowners specifically, and it deserves the most attention. Why humidity matters so much: carpet drying happens through evaporation, moisture in the fiber needs to move into the surrounding air. That process depends on the air around the carpet having room to absorb more moisture. DFW summers regularly bring outdoor humidity above 70 to 80%, and indoor humidity climbs along with it if the home isn’t being actively dehumidified. When the surrounding air is already saturated, evaporation from the carpet slows dramatically, sometimes to a crawl. What this looks like in practice: a carpet cleaned on a dry, low-humidity day with good airflow might be fully dry within 6 to 8 hours. The exact same cleaning, on the exact same carpet, done during a humid DFW July afternoon with windows closed and no air conditioning running, can stay damp for 24, 36, even 48+ hours, well into the window where mold becomes a genuine possibility, particularly in the carpet padding, where moisture lingers longest. Why ventilation compounds the problem: without airflow moving across the carpet, open windows when humidity allows, fans, or air conditioning actively running and dehumidifying, there’s nothing helping that slow evaporation process along. A closed-up room with no air movement is close to the worst-case drying scenario, especially layered on top of already-humid air. What actually prevents this: running the AC (not just the fan) during and after cleaning is one of the most effective things a DFW homeowner can do, since air conditioning actively removes humidity from indoor air as it cools it. Pairing that with fans directed at the carpet, and avoiding opening windows on genuinely humid days (counterintuitively, this can introduce more moisture than it removes), meaningfully shortens drying time even in difficult conditions. Read our guide on how to dry carpet after cleaning for the complete approach. How to Tell If Drying Conditions Were a Problem The smell test is the earliest warning sign. A musty, earthy odor that develops 24 to 48 hours after cleaning, particularly one that wasn’t there immediately after the carpet dried at the surface, is the most common early indicator that moisture lingered too long, often in the padding rather than the visible fiber. Read our guide on why carpet smells worse after cleaning for the full diagnostic picture. Visible signs come later and matter more. Dark spots, a fuzzy texture, or discoloration on the carpet backing (visible if you peel back a corner) are more advanced signs that mold has actually established itself, not just that conditions were risky. Timeline matters. Mold growth under favorable conditions can begin within 24 to 48 hours of moisture exposure. If a carpet stayed damp for that long during humid, poorly ventilated conditions, it’s worth specifically checking for the signs above rather than assuming everything is fine just because the surface looks dry now. Health Considerations If mold has established itself in carpet or padding, it can contribute to indoor air quality issues, particularly relevant for household members with allergies, asthma, or other respiratory sensitivities, who may notice symptoms before any visible mold is apparent. This is part of why catching the early smell-based warning sign matters more than waiting for something visible. Frequently Asked Questions Should I avoid carpet cleaning during DFW summer entirely? Not necessarily, it just means drying conditions need more active management during humid months. Scheduling around AC use, ensuring good airflow, and not closing up the house immediately after cleaning all meaningfully offset the humidity risk. How long is too long for carpet to stay damp? Beyond 24 to 48 hours genuinely raises the risk. If your carpet is still noticeably damp at that point, increase active drying measures (AC, fans) rather than waiting it out passively. Does professional cleaning carry less mold risk than DIY? Professional equipment generally extracts more water during the cleaning process itself, leaving less moisture behind to begin with, which gives drying conditions less to work against, even in humid weather. The Bottom Line: It’s the Conditions, Not the Clean Carpet cleaning doesn’t inherently cause mold, humid weather combined with poor ventilation is what turns a normal, temporary amount of moisture into a real risk. In DFW specifically, that means being deliberate about running the AC and ensuring airflow during and after any carpet cleaning, particularly between May and September. Contact Clean Master Carpet Cleaning today for professional carpet cleaning across the entire DFW area, with equipment that minimizes moisture left behind from the start. ‍
Read more
Cleaner For Tile Floors 2 (1)

What Is The Best Cleaning Solution For Ceramic Tile Floors?

Ceramic tile is forgiving compared to natural stone, but “forgiving” still leaves a wide range of options, and the right one depends on your tile’s specific finish as much as the cleaner itself. A DIY dish soap mix works fine for a glossy glazed floor in light daily use; a heavily soiled matte-finish entryway floor needs something with more cleaning power. Here’s the full breakdown, DIY and commercial, matched to what’s actually on your floor. At Clean Master Carpet Cleaning, ceramic tile is one of the most common surfaces we clean across the DFW area. This guide covers both the recipes worth mixing yourself and the commercial products that consistently perform well. Glazed vs. Unglazed Ceramic: Why It Changes the Answer Most residential ceramic tile is glazed, coated with a hard, non-porous finish during manufacturing that gives it color, shine, and resistance to staining. Unglazed ceramic (more common in quarry tile, some outdoor applications, or certain rustic-style floors) lacks that protective coating and behaves more like a porous surface. Glazed ceramic tolerates a wider range of cleaning products because the glaze is the actual surface being cleaned, not the tile body underneath, it resists most stains and chemical exposure well. Unglazed ceramic is more porous and stain-prone, similar in some ways to natural stone, and benefits from gentler, more neutral cleaning chemistry along with sealing to reduce staining over time. If you’re not sure which you have: glazed ceramic has a visible sheen or shine even on “matte” finishes (a softer, less reflective sheen, but still a coating); unglazed ceramic looks and feels more like the raw material itself, often with a more matte, slightly rougher texture. Matte vs. Glossy Glazed Finish: A Secondary Consideration Within glazed ceramic, finish sheen affects technique more than product choice. Glossy glazed tile shows streaking and residue more visibly, a cleaner that doesn’t rinse cleanly, or a mop that isn’t well wrung, leaves obvious marks on a glossy surface that wouldn’t be as noticeable on a matte one. This pushes toward cleaners specifically formulated to rinse streak-free, and toward a thorough final rinse pass regardless of which product you use. Matte glazed tile is more forgiving of minor residue but tends to show dirt and grime more readily in the texture, particularly on textured matte finishes increasingly common in wood-look and stone-look ceramic. This pushes toward solutions with slightly more cleaning power and, where soiling is heavier, light agitation with a soft-bristle brush or scrub pad alongside the cleaner. DIY Cleaning Solutions for Ceramic Tile These recipes are appropriate for glazed ceramic in typical residential condition. For unglazed ceramic, stick to the mildest option (plain water or the dish soap mix) and avoid the vinegar-based recipe. Basic Dish Soap Solution (Daily and Routine Maintenance) Recipe: 1/4 cup mild dish soap (a clear, dye-free formula like Dawn Free and Clear works well) per gallon of warm water. This is the gentlest, most universally safe option for glazed ceramic, effective on everyday foot traffic soil, food residue, and light grime, with minimal risk of residue buildup if rinsed reasonably well. Apply with a well-wrung microfiber mop, working in sections. Vinegar Solution (Glossy and Matte Glazed Ceramic Only) Recipe: 1/2 cup white vinegar per gallon of warm water. The mild acidity cuts through soap scum, hard water mineral deposits, and general grime more effectively than dish soap alone. This recipe should never be used on unglazed ceramic or natural stone, the acidity is mild enough to be safe on glazed ceramic’s protective coating but can affect unsealed, more porous surfaces over repeated use. Rinse with a separate clean water pass afterward to avoid any residual vinegar smell or dulling from mineral residue left behind. Baking Soda Paste (Stuck-On Grime and Light Stains) Recipe: baking soda mixed with just enough water to form a spreadable paste. For specific stuck-on spots rather than whole-floor cleaning, apply directly to the spot, let sit 10 minutes, scrub gently with a soft brush, then rinse. Safe on both glazed and unglazed ceramic. Rubbing Alcohol Solution (Streak-Free Finish for Glossy Tile) Recipe: 1/2 cup rubbing alcohol (70% isopropyl) per gallon of water. Particularly useful as a final rinse step on glossy glazed tile where streaking is a concern, alcohol evaporates quickly and cleanly without leaving the residue that can dull a high-shine finish over time. Commercial Cleaning Products for Ceramic Tile For more cleaning power than DIY recipes provide, or for convenience, these commercial options consistently perform well on ceramic specifically. Black Diamond Stoneworks Ceramic and Porcelain Tile Floor Cleaner: a pH-neutral, no-rinse formula designed specifically for ceramic and porcelain, a good choice for glazed finishes since it’s formulated not to leave residue or require a follow-up rinse pass, which saves a step on routine cleaning. Zep Hardwood and Laminate Floor Cleaner (tile-compatible formula): Zep’s tile-specific line is widely available, pH-balanced, and effective on glazed ceramic for routine and moderately soiled cleaning. Good general-purpose option for most DFW households. Bona Stone, Tile and Laminate Floor Cleaner: a spray-and-mop formula that’s gentle, pH-neutral, and works well for matte finishes where you want effective cleaning without aggressive chemistry. A reliable, widely available choice. Method Squirt + Mop Hard Floor Cleaner: a milder, more “everyday use” option, pH-neutral and suitable for frequent light cleaning on glazed ceramic, though it has less cleaning power for heavier soiling than the products above. At a Glance: Solution by Ceramic Type and Finish Ceramic Type/Finish Best DIY Option Best Commercial Option Glazed, glossy Dish soap solution and alcohol rinse for streak-free finish Black Diamond Ceramic and Porcelain Cleaner Glazed, matte Vinegar solution for cutting grime Bona Stone, Tile and Laminate Cleaner Glazed, light daily use Dish soap solution Method Squirt + Mop Unglazed ceramic Dish soap solution only, avoid vinegar A cleaner explicitly labeled safe for unglazed and unsealed tile What to Avoid Regardless of Finish A few products show up repeatedly in DIY advice and cause problems on ceramic specifically: When Mopping Isn’t Enough DIY solutions and commercial
Read more
carpet clean work.png 2

How Does Carpet Cleaning Work

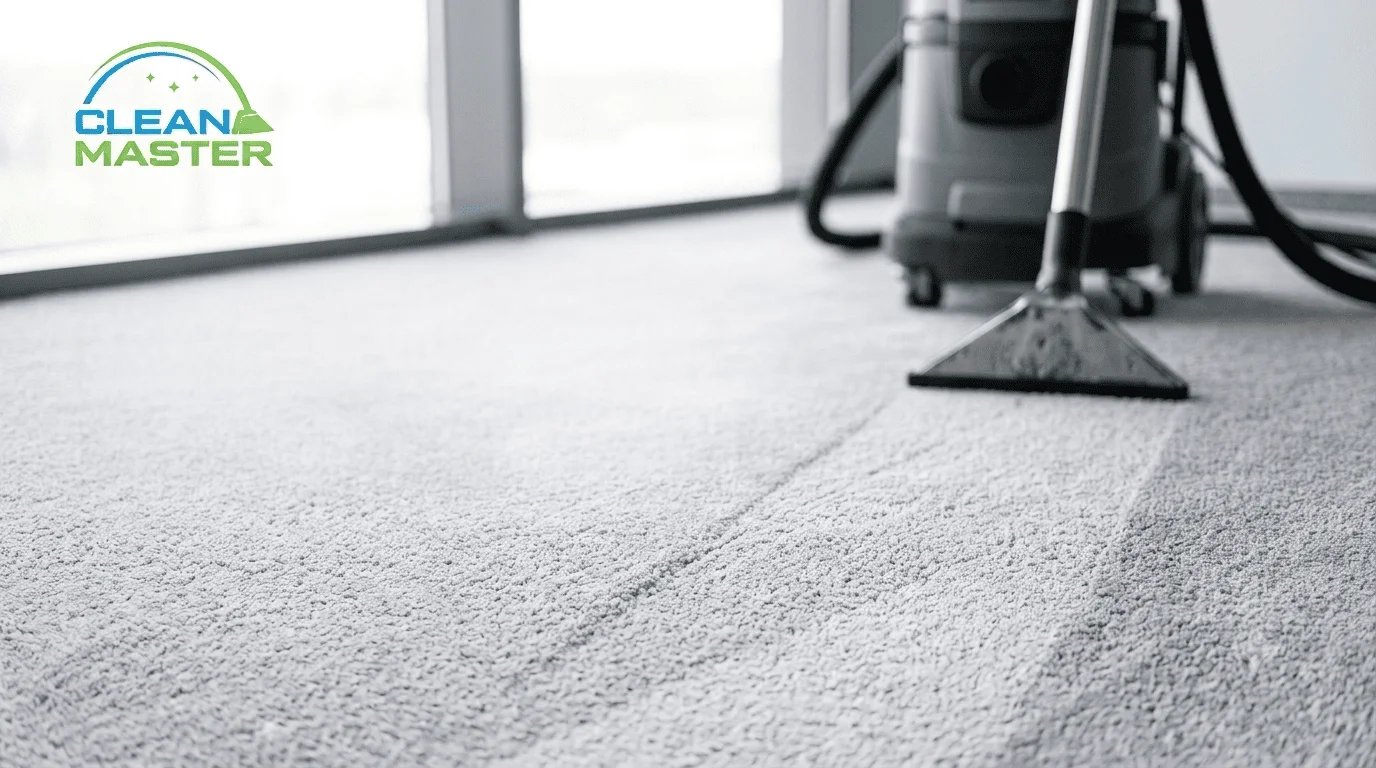
Professional carpet cleaning looks simple from the outside, a machine moves across the carpet, and the carpet comes out cleaner. What’s actually happening underneath that simplicity is a specific chemical and mechanical process, and understanding it explains why professional results differ so much from a quick vacuum or a spot-cleaning spray. At Clean Master Carpet Cleaning, hot water extraction is the method we use across the entire DFW area. Here’s exactly how it works, step by step. The Core Process: Inject, Agitate, Extract Hot water extraction, sometimes called “steam cleaning” in everyday language, though it’s actually hot liquid water rather than vapor, follows three core steps that happen in rapid sequence as the cleaning head moves across the carpet. Step 1: Injection Hot water mixed with cleaning solution is forced into the carpet fiber under pressure through small jets in the cleaning head. This isn’t water poured or sprayed lightly onto the surface, it’s injected with enough pressure to penetrate down through the pile to where embedded soil actually lives, not just at the visible top layer of fiber. Step 2: Agitation As the water and solution enter the fiber, the mechanical action of the cleaning head, combined in some systems with a rotating brush, works the solution into the carpet, breaking the physical and chemical bond between soil particles and the fiber itself. This is the step that does the actual “cleaning” work: soil that’s been sitting in carpet fiber for weeks or months has bonded to it in ways that water alone, without mechanical agitation, doesn’t fully release. Step 3: Extraction Immediately following injection and agitation, powerful suction pulls the water back out of the carpet, along with the now-loosened soil it’s carrying. This happens within the same pass, which is what separates true extraction cleaning from methods that apply solution without a comparable removal mechanism. What goes in comes back out, taking the dirt with it. Why Hot Water Specifically, Not Just Water This is the part of the process most people don’t think about, and it’s a genuinely important variable. The “hot” in hot water extraction isn’t incidental, it changes what the process is capable of removing. Heat breaks down soil bonds more effectively than cold water. Many of the substances that make carpet dirty, body oils, food residue, certain adhesives in tracked-in grime, are held to carpet fiber by bonds that weaken significantly as temperature rises. Cold water struggles to release this material; hot water (typically heated to 150°F to 210°F in professional equipment) breaks those bonds far more readily, which is why the same cleaning solution performs noticeably better at higher temperature. Heat improves how cleaning solution functions. The surfactants in carpet cleaning solution, the compounds that surround soil particles and lift them away from fiber, work more efficiently at elevated temperature. The chemistry is more active, which means less solution is needed to achieve the same cleaning result, and that solution is more fully extracted afterward. Heat helps kill bacteria and dust mites on contact. Temperatures in the range professional equipment reaches are high enough to have a meaningful sanitizing effect on the carpet, in addition to the cleaning action itself, a benefit that a purely mechanical or cold-water process doesn’t provide. Heat speeds up the loosening of deeply embedded soil. Soil that’s compacted into the base of the carpet pile after months of foot traffic responds to heat by becoming more mobile, softer, easier for the agitation and extraction steps to actually remove rather than just disturb. This is also why DIY cold-water cleaning attempts, a garden hose, cold tap water through a rental machine, consistently underperform compared to professional equipment that maintains water temperature throughout the job. The temperature isn’t a luxury feature; it’s doing real chemical and physical work. What Happens to the Water and Soil After Extraction The water pulled out during extraction, now carrying dissolved cleaning solution and loosened soil, goes into a separate recovery tank on the machine, kept entirely apart from the clean water and solution tank. This is why the recovery tank water often looks visibly dirty during a clean: it’s a direct, visible record of what’s being removed from the carpet that wasn’t there a moment before. Why Drying Time Follows the Process Because water is injected into the carpet under pressure during step one, some moisture remains in the fiber even after a thorough extraction pass, extraction removes the large majority of what was introduced, but not literally all of it. This residual moisture is what needs to evaporate during the drying period after cleaning, typically 6 to 12 hours for professional extraction with proper airflow. Read our guide on how to dry carpet after cleaning for ways to speed this up. It’s a direct consequence of how the process works, not a sign that something went wrong. Frequently Asked Questions Does the water temperature stay consistent throughout the whole cleaning job? Professional truck-mounted systems, like the equipment Clean Master uses, maintain consistent heated water temperature throughout the appointment by continuously heating water as it’s used, rather than relying on a single tank that cools down over time, which is one of the meaningful differences between professional equipment and smaller rental or consumer machines. Is hot water extraction the same as steam cleaning? Not technically, though the terms get used interchangeably. True steam cleaning uses water vapor (steam) rather than pressurized hot liquid water, and has no built-in extraction mechanism. Hot water extraction uses heated liquid water injected and then extracted in the same pass, a different process that’s generally more effective for deep carpet cleaning. Read our guide on how a steam cleaner actually works for the full comparison. Why does carpet sometimes look slightly different in color right after cleaning? Wet carpet fiber reflects light differently than dry fiber, which is why color often looks slightly different, sometimes more vivid, sometimes duller, immediately after cleaning. The true result is best judged once the carpet has fully dried. The Bottom Line:
Read more
Cleaner For Tile Floors 2

What Is The Best Cleaner For Tile Floors? 

There’s no single “best” tile cleaner, the right answer depends entirely on what your floor is actually made of. A cleaner that works beautifully on ceramic can permanently etch marble. A product safe for porcelain might be too harsh for sealed grout. Matching the cleaner to the material is the difference between a floor that stays looking good for years and one that develops dullness, discoloration, or damage that no amount of cleaning fixes afterward. At Clean Master Carpet Cleaning, tile and grout cleaning is one of our core DFW services. Here’s the tile-by-tile breakdown of what actually works best, and the products that consistently cause problems regardless of how clean they seem to leave the surface. Ceramic Tile: The Most Forgiving Surface Ceramic is the most common residential tile material and also the most tolerant of a range of cleaning products, but “tolerant” doesn’t mean “anything goes.” Best cleaner: a pH-neutral to mildly alkaline tile cleaner (pH 7 to 10) is the right baseline. Commercial tile and grout cleaners labeled for ceramic, like Black Diamond Stoneworks Ceramic and Porcelain Tile Floor Cleaner or similar purpose-made products, clean effectively without degrading the glaze over repeated use. For routine maintenance, a mild dish soap diluted in warm water (a few drops per bucket) works reasonably well between deeper cleans, applied with a microfiber mop and not oversaturated. Why mild alkaline works here: ceramic’s glazed surface is non-porous and chemically resistant to mild alkaline chemistry, which is also what breaks down everyday soils, food residue, body oils, general traffic grime, effectively. Porcelain Tile: Similar to Ceramic, With One Texture Caveat Porcelain is denser and less porous than ceramic, which makes it generally just as tolerant of standard tile cleaners, with one distinction worth knowing. Best cleaner: the same pH-neutral to mildly alkaline tile cleaners appropriate for ceramic work well on polished porcelain. For textured or matte-finish porcelain, increasingly common in wood-look and stone-look porcelain planks, the same chemistry applies, but technique matters more: textured surfaces trap soil in the surface variation, so a cleaner paired with light agitation (mop with a scrubbing pad, or a soft-bristle brush on heavily soiled sections) gets better results than the cleaner alone. What to watch for: highly polished porcelain can show streaking more readily than matte finishes if the cleaner isn’t fully rinsed or the mop isn’t wrung properly. A clean water rinse pass after the main clean reduces this. Natural Stone (Marble, Travertine, Limestone, Slate): The Strictest Requirements This is where cleaner selection matters most, because the wrong product doesn’t just leave residue, it causes permanent, unfixable surface damage. Best cleaner: only a pH-neutral cleaner specifically labeled safe for natural stone (pH 6.5 to 8). Products like StoneTech Revitalizer, Black Diamond Natural Stone Floor Cleaner, or any cleaner explicitly marketed for marble, travertine, or limestone are the appropriate choice. These are formulated to clean without disturbing the stone’s surface chemistry. Why the pH range is non-negotiable: marble, travertine, and limestone are calcium carbonate-based. Anything acidic, even mild household acids, reacts with calcium carbonate and etches the surface, creating dull, rough patches that can’t be buffed or polished away without professional stone restoration. Anything too alkaline can also degrade certain stone sealants and finishes over repeated exposure. The single most important rule for natural stone: if a cleaning product isn’t explicitly labeled as stone-safe, don’t use it, “tile cleaner” alone, without a specific stone-safe label, isn’t a reliable enough indicator. Vinyl and Luxury Vinyl Tile (LVP): A Different Material Entirely Vinyl and LVP look like tile but are a different material category, which changes what’s appropriate. Best cleaner: a pH-neutral cleaner formulated for vinyl or resilient flooring, products like Bona Stone, Tile and Laminate Floor Cleaner or manufacturer-specific cleaners recommended by the vinyl brand. Vinyl’s wear layer is more sensitive to harsh alkaline or solvent-based cleaners than ceramic or porcelain, and the wrong product can dull the finish or leave a residue that attracts dirt faster. Application note: vinyl tolerates less standing water than ceramic or porcelain, use a well-wrung microfiber mop rather than a heavily wet one, particularly at seams between planks where moisture can work its way underneath over time. What to Avoid Across All Tile Types These products show up repeatedly in DIY tile cleaning advice and cause real, recurring problems, worth flagging regardless of which tile type you have. Vinegar on natural stone, never. This is the single most common and most damaging mistake. Vinegar’s acidity etches marble, travertine, and limestone on contact, and the damage is immediate even from a single application. Vinegar is sometimes acceptable in heavily diluted form on ceramic or porcelain, but it has no place anywhere near natural stone. Bleach can discolor grout unevenly, degrade grout sealant over repeated use, and on some tile finishes causes dulling or color change. It’s also unnecessary for routine cleaning, purpose-made tile cleaners and, where needed, oxygen bleach handle mold and staining without the downsides of chlorine bleach. Ammonia-based cleaners can dull tile glazes over time and are particularly inappropriate on natural stone, where ammonia can interact poorly with the stone’s sealant. It’s also a poor combination with bleach if both happen to be used in the same area, that combination produces dangerous fumes. Oil-based or wax-based “cleaners” on any glazed or sealed tile leave a film that builds up over repeated use, creating a hazy, dulled appearance that requires stripping to correct, counterproductive to the goal of a clean-looking floor. At a Glance: Best Cleaner by Tile Type Tile Type Best Cleaner What to Avoid Ceramic pH-neutral to mildly alkaline tile cleaner Vinegar in high concentration, bleach, ammonia Porcelain Same as ceramic; pair with light agitation on textured finishes Same as ceramic Natural stone (marble, travertine, limestone) pH-neutral, stone-specific cleaner only Vinegar, any acidic cleaner, ammonia, generic “tile cleaner” without stone-safe labeling Vinyl and LVP pH-neutral cleaner for resilient flooring Harsh alkaline cleaners, excess water, wax-based products How to Apply Any Tile Cleaner for the Best Result Regardless of
Read more
air duct near me

How Much Is Air Duct Cleaning Near Me

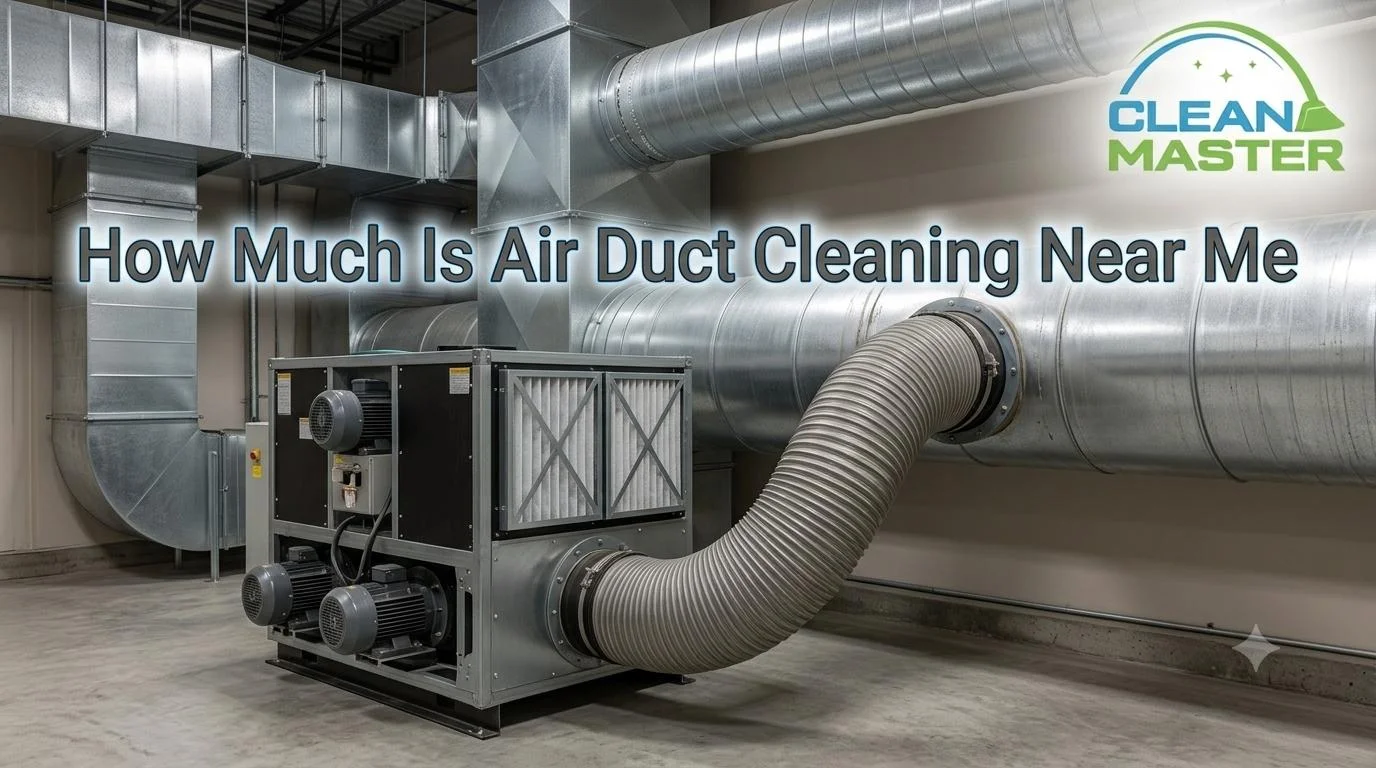
If you’ve searched “air duct cleaning near me” and felt like the results don’t quite add up, a $49 whole-home special next to a quote for $400, you’re not imagining it. This is one of the search categories most heavily targeted by low-quality and bait-and-switch operators, precisely because “near me” searches tend to be made by people ready to book quickly, without much time to research the company behind the ad. At Clean Master Carpet Cleaning, we serve the entire DFW area, and we know exactly what a local search for this service tends to surface. Here’s how to actually evaluate what comes up, rather than just clicking the first or cheapest result. Why “Near Me” Searches Surface Bait-and-Switch Ads First This isn’t an accident of search algorithms, it’s a deliberate pattern in how low-quality duct cleaning operators structure their marketing, and understanding it changes how you should read your search results. Aggressively low advertised prices are a lead-generation tactic, not a real offer. A $49 or $79 “whole home duct cleaning” ad is designed to win the click and the booking, not to describe the actual service that will be performed. These ads frequently outrank legitimate, fairly priced companies in local search and paid ad placements specifically because the low number drives more clicks, search platforms reward ads that get clicked, regardless of whether the underlying service matches the price. The business model depends on volume and upselling, not the quoted price. A company can’t profitably send a technician, drive a truck, and run commercial equipment for an entire afternoon for $49. The ones that advertise this way are either planning to perform a minimal, surface-level service for that price, or planning to upsell significantly once the technician is in your home, sometimes using exaggerated or fabricated findings to justify the additional charge. “Near me” intent specifically gets targeted because it signals urgency. Someone searching “near me” is typically ready to book today, which means less time spent researching the company, reading reviews carefully, or comparing multiple quotes, exactly the conditions that make a bait-and-switch pitch most likely to succeed. None of this means every cheap-looking result is fraudulent, and it doesn’t mean every legitimate company is expensive. It means the price displayed in a “near me” search result tells you almost nothing on its own, you have to look past it. What to Actually Compare When Evaluating Local Providers Rather than sorting by lowest price, here’s what separates a legitimate local provider from one that isn’t. Reviews: But Read Them Properly Star rating alone isn’t enough. A company can have a high average rating built on a small number of reviews, or reviews that were incentivized rather than organic. Look specifically for: Licensing and Insurance A legitimate HVAC-adjacent service should be able to confirm they’re insured, and ideally can point to any relevant state or local licensing. This protects you if something goes wrong during the service, equipment damage, an injury on your property, and its absence is a real red flag. How They Quote the Job This is one of the clearest signals. A legitimate company asks about your home size, approximate vent count, and any specific concerns (pets, recent renovation, known issues) before giving a price, even if it’s a preliminary estimate over the phone. A company that gives a flat “whole home” price with zero questions about your specific home is using a pricing structure designed to bring you in the door, not to describe an actual service scope. Whether They Describe Their Process Clearly Ask directly: what does your cleaning process involve? A legitimate technician or office staff member can describe negative pressure extraction, rotating brush agitation, and whether air handler/coil cleaning is included, without hesitation. Vague answers, or answers that focus entirely on price rather than process, are worth treating with caution. How Proximity Actually Affects Pricing This is worth understanding because “near me” implies that location should matter to the price, and it does, just not dramatically for most DFW homeowners. Travel and scheduling efficiency: companies serving a tight geographic area can schedule appointments more efficiently, which sometimes translates into slightly better pricing or availability than a company driving long distances between jobs. This is a minor factor for most of the DFW metro, where service areas overlap heavily. Minimum job fees apply somewhat regardless of distance. Most professional duct cleaning companies have a baseline minimum that covers the fixed costs of sending a technician and truck-mounted equipment to any job, this exists whether you’re five minutes or forty-five minutes from their base. Genuinely remote locations may see a trip fee. If you’re well outside a company’s typical service radius, some companies add a modest travel charge. This is reasonable and should be disclosed upfront, not added as a surprise. For most homeowners within the core DFW metro, Dallas, Fort Worth, Plano, Arlington, Frisco, McKinney, and surrounding areas, proximity differences between legitimate local providers shouldn’t swing pricing dramatically. If a “near me” result is dramatically cheaper than everything else in your search, distance is rarely the explanation. A Practical Checklist Before You Book Check Why It Matters Did they ask about your home size and vent count before quoting? Indicates real scope-based pricing, not a teaser rate Can they describe their cleaning process (negative pressure, brush agitation)? Confirms they use legitimate equipment, not just a shop vac Is air handler and coil cleaning included or available? A major component often excluded from low-price quotes Are they insured? Protects you if something goes wrong Do recent reviews mention specific, credible details? Signals real customer experiences, not inflated ratings Is the price they quote close to the DFW market range ($300 to $600 for a standard home)? Anything far below this range warrants extra scrutiny Clean Master’s DFW Service Area Clean Master Carpet Cleaning serves the entire DFW metro area, including Dallas, Fort Worth, Plano, Irving, Arlington, Frisco, McKinney, Garland, and the surrounding communities, with the same transparent pricing structure and process regardless
Read more
ac and heat duct 2

Clear AC & Heating Ducts Fast

When you’re searching for a fast way to clean your AC and heating ducts, you’re probably dealing with something specific, a musty smell, allergy symptoms flaring up, or just a sense that the system hasn’t been touched in years and you want results without it becoming a weekend project. The honest answer is that there are genuinely fast DIY wins worth doing right now, and there’s a separate, faster path to an actually clean system that most people overlook because it doesn’t feel like the “DIY fast fix” they were searching for. At Clean Master Carpet Cleaning, we clean air ducts across the entire DFW area every week, and we can tell you plainly: the fastest way to a fully clean duct system isn’t a DIY trick, it’s booking a professional. Here’s both sides of that, laid out honestly. The Fastest DIY Wins You Can Do Right Now These genuinely take minutes, not hours, and they address the most immediately impactful parts of the system. Replace the Filter: 2 Minutes, Highest Impact If you do nothing else on this list, do this. A clogged filter is restricting airflow and allowing more contamination into your duct system with every cycle the HVAC runs. Pull the old filter, check the size on the frame, and put in a fresh one. This is the single fastest action that improves both air quality and system performance immediately, the difference is often noticeable in airflow within the next heating or cooling cycle. Quick Register Vacuum and Wipe: 5 to 10 Minutes Per Room With your household vacuum’s brush attachment, run it across each supply and return register, then vacuum into the duct opening as far as the hose reaches. Wipe the grille with a damp cloth. For a typical home with 12 to 15 registers, this is realistically a 30 to 45 minute task, not instant, but fast relative to its impact, and it’s the highest-value DIY step beyond the filter. What This Combination Actually Achieves Together, a fresh filter and a register pass address the most visible and most immediately air-quality-relevant parts of the system in well under an hour. It’s a legitimate fast win, but it’s worth being clear-eyed about what it doesn’t touch: the branch ducts running through your walls and attic, the trunk lines, and the air handler interior, none of which are reachable in a quick DIY session. Why “Fast Fixes” Beyond This Don’t Actually Work A lot of advice circulating online suggests quicker ways to “clean” the deeper duct system, and most of it doesn’t hold up. Dryer sheets or air fresheners taped inside vents mask odor with fragrance; they don’t remove anything that’s actually in the ductwork. The smell returns as soon as the fragrance fades, because the source was never addressed. Running the fan on high with all vents open doesn’t dislodge or remove anything meaningfully, airflow at normal HVAC speeds isn’t strong enough to loosen debris that’s adhered to duct interior surfaces over months or years. Spraying cleaning solution into vent openings introduces moisture and chemical residue into a duct system with no way to extract it back out, at best it does nothing, at worst it adds a new problem (mold-friendly moisture, chemical residue distributed through the home) on top of whatever was already there. None of these are fast paths to clean ducts. They’re fast paths to feeling like you did something, which isn’t the same thing. The Genuinely Fast Path: Professional Cleaning This is the part of the answer that surprises people, because professional service doesn’t usually get filed under “fast.” But compare it honestly against the alternative, spending weeks trying to assemble the right tools, attempting partial DIY access to branch ducts (which carries real injury and damage risk), and still ending up with a system that’s only partially addressed. A single Clean Master appointment, typically 2 to 4 hours, fully cleans the entire system in one visit: There is no DIY path that gets you this result in 2 to 4 hours, or at all, realistically, given that the equipment required (negative pressure vacuum systems, flexible rotary brush cables long enough to traverse full duct runs) isn’t something most homeowners own or can rent. The honest comparison isn’t “DIY fast fix vs. slow professional service,” it’s “DIY partial fix that takes time and doesn’t fully solve the problem vs. one afternoon that actually solves it.” A Realistic Timeline Comparison Approach Time Investment What You Actually Get Filter and register vacuum 30 to 45 minutes Cleaner registers, fresh filter, improved airflow at the surface level Attempting deeper DIY access Hours to a full weekend, plus risk Partial, uneven results; injury and damage risk; often incomplete Professional duct cleaning 2 to 4 hours, one appointment Fully cleaned system: branches, trunk lines, air handler, coil, registers The middle option, the one that feels most like a “fast fix” attempt, is actually the slowest and least reliable path to a real result once you account for the time spent and the partial outcome. How to Make the Professional Appointment Itself as Fast as Possible If your goal is genuinely the fastest path to clean ducts, here’s how to streamline the professional visit: Frequently Asked Questions Is there any way to deep-clean ducts myself in under an hour? No, not safely or effectively. The equipment required to reach and extract debris from full duct runs isn’t something a quick DIY session can replicate, regardless of how much time you’re willing to spend. The fast wins available to you (filter, registers) genuinely take under an hour; anything beyond that requires either much more time and risk, or professional equipment. How quickly will I notice a difference after cleaning? For the DIY filter and register steps, often within the next HVAC cycle, airflow and immediate surface dust improve quickly. For a full professional cleaning, many homeowners notice a difference in airflow consistency and air quality within the first day, with the fuller benefit (reduced dust settling, less
Read more
clen air duct yourself

Can You Clean Air Ducts Yourself

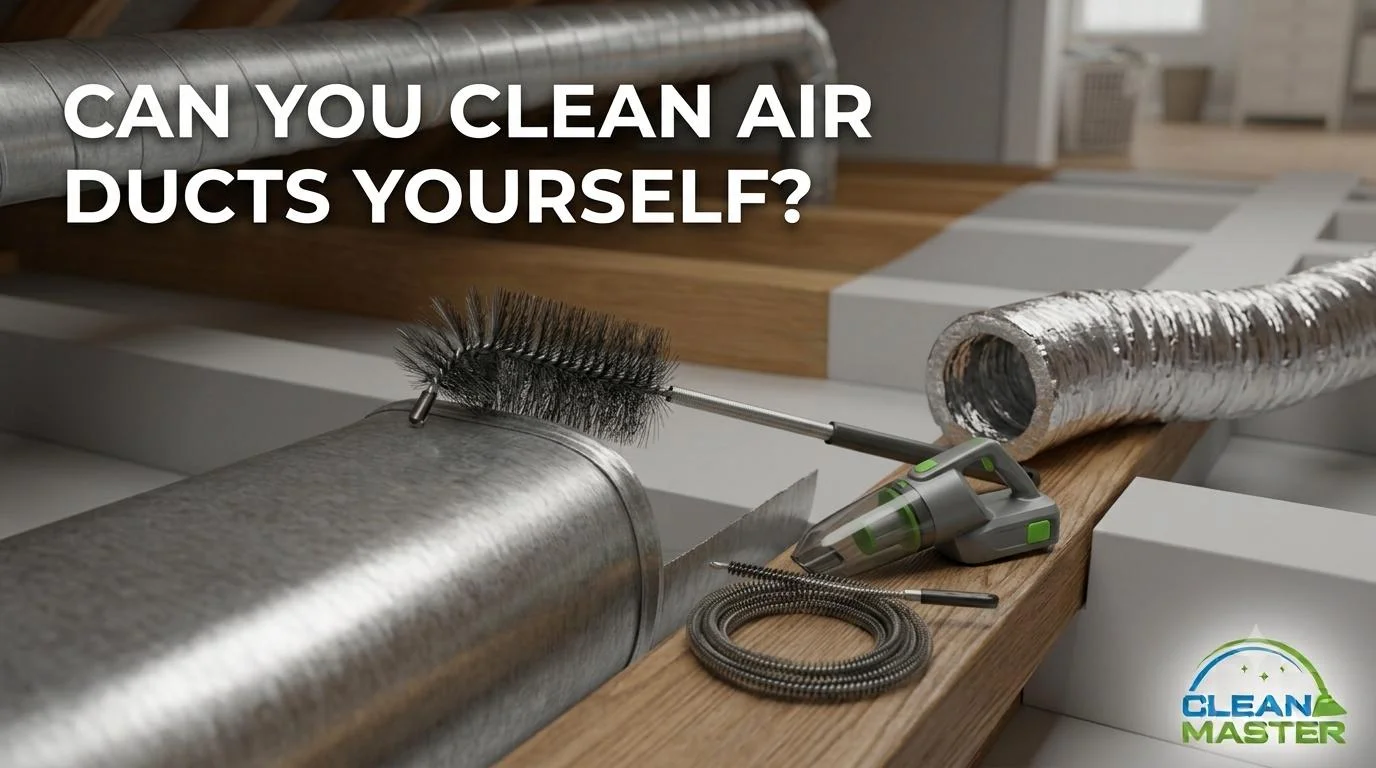
You look at the dust blowing from your vents and wonder if you really need to pay a professional. The question “can you clean air ducts yourself” crosses your mind as you reach for your vacuum cleaner. The honest answer is yes, partially. You can clean certain parts of your duct system without hiring anyone. But there are limits. Some parts of the job require professional equipment, and some situations demand expert handling. The good news is that regular maintenance you do yourself can keep your ducts in good shape between professional cleanings. You can remove vent covers, vacuum what you can reach, and wipe down accessible surfaces. This DIY approach works well for homes without major problems like mold, pests, or heavy contamination. However, a deep, whole-system cleaning that reaches every branch and main trunk line is usually best left to professionals with truck-mounted vacuums and rotating brushes. This guide helps you understand exactly what you can do yourself and where you should draw the line. The Tools You Need For DIY Duct Cleaning If you decide to answer “can you clean air ducts yourself” with a yes, you need the right tools. Do not expect to do the job with your household vacuum alone. A standard upright vacuum does not have a long enough hose or enough suction power to pull dust from deep inside ducts. You need a wet-dry shop vac with at least four horsepower and a long, flexible hose. The hose should be at least six feet long, but longer is better. You also need a crevice tool and a brush attachment. A soft-bristled brush on a long handle helps loosen stuck-on dust. You can buy a duct cleaning brush from a hardware store, or use a clean toilet brush or bottle brush attached to a dowel. Microfiber cloths are essential for wiping down surfaces after vacuuming. A flashlight or headlamp helps you see what you are doing. You also need a screwdriver to remove vent covers. For safety, wear an N95 mask, goggles, and gloves. Duct dust contains skin cells, pet dander, pollen, and sometimes mold spores. You do not want to breathe that. A Step By Step Guide To DIY Duct Cleaning So you have decided to try. Can you clean air ducts yourself effectively? Follow these steps for the best results. First, turn off your HVAC system completely at the thermostat and the circuit breaker. You do not want the fan blowing dust around while you work. Remove every vent cover in your home. Set them aside in a bucket of warm soapy water to soak while you clean. Cover the floor beneath each open vent with a drop cloth or old towel. Attach the longest hose to your shop vac. Insert the hose as far as it will go into each duct. Vacuum all surfaces you can reach the bottom, sides, and top. Use your long-handled brush to gently loosen stuck dust. Work from the deepest point back toward the opening. Vacuum again after brushing. For flexible ducts, be gentle. The inner liner tears easily. Wipe the accessible surfaces with a damp microfiber cloth. After you finish all ducts, scrub the vent covers with a brush, rinse them, and let them dry completely. Reinstall the covers, turn your system back on, and run the fan for thirty minutes. When You Must Call A Professional Instead For every situation where DIY works, there are five where the answer to “can you clean air ducts yourself” is a firm no. Call a professional if you see visible mold inside your ducts. Mold requires special handling, containment, and EPA-registered biocides. Disturbing mold with a shop vac can release millions of spores into your home. Call a professional if you have rodents or insects in your ducts. Droppings and nests are biohazards that require proper disposal and disinfection. Call a professional if your ducts are lined with fiberglass insulation. Scrubbing fiberglass releases fibers into the air that irritate lungs and skin. Call a professional if your home was built before 1980 and you have never had your ducts inspected. Older ducts may contain asbestos. Call a professional if you have heavy, matted dust that looks like felt or lint. This indicates years of accumulation that requires a truck-mounted vacuum to remove. Call a professional if anyone in your home has severe asthma, allergies, or a compromised immune system. The risk of stirring up contaminants is too high. The Hidden Risks Of Aggressive DIY Cleaning Even if you are handy and own a good shop vac, there are risks to cleaning your own ducts. The biggest risk is damaging your ductwork. Flexible ducts have a thin plastic or foil inner liner. Scrubbing too hard or pushing a vacuum hose aggressively can tear this liner. Once torn, the duct leaks cool air into your attic or crawlspace, wasting energy and reducing comfort. The tear also pulls unfiltered, dusty air into your system, making your indoor air quality worse than before you started. Another risk is damaging your HVAC equipment. If you insert a brush or vacuum hose too far into a supply duct, you might hit the air handler or the blower fan. These components have delicate parts. A damaged blower wheel costs several hundred dollars to replace. There is also a risk of stirring up contaminants without properly capturing them. If your shop vac does not have a HEPA filter, it will blow fine particles back into your home through the vacuum’s exhaust. You might end up with dirtier air after cleaning than before. Always use a HEPA filter in your shop vac, and consider wearing an N95 mask yourself. A Simple Maintenance Plan For Cleaner Ducts Whether you clean your ducts yourself or hire a professional, the most important factor in keeping them clean is regular maintenance. Change your HVAC air filter every one to three months. Use a filter with a MERV rating of at least eight. A clean filter stops dust before
Read more
Shop Vacuum As A Carpet Cleaner 2

Can You Use A Shop Vacuum As A Carpet Cleaner

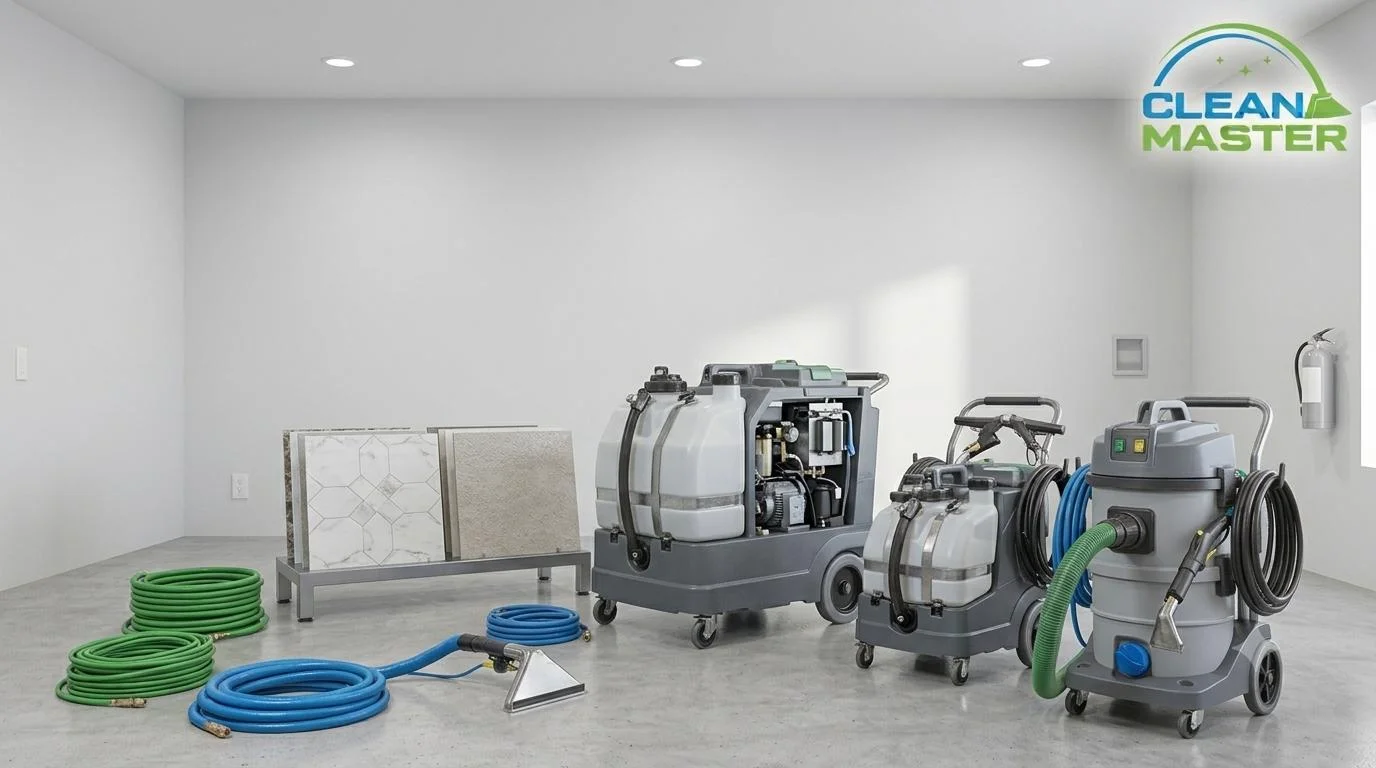
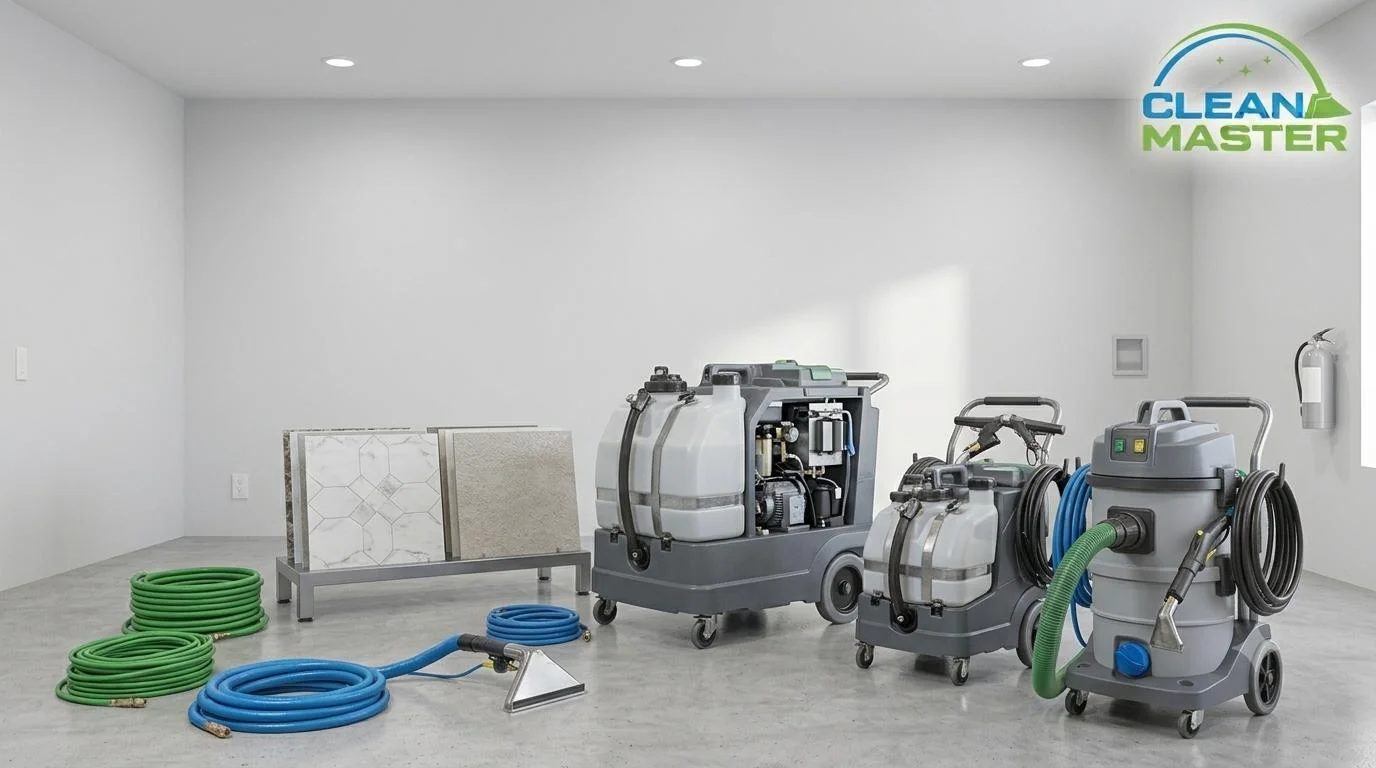
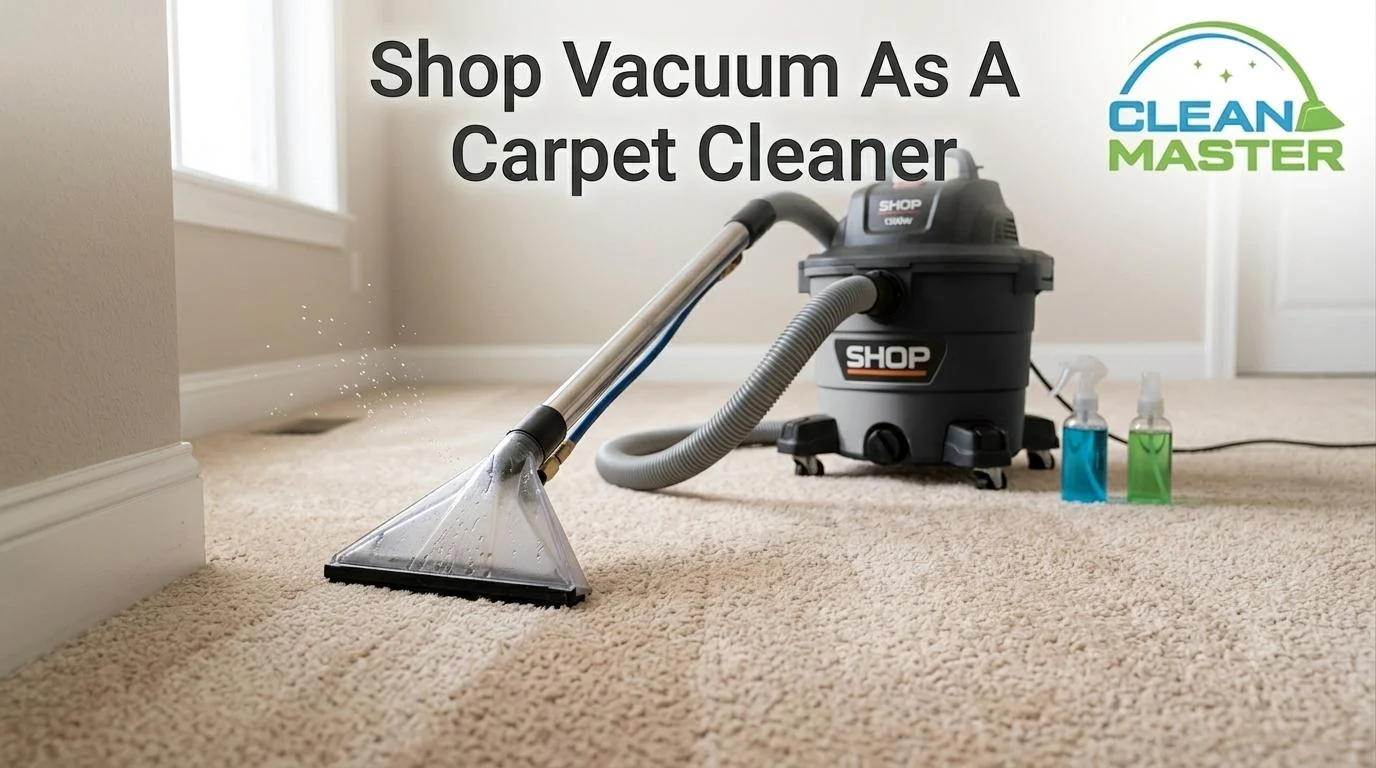
A shop vac is one of the most genuinely useful tools in a garage, powerful suction, durable, handles wet and dry debris, and a fraction of the cost of a dedicated carpet cleaning machine. So it’s a reasonable question: can it stand in for a carpet cleaner? The short answer is no, not because a shop vac isn’t powerful, but because it’s solving a different problem entirely. At Clean Master Carpet Cleaning, we work with the equipment that actually cleans carpet every day across the DFW area, and understanding the gap between extraction and cleaning explains exactly where a shop vac fits and where it doesn’t. What a Carpet Cleaner Actually Does That a Shop Vac Doesn’t The fundamental difference comes down to one missing capability: a shop vac has no way to apply cleaning solution and agitate it into the carpet fiber. It’s a suction tool, it pulls things out. A carpet cleaner is a complete system that puts cleaning chemistry in, mechanically works it into the fiber, and then extracts it back out along with the soil it loosened. No rotating brush agitation to loosen embedded soil is the specific gap that matters most. Carpet cleaning machines use a rotating brush or agitation head that physically works cleaning solution down into the base of the carpet pile, breaking the bond between soil particles and the fiber. This mechanical action is what actually lifts soil that’s worked its way deep into the carpet over weeks or months of foot traffic, the embedded grime that sits below the surface, not just collecting on top of it. A shop vac has no agitation mechanism at all. Run a shop vac hose over carpet and it removes loose surface debris, crumbs, dirt, hair, anything sitting on top of the fiber that isn’t bonded to it. It does nothing to the soil that’s actually embedded in the pile, because there’s no mechanism to loosen that soil in the first place. You can run a shop vac over dirty carpet a dozen times and the embedded grime will still be there, because suction alone was never going to remove it. This is the core reason a shop vac can’t replace a carpet cleaner: cleaning carpet requires loosening soil before you can extract it, and a shop vac only does the second half of that process. Where a Shop Vac Genuinely Helps With Carpet Care None of this means a shop vac is useless for carpet maintenance, it has a real, specific role that complements rather than replaces proper cleaning. Pre-vacuuming before a real carpet clean. A shop vac’s strong suction is excellent for removing loose surface debris before a carpet cleaning machine goes to work, arguably more thorough than a standard household vacuum for this purpose, particularly on heavier debris like pet hair or post-renovation dust. Clearing that surface material first means the carpet cleaner’s solution and agitation can focus entirely on embedded soil rather than wasting effort on material a vacuum could have handled. Read our guide on whether you should vacuum before carpet cleaning for more on this step. Extracting standing water from spills. A wet/dry shop vac is genuinely one of the best tools available for pulling up a fresh spill or minor flooding before it has a chance to soak deep into carpet fiber and padding. Run in extraction-only mode (no solution, just suction), a shop vac with strong suction can pull a meaningful volume of liquid out of carpet quickly, faster, in some cases, than a smaller-capacity carpet cleaner with a limited recovery tank. Post-construction or heavy debris cleanup. For drywall dust, wood shavings, or other coarse debris from renovation work, a shop vac’s power and large canister capacity make it a better first-pass tool than a household vacuum before any carpet cleaning is attempted. In each of these cases, the shop vac is doing what it’s actually designed to do, strong suction extraction of loose material or liquid, rather than being asked to clean the way a carpet cleaning machine does. At a Glance: Shop Vac vs. Carpet Cleaner Capability Shop Vac Carpet Cleaner Removes loose surface debris Yes Yes Extracts standing water and spills Yes Limited by tank size Applies cleaning solution No Yes Agitates fiber to loosen embedded soil No Yes Removes deep-set, bonded-in soil No Yes What to Use Instead If you don’t own a carpet cleaning machine, two paths get you a genuine clean: renting a purpose-built carpet cleaner (available at most hardware stores), or booking professional hot water extraction. Rental machines work the same basic way, solution, agitation, extraction, just at lower power than commercial equipment. For carpet that’s heavily soiled, hasn’t been cleaned in years, or has pet odor and staining, professional cleaning reaches further into the pile and extracts more completely than any consumer-grade machine, rented or owned. Frequently Asked Questions Can I put carpet cleaning solution in my shop vac and use it like a carpet cleaner? No, and this risks damaging the shop vac. Shop vacs aren’t designed to dispense or agitate cleaning solution into carpet; they’re built for suction only. Introducing solution without an application and agitation system just leaves wet, unworked product sitting on the carpet surface, which the shop vac then either sucks back up immediately (achieving nothing) or leaves behind as residue. Is a shop vac good enough for cleaning area rugs? For removing loose debris and light surface dust, yes. For an actual clean, lifting embedded soil, a shop vac falls short the same way it does on wall-to-wall carpet, for the same reason: no agitation. The Bottom Line: Great Suction, Wrong Tool for the Job A shop vac is a powerful, genuinely useful tool, just not for cleaning carpet. It excels at extracting loose debris and liquid, which makes it a great pre-cleaning and spill-response tool. What it can’t do is loosen and remove the soil that’s actually embedded in carpet fiber, because that requires solution and agitation a shop vac simply
Read more
clean air duct worth it

Is Air Duct Cleaning Worth It

This is one of the more genuinely debated home services, and for good reason. Air duct cleaning costs real money, the benefits aren’t always immediately visible the way a clean carpet or a sparkling tile floor is, and the EPA itself has historically taken a cautious stance on whether it’s necessary for every home. The honest answer is that it depends on your specific situation, and the best way to decide is to weigh the actual cost against the actual benefits rather than relying on a blanket yes or no. At Clean Master Carpet Cleaning, air duct cleaning is one of our core DFW services. Here’s the cost-benefit framework we’d want a homeowner to use before deciding, with the numbers and the genuine upside laid out clearly. The Cost Side of the Equation Before weighing benefits, you need an accurate cost figure to compare against. Legitimate professional air duct cleaning in the DFW market runs: Home Size Typical Cost Range Small home (under 1,500 sq ft) $300 to $450 Standard home (1,500 to 2,500 sq ft) $350 to $550 Large home (2,500 to 4,000 sq ft) $500 to $750 This is a periodic expense, typically every 3 to 5 years for a well-maintained home, not an annual cost. Spread across that interval, a $450 cleaning works out to roughly $90 to $150 per year. That annualized figure is the number worth comparing against the benefits below, because it’s the realistic ongoing cost of the maintenance practice rather than a one-time expense in isolation. The Benefit Side: Energy Efficiency This is the most measurable, dollar-comparable benefit of air duct cleaning, and the one that makes the cost-benefit calculation genuinely favorable for many DFW homes. How Duct Contamination Affects Energy Use A duct system accumulates dust, debris, and in some cases mold or pest contamination on the interior surfaces over years of use. This accumulation has two specific effects on HVAC efficiency. Restricted airflow: as debris builds up on duct interior walls, the effective cross-section of the duct narrows slightly, similar to how a partially clogged pipe restricts water flow. This increases static pressure in the system, forcing the HVAC blower to work harder to push the same volume of air through the home. A harder-working blower consumes more electricity for the same heating or cooling output. Coil efficiency loss: this is the more significant factor. The evaporator coil, where refrigerant absorbs heat from return air, is highly sensitive to surface contamination. Even a thin layer of dust on the coil fins meaningfully reduces heat transfer efficiency, because the dust acts as an insulating layer between the air and the refrigerant. A dirty coil can reduce overall system efficiency by a measurable percentage, and professional duct cleaning that includes coil cleaning (as Clean Master’s service does) directly addresses this. What the Energy Savings Actually Look Like The Department of Energy and multiple HVAC efficiency studies indicate that a poorly maintained duct system, including a contaminated coil and restricted airflow, can account for a meaningful percentage of unnecessary cooling and heating energy consumption, with figures commonly cited in the range of 10 to 30% depending on the severity of the contamination. For a DFW home running central air conditioning for 7 to 8 months of the year, even a conservative efficiency improvement translates to real dollar savings. Here’s a simplified way to think about the math: if your average monthly cooling-season electric bill is $250 and duct/coil contamination is causing even a 10% efficiency loss, that’s roughly $25 per month in avoidable cost during the 7-8 month cooling season, $175 to $200 annually. At 20% efficiency loss (more likely for a system with a genuinely dirty coil that hasn’t been addressed in years), that figure roughly doubles. Compare that to the annualized cost of duct cleaning, $90 to $150 per year when spread across a 3 to 5 year interval, and the energy savings alone can offset or exceed the cost of the service, particularly for homes where the duct system has accumulated significant contamination. Where This Math Is Most Favorable The energy efficiency case for duct cleaning is strongest when the system has never been professionally cleaned, or it’s been 5+ years since the last cleaning, filter maintenance has been inconsistent leaving gaps that allow more contamination to reach the coil and duct interior, the home runs AC heavily given DFW’s long, hot cooling season means more hours of operation where efficiency losses compound, and there’s been recent renovation since construction dust accelerates coil and duct contamination beyond normal accumulation rates. The math is less compelling for a newer system with consistent filter maintenance and a recent cleaning, there’s simply less accumulated contamination to remove, so the efficiency gain from removing it is smaller. Building Your Own Cost-Benefit Calculation Here’s a practical framework to apply to your specific situation. Step 1: Establish your cost. Get a quote for your home size, typically $300 to $750 depending on size, per the table above. Divide by your expected interval between cleanings (3 to 5 years) to get an annualized cost. Step 2: Estimate your current efficiency loss. This is harder to know precisely without a professional inspection, but indicators that suggest meaningful loss include it being over 5 years since any duct cleaning (or never), cooling bills feeling high relative to your home’s size and thermostat settings, some rooms being noticeably harder to cool than others, and inconsistent filter replacement history. Step 3: Compare your annualized cooling costs against a reasonable efficiency improvement estimate. Even a modest 10% reduction in cooling costs, applied across a DFW summer, often meets or exceeds the annualized cost of cleaning. Step 4: Factor in the non-energy benefits as a bonus, not a requirement. Improved airflow consistency between rooms, a cleaner system going into cooling season, and the general value of fresh ductwork all add to the case without needing to be quantified precisely. A Practical Example Take a 2,200 sq ft DFW home that hasn’t had professional
Read more