What Is Tile and Grout Cleaning

If you mop your tile floors regularly and still notice the grout looking dingy, discolored, or darker than it used to be, you’re not doing anything wrong. You’re encountering the fundamental limitation of mopping as a cleaning method, and understanding why leads directly to understanding what professional tile and grout cleaning actually is and what it does differently. At Clean Master Carpet Cleaning, tile and grout cleaning is one of our core services across the entire DFW area. Here’s the complete explanation for first-time homeowners who want to understand what the service involves, why regular mopping isn’t sufficient for grout, and what professional cleaning actually achieves. Why Mopping Doesn’t Clean Grout: The Porosity Problem Before explaining what professional tile cleaning is, it helps to understand why the most common tile cleaning method, mopping, has a fundamental limitation when it comes to grout. Tile and grout are two completely different materials with different surface properties. Tile, whether ceramic, porcelain, or stone, has a hard, relatively non-porous surface face. It resists absorption, which means spills and soil sit on the surface where mopping can contact and remove them. Mopping cleans the tile face reasonably well. Grout, the cement-based material filling the lines between tiles, is a different story entirely. Standard cement grout is highly porous, with a surface structure that absorbs moisture, oils, bacteria, soap residue, and soil particles into its depth rather than holding them at the surface. This porosity is what makes grout useful, it provides a flexible, water-resistant bond between tiles, but it’s also what makes grout progressively harder to clean as contamination embeds deeper over time. When a mop passes over a grouted floor, it contacts the tile surface and the very top of the grout line. The contamination embedded in the grout pore, below the surface layer the mop touches, stays exactly where it is. Worse, mopping with a soiled mop head redistributes dirty water into the grout pore, adding to the contamination layer rather than removing it. This is why grout that’s mopped regularly still darkens and discolors over months and years. It’s not that the mopping is ineffective, it’s that mopping is a surface-level cleaning method applied to a material where the contamination lives below the surface. What Professional Tile and Grout Cleaning Actually Is Professional tile and grout cleaning is a hot water extraction process specifically designed to address contamination at the depth of the grout pore rather than at the surface level. Here’s what distinguishes it from mopping and DIY scrubbing. High-Pressure Hot Water Injection Professional tile cleaning equipment, including the truck-mounted systems Clean Master uses across DFW, injects hot water and cleaning solution into the tile and grout surface under significant pressure. That pressure drives the cleaning chemistry into the grout pore rather than across the surface of it. The temperature of the water also matters. Professional systems heat water to temperatures significantly above what a mop bucket delivers, higher temperature enhances the cleaning chemistry’s effectiveness and helps break down oils, soap scum, and biological contamination that ambient-temperature water doesn’t address as effectively. Rotary Cleaning Action The cleaning head on professional tile equipment uses a rotary action, spinning cleaning jets that work the tile and grout surface from multiple angles simultaneously. This mechanical action combined with pressurized hot water agitates contamination loose from the grout pore in a way that a mop stroke or hand scrubbing can only approximate at the surface level. Simultaneous Extraction This is the element that makes professional cleaning categorically different from any surface-level method: the cleaning head extracts the loosened contamination and the water carrying it in the same pass that it cleans. The contamination driven loose by pressure and chemistry is immediately suctioned away rather than being redistributed across the floor in rinse water. The difference this makes is visible in the recovery tank after a professional tile clean, the water extracted from even well-mopped tile carries a significant load of contamination that never came out under mopping. That’s material that was sitting in the grout pore during every mop cycle, building progressively until professional extraction reached it. What Professional Tile and Grout Cleaning Addresses Embedded Soil and Oils The most common and most progressive contamination in household tile, foot traffic distributes oils from skin, tracked-in outdoor soil, cooking oils in kitchen areas, and general household debris into grout pores with every pass. Over months and years, this accumulated material compresses in the grout pore and darkens the grout progressively. Regular mopping removes surface deposits but doesn’t reach the embedded layer. Professional cleaning drives chemistry into the grout pore, loosens the embedded material, and extracts it, restoring the grout to a color and appearance that mopping alone can’t achieve on anything beyond recently installed tile. Soap Scum and Mineral Deposits In bathroom tile, soap scum, a combination of soap residue, body oils, and hard water minerals, builds up on both tile and grout surfaces over time. In DFW’s water supply, which tends toward moderate-to-high mineral content, calcium and magnesium deposits create the white, chalky buildup visible on shower tile and around bath fixtures. Professional tile cleaning with appropriate chemistry addresses both, the surfactant system breaks down soap scum while acid-appropriate chemistry (where the tile type allows) targets mineral deposits that standard cleaning doesn’t dissolve. Mold and Mildew in Bathroom Grout Bathroom tile and grout exist in consistently wet conditions, which creates the perfect environment for mold and mildew to establish in the grout pore. The black, pink, or orange staining visible in bathroom grout lines is biological growth, not just discoloration, that regular cleaning suppresses at the surface while the deeper-embedded growth continues. Professional cleaning with appropriate antimicrobial chemistry addresses biological contamination more comprehensively than surface scrubbing, reaching the depth of the grout pore where growth is established rather than treating only what’s visible at the surface. Professional Tile Cleaning vs. Regular Mopping vs. DIY Scrubbing Method Reaches Grout Pore? Removes Embedded Contamination? Addresses Mold? Result Regular mopping Surface only No No Maintains surface appearance
Read more
Tile and Grout Cleaning

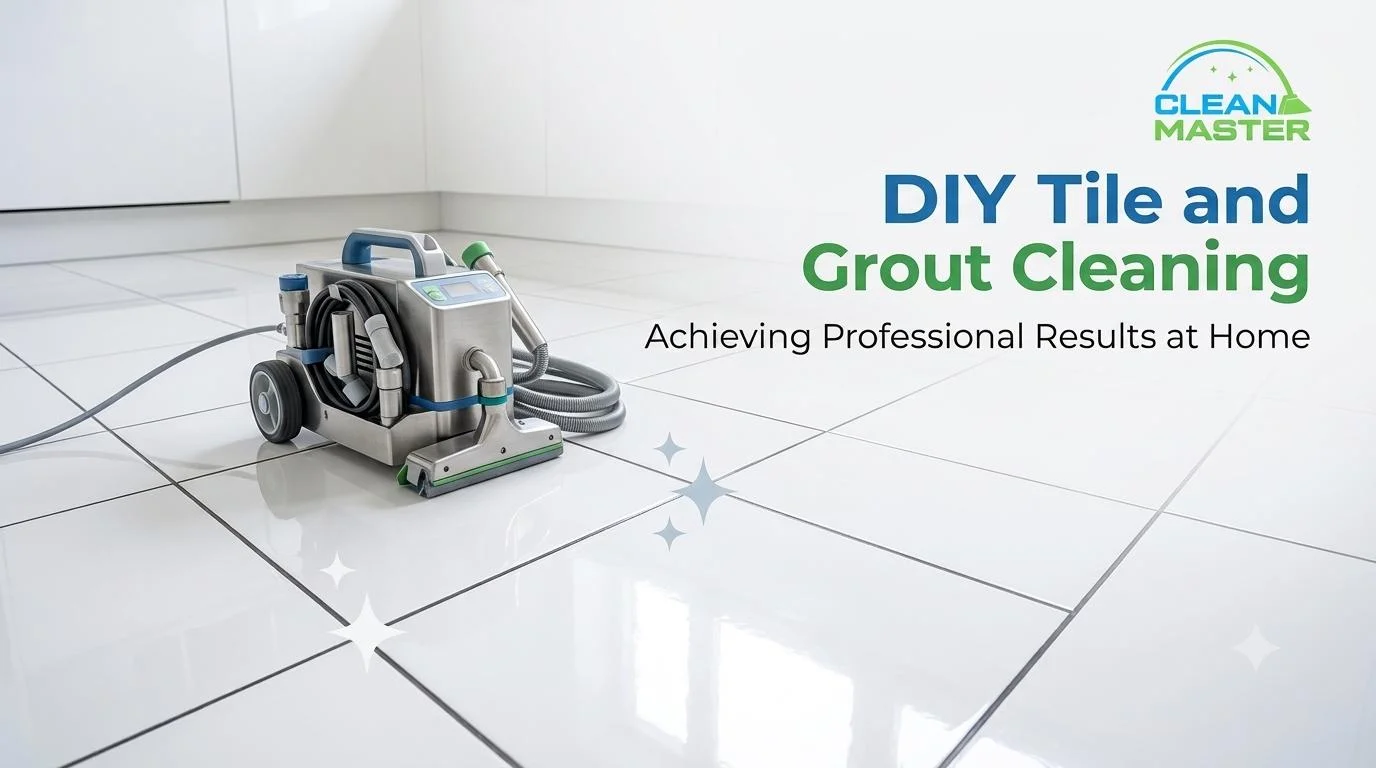
DIY Tile and Grout Cleaning

DIY tile and grout cleaning produces genuinely good results in the right situations, and falls short in others in ways that sometimes require professional correction to resolve. The difference between a satisfying outcome and a frustrating one almost always comes down to matching the method to the actual soil level and knowing where the ceiling of each approach is. At Clean Master Carpet Cleaning, tile and grout cleaning is one of our core DFW services. We’ve assessed tile that homeowners maintained beautifully through consistent DIY cleaning, and we’ve been called in after DIY attempts that didn’t go as planned, incorrect product on natural stone, grout damage from aggressive scrubbing, or simply a soil level that hand cleaning couldn’t reach. Here’s the complete guide organized by soil level so you start with the right method. Before Any Method: Know Your Tile Type This determines which products are safe to use and which can cause permanent damage. Tile Type Safe Chemistry Avoid Ceramic and porcelain Mildly alkaline to neutral cleaners Very high alkalinity (above pH 12) Natural stone (marble, travertine) pH-neutral stone cleaner only Any acid, vinegar, lemon, citrus cleaners Cement-based grout Mildly alkaline cleaner Acidic cleaners over time Epoxy grout Mild, neutral cleaner Strong alkaline or solvent products Natural stone is the tile type where DIY mistakes are most consequential, etching from acid contact is permanent and requires professional stone restoration to address. If you have marble, travertine, or limestone tile, skip the vinegar and baking soda methods entirely and use only pH-neutral stone cleaner. For Light Soil: Regular Maintenance Cleaning Light soil, the dust, surface grime, and mild discoloration that accumulates between deeper cleans, responds well to maintenance approaches that don’t require heavy chemistry or significant scrubbing time. Steam Cleaning for Light Maintenance Steam cleaning is the most efficient regular maintenance method for ceramic and porcelain tile. The heat sanitizes, loosens surface grime from the tile face and grout, and leaves no chemical residue. Read our guide on whether steam cleaning is safe for tile and grout for a full breakdown by tile type before you start. Effective steam technique for tile: For regular maintenance every 2 to 4 weeks, this approach keeps tile looking clean without chemical buildup and is safe for sealed grout. On natural stone tile, check the manufacturer’s guidance before steam cleaning, some stone types are sensitive to the heat and moisture combination. Commercial Tile Cleaner for Light to Moderate Soil A purpose-made tile and grout cleaner in a spray bottle is the most accessible approach for a periodic deeper maintenance clean when steam isn’t sufficient. Application: For ceramic and porcelain in light to moderate condition, this produces a genuinely clean result with reasonable effort. The key steps most people abbreviate, adequate dwell time and thorough rinsing, are the ones that determine whether the result satisfies. The Baking Soda and Vinegar Method: What It Does and Doesn’t Do This is the most widely shared DIY tile cleaning advice online and the one most frequently applied in the wrong situation. Here’s the honest assessment. What it can do: baking soda’s mild abrasive quality helps loosen light surface soil from grout. Vinegar’s mild acidity can cut through soap scum on tile surface and assist with light mineral deposits. The combination produces a visible fizzing reaction that looks impressive. What it can’t do: The critical caveat: never use vinegar on natural stone tile, marble, travertine, or limestone. The acid etches the surface permanently. Never use it on cement-based grout regularly, repeated acid exposure degrades grout over time. If your tile is ceramic or porcelain with cement grout and the soiling is light, occasional use is low-risk. It’s not a substitute for appropriate commercial cleaner on anything more than light maintenance. If you use it: For Heavy Staining and Mold: The Limits of DIY This is where honest assessment of DIY tile cleaning capability matters most, because attempting methods that aren’t adequate for the soil level wastes time and can damage tile and grout in the process. What “Heavy Staining” Means in Practice Heavy staining is grout that has visibly and persistently darkened, not from recent soiling but from years of accumulated contamination embedded in the grout pore. The surface layer cleans with commercial cleaner and scrubbing; the discoloration deeper in the pore doesn’t. We’ve seen DFW homeowners spend hours scrubbing darkened kitchen grout with commercial cleaners, achieving visible improvement at the surface while the deep-pore discoloration remained. The commercial cleaner and brush combination reaches the top of the grout surface, it doesn’t drive chemistry deep enough into the pore to address embedded contamination. This is the fundamental limitation of hand cleaning: it’s a surface-level cleaning method on a porous material where the contamination is distributed throughout the depth of the pore. Mold and Mildew in Grout For bathroom tile with visible mold or mildew growth in grout lines, oxygen bleach is the most effective DIY approach, safer for surrounding surfaces than chlorine bleach and effective against the biological growth that commercial cleaners alone don’t fully address. Oxygen bleach application for mold: This addresses surface mold effectively. For mold that has established itself in the grout pore or behind the tile, visible as persistent discoloration that doesn’t respond to surface treatment, professional cleaning with appropriate chemistry and extraction is required. The risk of aggressive DIY on mold: scrubbing visible mold without adequate dwell time from an appropriate product distributes spores across the surrounding tile surface rather than killing them. Always apply the oxygen bleach solution and allow full dwell time before scrubbing begins. What DIY Cannot Replace on Heavily Soiled Tile Professional tile and grout cleaning uses high-pressure hot water extraction through rotary cleaning heads that drive cleaning chemistry into the grout pore under pressure, reaching contamination at depths hand scrubbing doesn’t access, extract that contamination simultaneously, removing it from the grout rather than loosening it into the rinse water where it can redeposit, and operate at water temperatures that enhance chemistry effectiveness beyond what ambient-temperature cleaning achieves. The
Read more
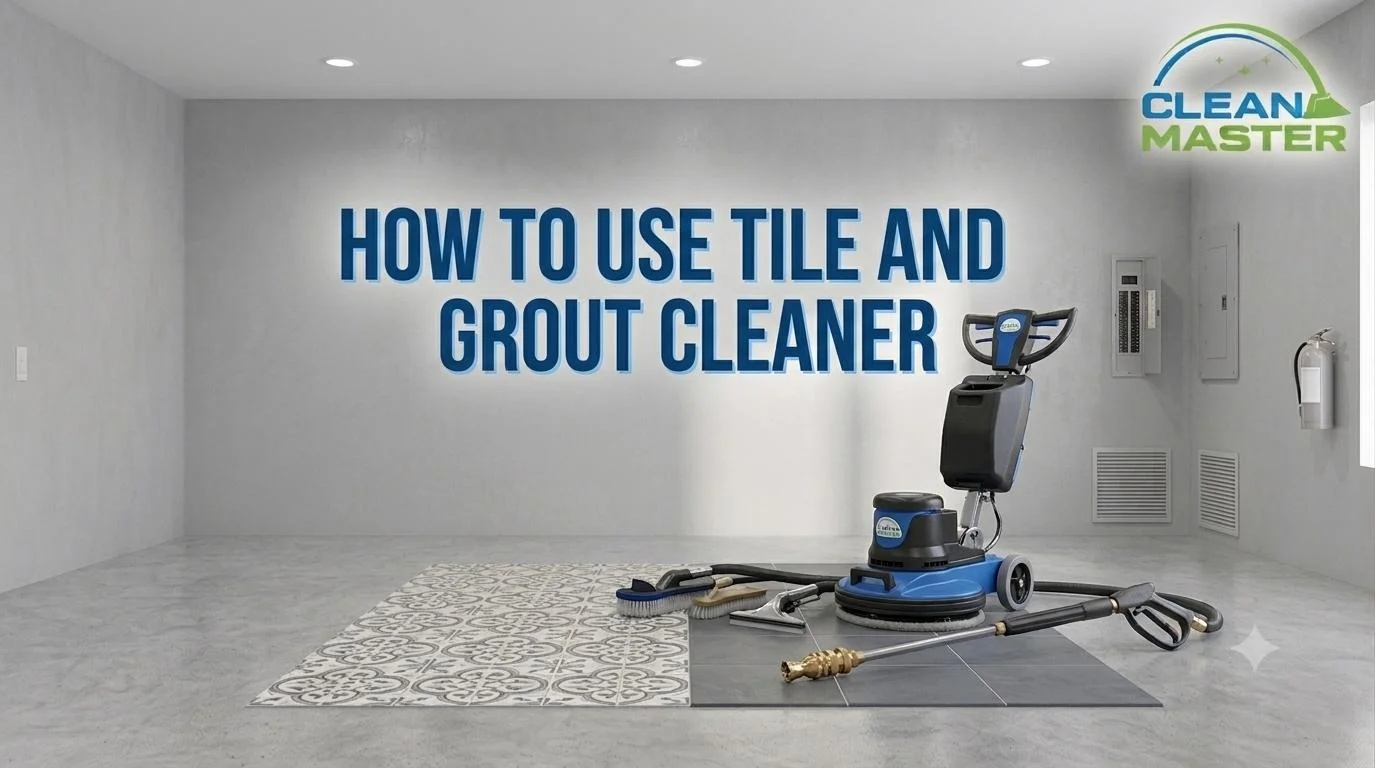
How to Use Tile and Grout Cleaner

How to Use Tile and Grout Cleaner: A Step-by-Step Deep Cleaning Guide

Tile and grout cleaning looks straightforward, spray product, scrub, rinse, but the details between those three steps determine whether you end up with genuinely clean grout or a frustrating result that took significant effort and came up short. At Clean Master Carpet Cleaning, tile and grout cleaning is one of our core DFW services. We see the full range of outcomes from DIY tile cleaning, homes where the right approach produced great results, and homes where a simple error in product choice or technique created a problem that required professional correction. Here’s the complete first-time guide that covers everything between the spray and the rinse. Step 1: Choose the Right Cleaner for Your Tile Type This is the decision that determines everything else, because the wrong cleaner can damage certain tile types permanently, and no amount of good technique compensates for chemistry that’s wrong for the surface. The pH rule for tile and grout cleaning: Tile Type Safe pH Range What to Avoid Ceramic (glazed) Mildly alkaline to neutral (7 to 10) Very high alkalinity above 12 Porcelain Mildly alkaline to neutral (7 to 10) Same as ceramic Natural stone (marble, travertine, limestone) Strictly neutral (6.5 to 8) Any acidic OR strongly alkaline product Grout (cement-based) Mildly alkaline (8 to 10) Acidic cleaners, damage grout over time Grout (epoxy) Neutral to mildly alkaline Strongly alkaline or solvent-based For ceramic and porcelain tile, which covers the majority of DFW homes, a purpose-made tile and grout cleaner with an alkaline pH is appropriate. Products like Zep Grout Cleaner, Black Diamond Marble and Tile Floor Cleaner, or store-brand tile cleaners in the pH 8 to 10 range all work well on standard ceramic and porcelain. For natural stone, marble, travertine, slate, or limestone, this is where most DIY tile cleaning mistakes happen. Acidic cleaners (anything containing vinegar, lemon, or listed as “acid-based”) etch the surface of calcium carbonate stone permanently, creating dull, rough patches that can’t be buffed out. Alkaline cleaners above pH 10 can strip the surface of some stone finishes. Use only pH-neutral stone cleaners labeled specifically safe for natural stone. When in doubt, call Clean Master rather than risk permanent surface damage. Check your grout type too. Standard cement-based grout (grey or white and slightly porous) is most common and compatible with standard tile cleaners. Epoxy grout (harder, more uniform, less porous) requires milder chemistry, check the label for epoxy grout compatibility before applying any strong tile cleaner. Step 2: Prepare the Surface Before Applying Product Applying cleaner to an unprepared surface wastes product and reduces results. Two minutes of prep produces a meaningfully better outcome. Pre-cleaning checklist: Step 3: Apply the Cleaner Correctly How the product is applied affects both its effectiveness and the effort required to achieve good results. Application technique: Dwell time is the step most people rush. Most tile and grout cleaners specify a dwell time of 5 to 15 minutes, this is the time the product needs to penetrate the grout pore and chemically loosen embedded contamination. Applying and scrubbing immediately uses the product as a mechanical scrubbing aid rather than a chemical cleaner, and produces significantly weaker results on anything beyond surface soil. Allow the full dwell time. Set a timer if needed. The product is working during this period without any effort from you, it’s the most efficient part of the process. Step 4: Scrub Grout Lines With the Right Tool and Technique This is where the physical work happens, and where technique determines whether the dwell time chemistry translates into clean grout. Choosing the right scrubbing tool: Scrubbing technique for grout lines: The mistake to avoid: scrubbing too aggressively, particularly on older or soft grout, can physically damage the grout surface, creating a rougher texture that traps soil more readily than before cleaning. Firm, consistent pressure is more effective than aggressive force and protects the grout integrity. For tile surface between grout lines, a standard floor scrub brush or mop with a scrubbing pad is appropriate, grout-line technique isn’t needed on the flat tile face. Step 5: Rinse Thoroughly, More Thoroughly Than Feels Necessary Rinsing is the step that most first-time tile cleaners underdo, and incomplete rinsing is the cause of the dull, slightly sticky tile surface that sometimes appears after cleaning. Tile and grout cleaner residue left on the tile surface dulls the tile finish (particularly visible on glossy ceramic and polished porcelain), creates a tacky surface that attracts dust and debris faster than clean tile, and can cause the grout to darken over time as cleaner residue absorbs soil. Rinsing correctly: For stubborn product residue, visible as a slight haze on the tile surface after drying, a clean water wipe with a microfiber cloth on the specific areas addresses it. Don’t apply more cleaner to remove cleaner residue; the solution is more rinsing. Step 6: Dry the Surface and Assess Results Once the tile is rinsed, dry the surface to assess the cleaning result accurately. For floor tile: allow air drying with ventilation, or use a clean dry mop or microfiber pad to accelerate drying. Wet grout looks darker than dry grout, assess the result only after the floor has dried to its final color. For shower and wall tile: squeegee the surface after rinsing to remove standing water, then allow air drying. Squeegee technique, working top to bottom in overlapping passes, also serves as a final check for product residue, which shows as streaking in the squeegee path. The final dry appearance tells you whether the dwell time and scrubbing were adequate: Common Mistakes That Undermine Good Results Using the Wrong pH Cleaner on Natural Stone Already covered in product selection, but worth naming explicitly in the mistakes section because the consequence is permanent. Etching on marble or travertine from acid contact cannot be cleaned away; it requires professional stone restoration. If your tile is natural stone and you’re uncertain about your cleaner’s pH, don’t apply it until you’ve confirmed compatibility. Not Allowing Adequate Dwell Time Applying tile
Read more
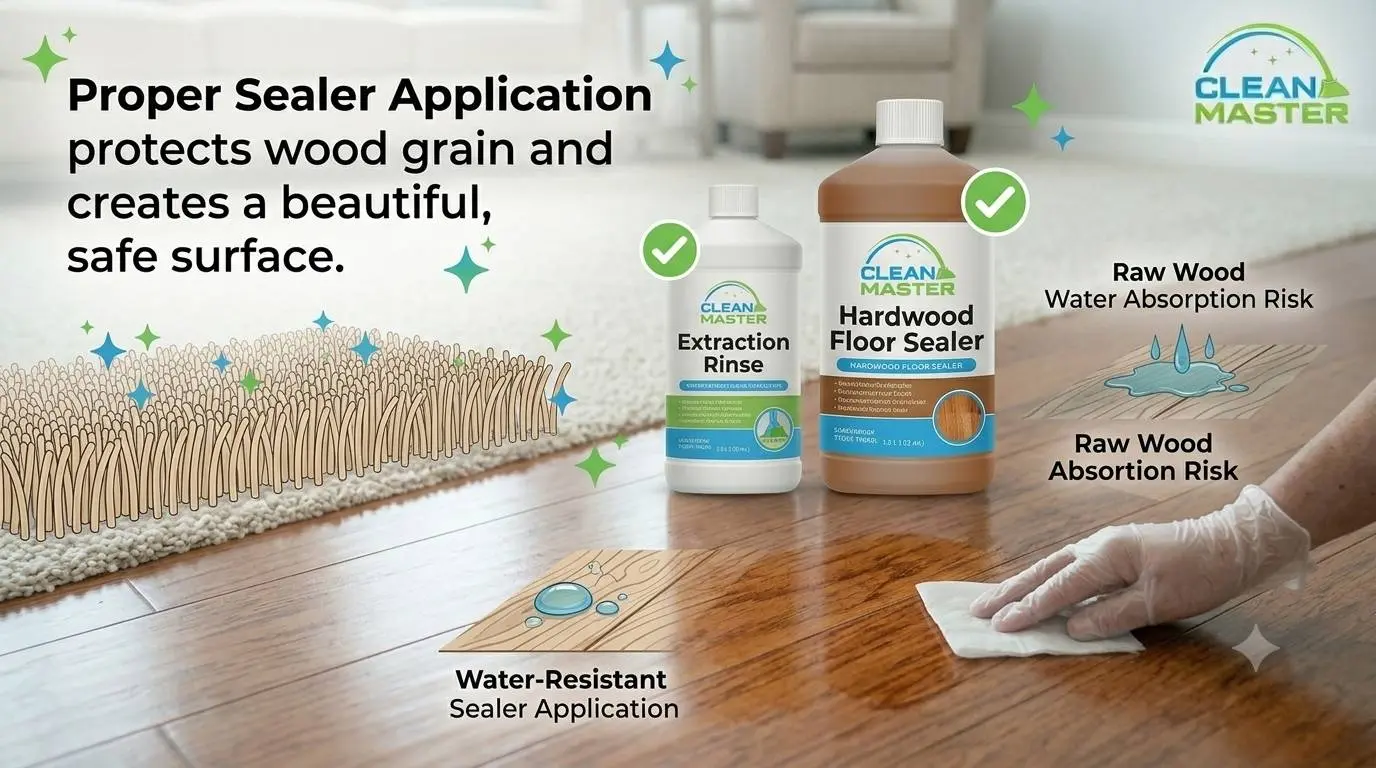
Using Carpet Cleaners on Hardwood Floors 2

Using Carpet Cleaners on Hardwood Floors: What You Should Consider

When you’re looking at a grimy, weathered wood fence and a bottle of carpet cleaner is within reach, the logic of trying it seems reasonable enough, it cleans fabric and fiber, wood has a porous surface, and it’s right there. The problem is that carpet cleaning chemistry is engineered for a specific indoor application in a way that makes it genuinely wrong for outdoor wood, not slightly suboptimal, but actively counterproductive in several ways. At Clean Master Carpet Cleaning, we focus on indoor surfaces, carpet, upholstery, tile, and air ducts across the entire DFW area. We’re not fence cleaners. But understanding why product chemistry matters for specific surfaces is something we deal with every day, and the same principles that make the wrong indoor product damaging on carpet or tile apply equally to using an indoor cleaning product on outdoor wood. Here’s the complete explanation. Why Carpet Cleaner Is the Wrong Chemistry for Outdoor Wood The Surfactant Mismatch Carpet cleaning solutions are built around surfactants, detergent compounds that reduce surface tension to penetrate carpet fiber, surround soil particles, and allow them to be extracted from the fiber. These surfactants are specifically calibrated for indoor use on synthetic or natural fiber materials, and they’re designed to be rinsed out during the extraction process. Wood fence surfaces are fundamentally different from carpet fiber in every relevant way: The result is a surfactant film deposited on the fence surface that doesn’t rinse clean in the same way it would extract from carpet fiber. That film has consequences, specifically, the mold and algae problem below. Residue That Actively Attracts Mold and Algae This is the most consequential reason not to use carpet cleaner on a wood fence. Surfactant residue on an outdoor wood surface creates a nutrient-rich film that is highly attractive to mold, mildew, and algae, the exact organisms that cause the green and black staining that makes wood fences look weathered and dirty in the first place. In DFW’s climate, with warm, humid summers that provide ideal conditions for outdoor mold and algae growth, applying a surfactant film to outdoor wood is essentially fertilizing the problem. A fence that looks clean immediately after carpet cleaner application will likely show accelerated mold and algae staining in the weeks following, as the surfactant residue provides an organic substrate for growth. This isn’t a theoretical concern. It’s the same reason outdoor cleaning products, deck cleaners and fence wash solutions, are specifically formulated to be low-residue and to include biocidal compounds that inhibit rather than support mold regrowth. pH Wrong for Wood and Stain Preparation Carpet cleaning solutions typically run at an alkaline pH, between 8 and 11 depending on the formulation, because alkaline chemistry breaks down the acidic soils most common in carpet (food, body oils, pet contamination). This pH range is appropriate for synthetic carpet fiber. Wood fence cleaning requires a different pH profile depending on the goal. For general cleaning and mold removal, slightly acidic to neutral chemistry is appropriate, similar to the pH of most deck cleaners. For stain preparation, if the fence is being cleaned before staining or sealing, the wood needs to be clean and at an appropriate pH to accept the finish. Alkaline residue from carpet cleaner inhibits stain penetration and adhesion, producing an uneven or peeling finish result. If you’re cleaning your fence as a step before staining or resealing, a common spring maintenance task in DFW, using carpet cleaner not only fails to prepare the surface correctly but actively works against the finish you’re about to apply. Simply Not Effective Compared to Purpose-Made Methods Setting aside the chemistry concerns, carpet cleaner on a fence is simply the wrong tool for the physical cleaning task. Fence cleaning typically involves removing weathered surface gray, killing and removing mold, mildew, and algae growth, lifting embedded dirt from the wood grain, and preparing the surface for stain or sealant. None of these tasks are what carpet cleaner is designed for. You’d be applying significant effort, scrubbing, rinsing, multiple passes, to achieve a fraction of the result that purpose-made outdoor wood cleaning methods achieve with significantly less work. What to Use on a Wood Fence Instead Pressure Washing: The Most Effective Cleaning Method For a fence with significant weathering, surface graying, embedded dirt, or mold and mildew staining, pressure washing is the fastest and most effective cleaning approach, and it requires no cleaning solution for many jobs. How to pressure wash a wood fence safely: Pressure washing removes surface contamination, weathered gray, and most mold and algae growth effectively without chemical application. For fences that are moderately dirty without significant mold, this alone may be sufficient. For significant mold, algae, or dark staining, pair pressure washing with one of the chemical treatments below, apply the treatment, allow dwell time, then pressure wash to rinse and extract the loosened contamination. Outdoor Wood Cleaner and Deck Cleaner Products Purpose-made outdoor wood cleaners, products like Cabot Problem-Solver Wood Cleaner, Defy Wood Cleaner, or similar deck and fence cleaning solutions available at DFW hardware stores, are formulated specifically for the outdoor wood cleaning task: Application is typically straightforward: dilute per label directions, apply to the fence with a brush or garden sprayer, allow the specified dwell time (usually 10 to 20 minutes), scrub if needed, and rinse thoroughly with a garden hose or pressure washer. Oxygen Bleach Solution for Mold and Mildew For fences with significant mold, mildew, or algae staining, the green, black, or dark gray coloring that develops on outdoor wood in DFW’s humid summer climate, oxygen bleach is the most effective DIY treatment available. Oxygen bleach (sodium percarbonate, found in products like OxiClean Versatile Stain Remover or dedicated deck cleaning oxygenated cleaners) releases hydrogen peroxide when dissolved in water, which kills mold and mildew spores at the surface level, lifts and lightens biological staining from the wood grain, and is safer for surrounding plants and landscaping than chlorine bleach, which can damage or kill vegetation it contacts. How to use oxygen bleach
Read more
cost of air duct 2

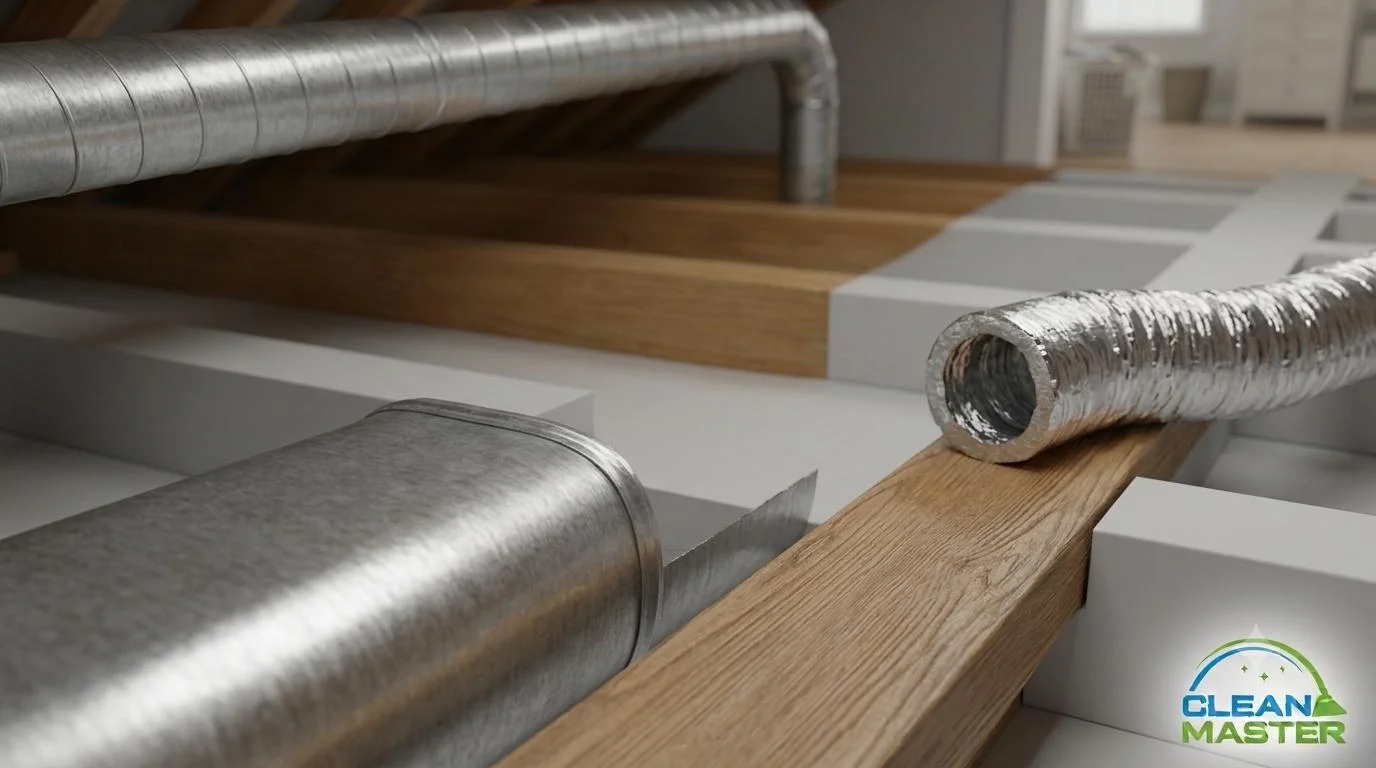
How Much Does It Cost To Replace Air Ducts

Air duct replacement is one of the larger home HVAC investments a DFW homeowner can make, and one of the more frequently recommended when cleaning or repair might actually be sufficient. Before committing to a replacement budget, understanding what drives the cost and what genuinely warrants replacement versus what can be addressed more affordably puts you in a much better position to make the right decision. At Clean Master Carpet Cleaning, air duct cleaning is one of our core DFW services. We’re not duct replacement contractors, but we regularly assess duct systems and see the full range of conditions, from systems that need professional cleaning to systems that genuinely need replacement. Here’s the honest cost guide. DFW Air Duct Replacement Cost Overview Duct replacement costs in the DFW market vary significantly based on the factors below, but the general ranges are: Replacement Scope DFW Cost Range Single duct run (one branch) $300 to $700 Partial replacement (1 to 2 zones or sections) $1,000 to $3,500 Full system replacement (average home) $3,500 to $8,000 Full system replacement (large home, rigid metal) $8,000 to $15,000+ These ranges reflect licensed HVAC contractor pricing in the DFW market for supply and return duct systems. They don’t include the air handler or exterior HVAC equipment, just the ductwork distribution system inside the home. The Factors That Drive Replacement Cost Duct Material Type The material used for replacement is the largest single variable in duct replacement pricing. Flexible duct (flex duct) is the most common and least expensive option. It’s the corrugated, insulated tubing used in most residential DFW construction, particularly in attic-mounted systems. Flex duct is easier and faster to install than rigid options, which reduces labor cost. It’s appropriate for most residential applications when properly supported and connected. Cost: $1 to $3 per linear foot for materials; labor varies by accessibility. Rigid sheet metal duct is more durable, more efficient (lower resistance to airflow), and more expensive to fabricate and install. It’s the preferred material for commercial applications and for homeowners who want the most durable, highest-performance option. Cost: $5 to $12 per linear foot for materials; higher labor cost due to fabrication time. Duct board (fiberglass duct board) sits between flex and rigid metal in cost and application. It’s fabricated on-site, offers reasonable thermal performance, and is used in some residential applications. Less common in DFW than flex duct for residential systems. The material choice affects not just installation cost but long-term performance. Rigid metal ducts don’t sag, don’t compress, and don’t degrade the way flex duct can over 15 to 20 years. For a full system replacement where longevity matters, rigid metal is worth the premium. Accessibility: Attic, Crawl Space, or Finished Ceiling Labor is typically 50 to 60% of total duct replacement cost, and nothing affects labor cost more than where the ducts are and how accessible they are. Attic-mounted systems (most common in DFW residential) are the most accessible. Attic work is labor-intensive due to heat, DFW attics regularly exceed 140°F in summer, but the ductwork is reachable without opening finished surfaces. Attic duct replacement carries standard labor rates. Crawl space systems are accessible but physically demanding, technicians work in tight, low-clearance spaces. Labor cost is typically 15 to 25% higher than comparable attic work. Ducts running through finished walls and ceilings significantly increase cost because accessing them requires opening drywall, repairing and repainting after installation. When ductwork runs through finished spaces, labor and associated repair costs can add $500 to $2,000 to the project depending on scope. Partial Replacement vs. Full System Replacement The scope decision is where the most significant cost difference occurs, and where replacement is sometimes recommended when a more targeted approach is appropriate. Partial replacement addresses specific failed sections, collapsed flex duct, disconnected branches, severely degraded sections, while leaving functional ductwork in place. This is appropriate when the majority of the system is in good condition and specific sections have failed. Full system replacement tears out and replaces the entire duct distribution network. This is appropriate when the system is comprehensively degraded, when significant leakage has been identified throughout, when the layout needs redesign for a home addition or renovation, or when the duct system is approaching the end of its useful life (typically 15 to 25 years for flex duct). A comprehensive professional inspection before committing to full replacement is worth the investment, it determines whether targeted repair or partial replacement addresses the actual issues at a fraction of the cost. Replacement vs. Repair vs. Cleaning: What Actually Makes Sense This is the decision that most significantly affects how much DFW homeowners spend on their duct systems, and the one most worth getting right before committing to replacement costs. Situation Right Approach Approximate Cost Accumulated dust, debris, and contamination Professional cleaning $300 to $600 (Clean Master) Minor leaks at joints and connections Duct sealing (mastic or Aeroseal) $500 to $1,500 One or two failed or disconnected sections Partial repair $300 to $700 per section Significant section degradation (collapsed flex, major damage) Partial replacement $1,000 to $3,500 System-wide failure, end of useful life, or layout redesign Full replacement $3,500 to $15,000+ The critical distinction between cleaning and replacement: duct systems that are contaminated, accumulated dust, mold, pest debris, don’t need replacement. Professional cleaning removes the contamination while preserving the functional duct structure. Replacement is appropriate when the duct structure itself has failed, not when the interior needs cleaning. We encounter DFW homeowners who have been quoted full duct replacement when professional cleaning would have addressed the actual issue at a fraction of the cost. A duct system with significant dust and debris accumulation, properly cleaned, performs like a substantially different system, improved airflow, better air quality, and lower HVAC energy consumption. How Duct Replacement Affects HVAC Efficiency and Energy Bills When replacement is genuinely warranted, particularly when moving from a degraded, leaking flex duct system to properly sealed rigid metal, the efficiency improvement can be meaningful: In DFW’s climate, where air conditioning runs for
Read more
pays for carprt clean 2

Who Pays For Carpet Cleaning

Carpet cleaning at the end of a tenancy is one of the most common sources of landlord-tenant disputes, and one of the most consistently misunderstood by both parties. Tenants often assume the landlord handles all cleaning. Landlords sometimes assume any cleaning cost is deductible from the security deposit. Neither assumption is reliably correct. At Clean Master Carpet Cleaning, we serve both landlords and tenants across the entire DFW area at different points in the rental cycle, move-in cleans for landlords, move-out cleans for tenants protecting their deposits. Here’s the clear guide to who’s actually responsible, when, and why. The Short Answer: It Depends on Two Things Carpet cleaning responsibility in a rental property comes down to: Understanding both is what determines where the financial responsibility actually falls. What Lease Language Typically Says Most residential leases in DFW include one of these approaches to carpet cleaning. Explicit move-out cleaning requirement: Some leases specifically require tenants to have carpets professionally cleaned before vacating, often with a receipt from a professional cleaner. If your lease says this, you’re responsible for the cost regardless of carpet condition. General “return in same condition” language: Most standard leases require tenants to return the property in the same condition it was received, minus normal wear and tear. This language doesn’t automatically require professional carpet cleaning, it requires returning the carpet in equivalent condition to move-in. Silent on carpet cleaning: Some leases don’t address carpet cleaning specifically. In this case, the normal wear and tear standard governs what the landlord can charge for. The practical advice: read your lease specifically for carpet or cleaning language before move-out. If it requires professional cleaning, budget for it. If it uses “same condition” language, the next section, wear versus damage, determines your responsibility. The Critical Distinction: Normal Wear and Tear vs. Damage This is the legal and practical line that determines when a landlord can charge a tenant for carpet cleaning or replacement, and when they can’t. Normal wear and tear refers to the inevitable deterioration that occurs from ordinary use over time. A landlord cannot charge a tenant for normal wear and tear, it’s the cost of having a rental property. Damage refers to deterioration beyond what ordinary use causes, the result of tenant negligence, misuse, or failure to maintain. Condition Category Tenant Responsible? Carpet faded or slightly flattened from foot traffic Normal wear and tear No Small stains from everyday spills that were cleaned promptly Normal wear and tear No General dirtiness after years of normal use Normal wear and tear No Large stains from pet urine or heavy spills Damage Yes Burns, tears, or cuts in carpet Damage Yes Significant pet odor embedded in fiber and backing Damage Yes Carpet excessively dirty beyond normal use Damage Yes Failure to address a spill that caused permanent staining Damage Yes The dividing line is whether the condition resulted from ordinary living or from something the tenant did or failed to do. A carpet that’s lived-in after a two-year tenancy looks different from a new carpet, that difference is normal wear. A carpet with pet urine stains and embedded odor is damage that goes beyond what ordinary use causes. When Landlords Can Deduct Carpet Cleaning From Security Deposits Under Texas law, landlords must return security deposits within 30 days of the tenant vacating, with an itemized list of any deductions. Deductions are permissible only for unpaid rent, damages beyond normal wear and tear, and costs specifically required by the lease (which can include professional carpet cleaning if the lease requires it). A landlord cannot legally deduct for normal wear and tear, including carpet that’s simply been used normally during the tenancy. If a landlord deducts carpet cleaning costs for a carpet in normal condition, that deduction may not be legally defensible. What strengthens a landlord’s deduction claim: What strengthens a tenant’s position against improper deductions: The documentation point matters in both directions. We’ve seen DFW tenants avoid improper deductions because they had clear photographic evidence of move-in condition, and we’ve seen landlords successfully justify deductions because they had documented damage that occurred during the tenancy. Practical Guidance for Tenants At Move-In During the Tenancy At Move-Out How Clean Master Helps Both Tenants and Landlords For tenants, a professional carpet clean from Clean Master before move-out serves two purposes: it demonstrates good faith compliance with cleaning expectations, and it addresses damage that might otherwise result in a deposit deduction. A professional receipt also documents that cleaning was completed. For landlords, Clean Master provides move-in cleaning that establishes a clean baseline documented at the start of the tenancy, and move-out cleaning that restores the carpet for the next tenant while creating a record of what condition the carpet was returned in. We serve the entire DFW area with carpet cleaning, upholstery cleaning, tile and grout cleaning, and air duct cleaning, for landlords and tenants at every stage of the rental cycle. Frequently Asked Questions Can a landlord require professional carpet cleaning even if the carpet is clean? If the lease specifically requires professional cleaning at move-out, yes, the lease is a binding contract and that requirement is enforceable regardless of carpet condition. If the lease doesn’t specifically require it, the landlord cannot charge for professional cleaning beyond what the carpet’s actual condition requires. What if the carpet was old when I moved in? Carpet has a useful life, typically 5 to 10 years for residential carpet. If the carpet was already several years old at move-in, a landlord generally cannot charge for full replacement cost even if it’s damaged during the tenancy. Depreciated value applies, an old carpet damaged further may result in a partial charge, not a full replacement charge. This is another reason move-in documentation matters. Should I get carpet cleaned before or after moving furniture out? After, moving furniture out first gives the carpet cleaner full access to the entire room, including areas under furniture that may have different soil levels than walked-on areas. It also allows the cleaner
Read more
Insulate Air Ducts

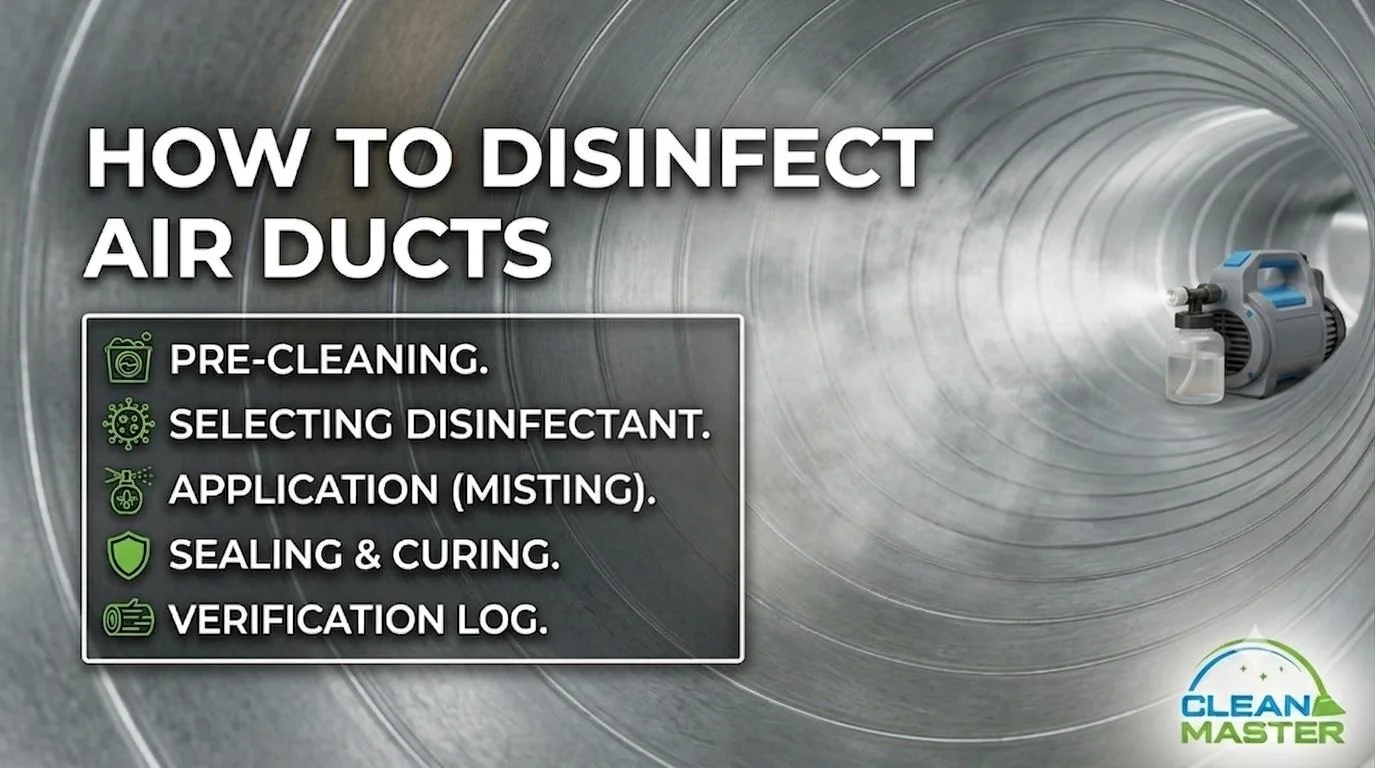
How To Disinfect Air Ducts

When something goes wrong in a home’s duct system, mold, pest infestation, or a general sanitation concern, the impulse to disinfect the entire system is reasonable. The challenge is that duct disinfection is more nuanced than it sounds, and some of the most commonly attempted approaches produce little benefit or, in the case of aerosol foggers, can make the air quality situation worse rather than better. At Clean Master Carpet Cleaning, air duct cleaning and sanitation is one of our core DFW services, and we’ve worked with homes requiring disinfection after mold discovery and pest infestation. The consistent lesson: disinfection without cleaning first accomplishes very little, and the method must match the specific situation. Here’s the complete guide. When Air Duct Disinfection Is Actually Needed Not every duct cleaning situation requires disinfection, cleaning and disinfection are different steps that serve different purposes. Cleaning removes physical contamination; disinfection kills microorganisms that cleaning alone doesn’t fully address. Scenarios that genuinely warrant disinfection beyond standard cleaning: Mold in ductwork: Mold spores survive on surfaces after visible growth is removed. Professional disinfection after mold remediation kills remaining spores on duct surfaces and reduces the risk of recurrence. This is the most important disinfection scenario we encounter in DFW homes, where humidity and extended HVAC operation create conditions that can support mold growth. Read our guide on how to get rid of mold in air ducts for the full remediation approach. Pest infestation in ducts: Rodent droppings, nesting material, and carcasses left in ductwork after an infestation are a source of pathogens, including hantavirus in rodent waste, that standard cleaning removes physically but doesn’t fully deactivate. Disinfection after pest cleaning is appropriate for any significant rodent infestation. General sanitation and air quality improvement: For homes where occupants have heightened immune sensitivity, where a previous occupant’s health history is unknown, or where general bacterial load in the duct system is a concern, disinfection as part of a professional duct cleaning is a reasonable addition. The Non-Negotiable First Step: Clean Before You Disinfect This is the principle that most DIY duct disinfection attempts violate, and why they produce poor results. Disinfectants work by contacting the microorganisms they’re designed to kill. When dust, debris, biological material, and contamination coat the duct surfaces, the disinfectant contacts the contamination layer rather than the surface beneath it. The pathogens protected beneath that layer survive, and the disinfectant is consumed by the surface material rather than the organisms it was applied for. The correct sequence is invariably: clean first, disinfect second. Professional duct cleaning removes the physical contamination that would otherwise shield pathogens from the disinfectant. The disinfection step then contacts clean, or near-clean, duct surfaces where it can work as intended. DIY foggers or sprays applied to an uncleaned duct system achieve very little from a disinfection standpoint and distribute chemical compounds throughout the home via the HVAC system when it runs. DIY Methods: What’s Appropriate and What Isn’t DIY Register and Accessible Surface Disinfection This is the appropriate DIY scope for duct disinfection, and it’s genuinely worthwhile as a starting point. What to do: This addresses the most exposed surfaces, the ones that contact room air directly and accumulate the most surface contamination. It doesn’t address the main trunk lines, branch ducts, or air handler components, which require professional equipment to access. Foggers and Aerosol Disinfectants: What the EPA Actually Says This is where homeowners most commonly go wrong. Whole-duct foggers and “duct sanitizer” aerosol products are widely marketed but consistently misunderstood. The EPA’s position is explicit: biocide application to air ducts should be approached with caution, and the EPA does not recommend routine use of chemical biocides in duct systems. Their concern is that disinfectant chemicals distributed through the duct system are then distributed to every room in the home via the HVAC, exposing occupants to aerosolized chemical compounds without the same safety profile as surface application in a ventilated area. More practically: foggers applied to an uncleaned duct system deposit biocide on surfaces coated with contamination, achieving minimal disinfection of the actual duct surface while distributing chemistry into the home’s air supply. If a chemical biocide is appropriate for your specific situation, such as after mold remediation, an EPA-registered antimicrobial product applied by a professional to clean duct surfaces, with appropriate dwell time and ventilation protocol, is the correct approach. Not a consumer fogger applied to an uncleaned system. UV Light Systems for HVAC Disinfection UV-C light systems installed in HVAC systems are a legitimate and effective ongoing disinfection approach, different in character from the chemical disinfection described above. Read our full guide on whether UV lights work in air ducts for a detailed breakdown of the technology. UV-C light at the appropriate wavelength (254 nanometers) kills bacteria, mold spores, and viruses by disrupting their DNA. When installed at the air handler, where all return air passes before being distributed through the supply system, a UV-C system continuously irradiates air passing through the unit. Benefits: Limitations: For DFW homes where mold recurrence in HVAC coils is a recurring concern, common given the humidity and extended AC operation, UV-C installation after professional cleaning and mold remediation is a practical preventive investment. Professional Duct Disinfection: What It Involves When professional duct disinfection is warranted, after mold remediation, after significant pest infestation, or for comprehensive sanitation, the process follows this sequence: Clean Master’s air duct service in DFW addresses physical cleaning and register-level sanitation as standard. For situations requiring full antimicrobial treatment, particularly post-mold or post-pest scenarios, we coordinate with appropriate licensed contractors to ensure the disinfection component is handled with the right products and protocol. Prevention: Keeping Ducts Clean After Disinfection Once the duct system has been cleaned and disinfected, maintaining the result: Frequently Asked Questions Can I spray Lysol or bleach into my air ducts to disinfect them? No. Spraying household disinfectants directly into duct openings distributes chemical compounds throughout the home via the HVAC system and doesn’t effectively disinfect duct surfaces coated with contamination. Bleach in particular
Read more
air duck leak 2

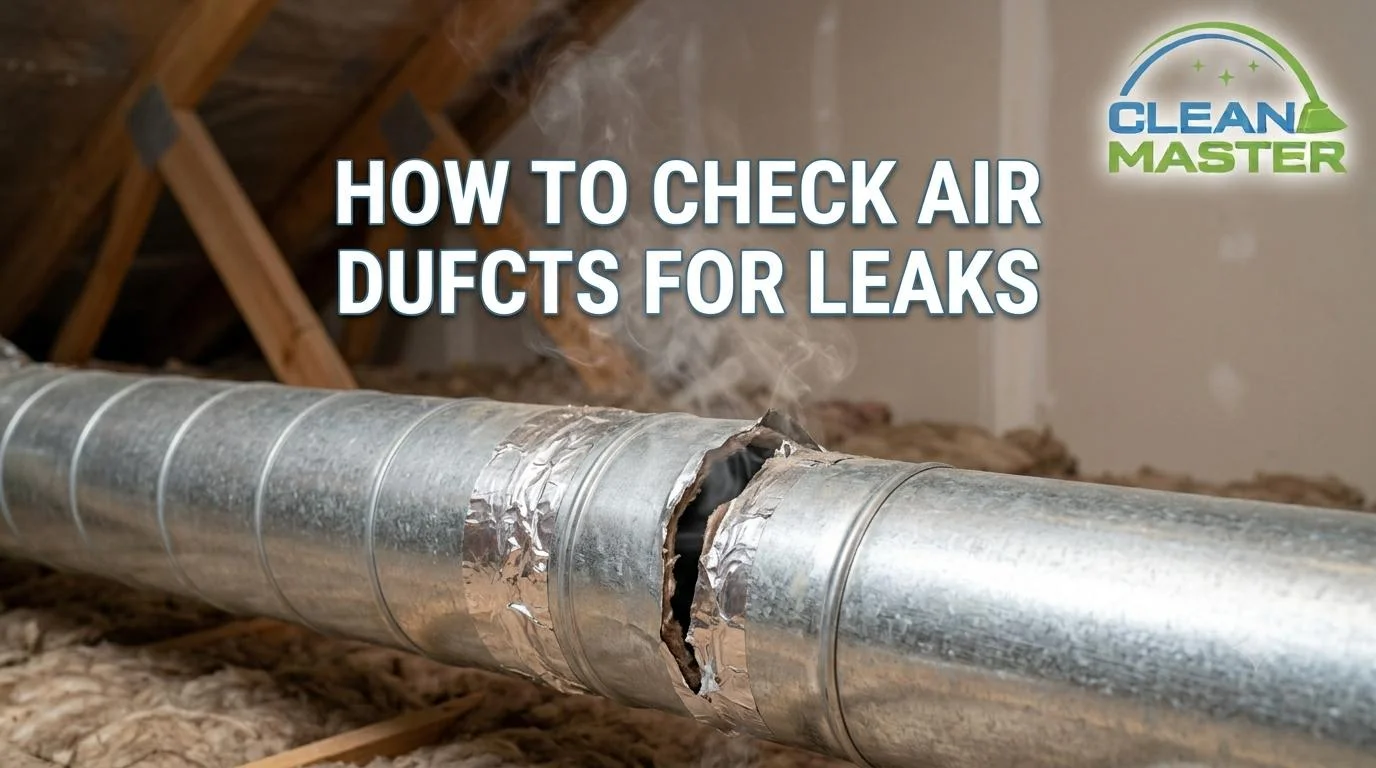
How To Check Air Ducts For Leaks

Duct leaks are one of the most consistently underestimated home efficiency and comfort problems in DFW, and one of the most common. The US Department of Energy estimates that the average home loses 20 to 30 percent of conditioned air through duct leaks before it reaches living spaces. In North Texas, where air conditioning runs for seven or eight months of the year, that’s a significant and continuous energy loss that shows up in utility bills and uneven home comfort. At Clean Master Carpet Cleaning, air duct cleaning is one of our core DFW services, and duct condition is something we observe across a wide range of homes. Duct leaks are consistently more prevalent than homeowners expect, and consistently more impactful than they seem. Here’s how to check your own ductwork, what the signs tell you, and when the situation calls for professional attention. Why Duct Leaks Matter More in DFW Than Most Climates Before getting into detection, the consequences of duct leaks are worth understanding, because they affect more than just energy bills. Energy efficiency loss is the most straightforward consequence. When conditioned air leaks out of supply ducts into an unconditioned attic or wall cavity before reaching the living space, the HVAC system has to run longer to achieve the thermostat setpoint. Every degree of cooling in a DFW summer costs energy, and leaking that cooling into an attic before it reaches the room multiplies the cost. Air quality issues from unconditioned air infiltration are less obvious but equally significant. Return duct leaks, on the suction side of the system, draw in unconditioned air from attics, crawl spaces, and wall cavities. That air carries insulation particles, dust, mold spores from attic environments, and whatever else is present in unconditioned building cavities. It enters the duct system and gets distributed through the home with every HVAC cycle, bypassing the filter entirely. Uneven heating and cooling is usually the symptom homeowners notice first. Rooms far from the air handler that are consistently harder to cool or heat than the rest of the house, despite the system running normally, are often experiencing the effect of supply duct leaks that reduce delivery pressure before air reaches those rooms. Increased HVAC wear follows from the system running longer and harder to compensate for what’s being lost. In DFW’s demanding cooling season, this adds to compressor wear and shortens equipment life. Signs Your Ducts May Be Leaking Before any physical inspection, these whole-home observations are the first indicators: Any two or more of these in combination makes duct leak inspection worthwhile. DIY Detection Methods Method 1: Visual Inspection of Accessible Ductwork Start with what you can see. Accessible ductwork, typically in the attic, basement, crawl space, or utility room, can be inspected visually for obvious leak indicators. What to look for: Walk accessible ductwork with a flashlight and check every visible connection, particularly joints, transitions, and where flex duct attaches to rigid metal sections. Method 2: Hand or Incense Smoke Test at Joints and Seams For leaks that aren’t visibly obvious, a hand test or incense smoke test while the HVAC is running reveals air movement at duct surfaces. Hand test: Turn the HVAC to cooling or fan mode and allow the system to reach full airflow. Hold your hand near duct joints, seams, and connections, particularly at the air handler connections, plenum joints, and any taped seams in accessible sections. Moving air felt at a surface that should be sealed indicates a leak at that point. Incense or smoke test: Light an incense stick and hold it near duct joints with the system running. The smoke stream will deflect toward a suction leak (return side) or away from a pressure leak (supply side). This visualizes small leaks that the hand test might miss and helps locate the specific point within a joint where air is escaping. Work systematically along accessible ductwork, checking every joint rather than spot-checking. Small leaks can be in unexpected locations. Method 3: Room Comfort and Airflow Comparison This is the least technical method but one of the most practically useful for identifying which branch of the duct system is leaking. With the HVAC running, visit each room in sequence and assess: Map your findings, rooms with weak airflow and poor temperature control tend to cluster on branches that have leaks. This guides where to focus the physical inspection. At a Glance: Detection Methods and What They Find Method What It Finds Best For Visual inspection Disconnected sections, obvious gaps, failed tape Attic and accessible duct areas Hand test at joints Airflow at sealed surfaces indicating leaks Supply and return connections Smoke and incense test Small leaks, leak direction (supply vs. return) Precise leak location on accessible ductwork Room comfort comparison Branches with significant leakage Identifying which rooms and branches are affected When to Call a Professional DIY inspection identifies obvious and accessible leaks. What it can’t do: Professional duct sealing, either with mastic applied by hand or with Aeroseal (a pressurized sealant that seals from inside the duct system), addresses leaks throughout the full duct network including inaccessible sections. In DFW homes where duct systems run through hot attic spaces, professional sealing combined with duct insulation improvement can produce meaningful energy savings that pay back the service cost within a few cooling seasons. Clean Master’s air duct cleaning service is a natural complement to duct sealing. Cleaning the system before sealing ensures the interior surfaces are clean, and Clean Master can advise on what we observe during cleaning that suggests leak points worth addressing. We serve the entire DFW area with air duct cleaning, carpet cleaning, upholstery cleaning, and tile and grout cleaning. Frequently Asked Questions How common are duct leaks in DFW homes? Very common, particularly in homes built before 2000 where flex duct was installed with standard grey duct tape that has since failed. DFW’s attic temperatures, regularly above 140°F in summer, accelerate the deterioration of duct connections and tape. In our experience across DFW homes,
Read more
carpet powder 2

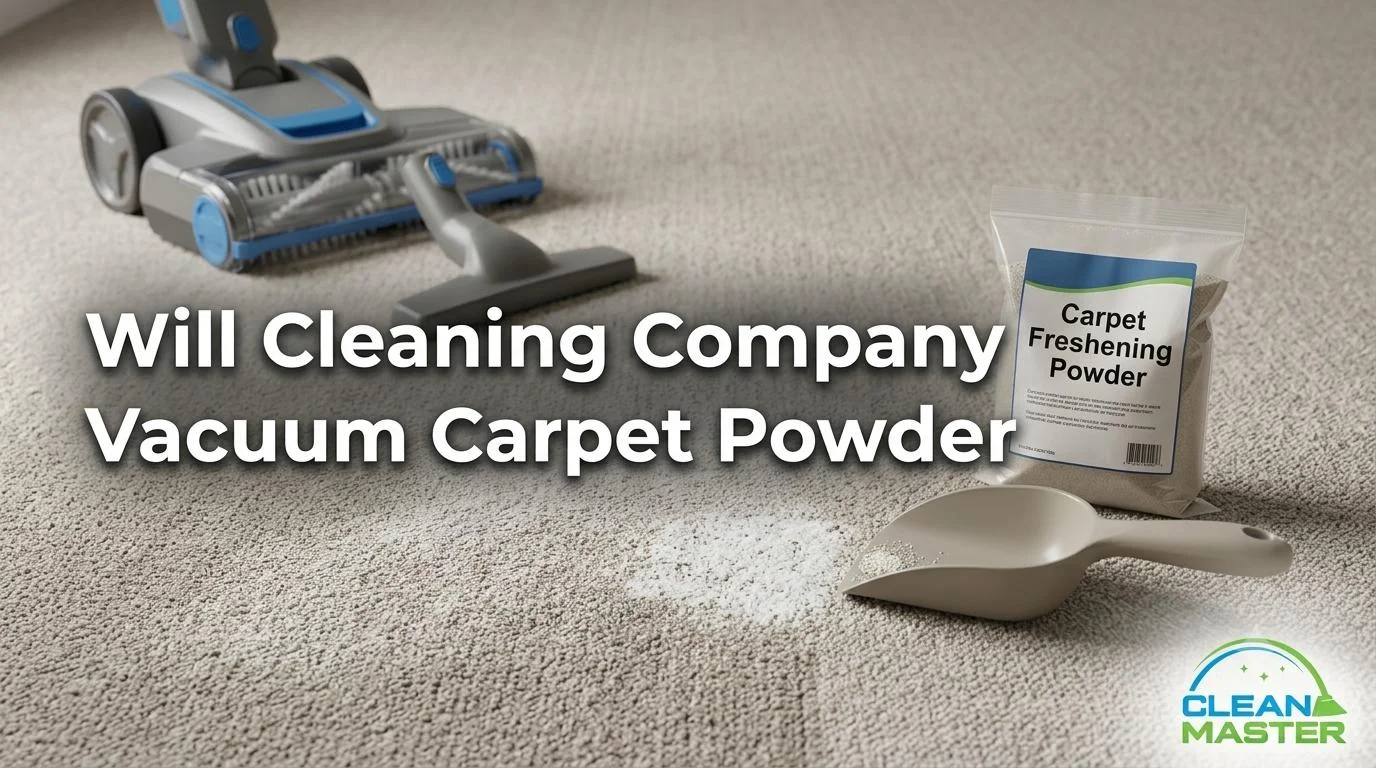
Will Cleaning Company Vacuum Carpet Powder

Carpet deodorizing powders, baking soda, commercial dry carpet cleaners like Arm & Hammer, BISSELL, and similar products, are widely used as a between-clean freshener. They work reasonably well for what they’re designed for: absorbing surface odor and providing temporary freshness. But they come with an accumulation problem that builds quietly over months and years, and when professional cleaning eventually comes around, that accumulation is part of what needs to be addressed. The short answer to whether professional cleaning removes carpet powder is yes. The longer answer, from Clean Master Carpet Cleaning’s experience across DFW homes, is that it takes more than a standard pass to address, and knowing about it before the appointment helps produce the best result. Why Carpet Powder Accumulates Even With Regular Vacuuming This is the part that surprises most homeowners who use carpet powder regularly: vacuuming removes most of the powder, but not all of it. Every application leaves behind a small percentage of fine particles that work their way to the base of the carpet pile, below the reach of most vacuum suction, where they accumulate with each subsequent application. The physics of carpet fiber explain why. Carpet pile is not a flat surface, it’s a dense matrix of fibers that funnel material downward toward the backing. Fine powder particles, particularly baking soda and similar fine-grain products, are light enough to migrate down through the fiber under their own weight and through the compression of foot traffic. Once at the base of the pile, they’re effectively below the vacuum’s functional reach, the suction path pulls from the surface, not the bottom of the fiber matrix. Over months of regular application: We’ve cleaned DFW homes where the homeowner used carpet powder every one to two weeks for several years. When the hot water extraction pass began, the recovery water was visibly cloudy with suspended powder from the first pass, material that had accumulated over the entire history of powder use but never came out under vacuuming alone. How Powder Residue Affects Carpet Appearance and Soil Attraction The soil attraction effect is the most practically significant consequence of powder accumulation, and the one that most directly affects why the carpet looks worse over time despite regular maintenance. Carpet fiber in its clean state has a relatively low-tack surface that soil contacts but doesn’t strongly bond to, which is why regular vacuuming removes a meaningful percentage of surface soil. Powder residue changes this. The fine particles at the base of the pile create a coating that: This is why DFW homeowners who use carpet powder regularly sometimes notice their carpet looks dirty faster and responds less well to vacuuming over time, the accumulation has changed the soil-holding properties of the fiber base. Read our guide on why carpets get dirtier after cleaning for more on how residue drives this pattern. What Professional Hot Water Extraction Does That Vacuuming Can’t Professional hot water extraction resolves powder accumulation in a way that no amount of vacuuming can, because it addresses the base of the pile where the accumulation lives, not just the surface the vacuum contacts. Here’s the mechanism: The result is visible in the recovery water, particularly in the first pass on heavily powder-laden carpet, where the extracted water carries a significant suspended load of dissolved powder and accumulated soil. By the second or third extraction pass, the water clears noticeably as the accumulation is removed. For moderate powder use over a reasonable period, a standard professional clean resolves the accumulation in the normal number of passes. For homes where powder has been used heavily and frequently over several years, additional pre-treatment and extraction passes may be needed, which is worth communicating at the time of booking. How to Prepare for a Professional Clean When You Use Carpet Powder Two steps make a meaningful difference to the outcome when carpet powder has been used regularly. Vacuum as thoroughly as possible before the appointment. This is always recommended before professional cleaning, but it matters more when powder is involved. The goal is to remove as much surface and accessible powder as possible before the professional clean begins, reducing the total load the hot water extraction has to handle and allowing the extraction to focus on the base-of-pile accumulation that vacuuming can’t reach. Use slow, multi-directional passes and a vacuum with good suction. Read our guide on whether you should vacuum before carpet cleaning for the right technique. The more you remove dry, the cleaner the extraction result. Tell Clean Master about your powder use when you book. This isn’t about judgment, it’s about preparation. Knowing that a carpet has significant powder accumulation allows us to plan the appropriate number of extraction passes and adjust the cleaning approach accordingly. A carpet with years of heavy powder use may need pre-treatment or additional passes that a standard appointment time doesn’t automatically include. Flagging it at booking means we arrive prepared to address it fully rather than discovering mid-clean that more work is involved than anticipated. Going Forward: How to Avoid the Accumulation Problem Once professional extraction has cleared the accumulated powder, the path forward is straightforward: The fundamental principle: anything that goes into carpet fiber that isn’t fully removed accumulates over time. Professional extraction resets the baseline. Moderate use and thorough vacuuming maintains it. Frequently Asked Questions Will one professional clean remove all the powder buildup? For moderate accumulation from reasonable powder use over 12 to 18 months, one professional clean typically removes the bulk of the residue in the standard number of extraction passes. For heavy, long-term accumulation, daily or weekly use over several years, the first clean removes the majority and a follow-up clean several weeks later may be needed to fully clear what remained after the first pass. This is less common but worth discussing at booking if your powder use has been heavy and sustained. Can carpet powder damage my carpet permanently? In most cases, no. Powder accumulation affects appearance and soil attraction but not the structural
Read more
disinfect air duct

Will A Carpet Cleaner Kill Bed Bugs

When bed bugs are discovered, the impulse to do something, anything, immediately is completely understandable. A carpet cleaner seems logical: it uses hot water, it cleans surfaces, and bed bugs are somewhere in the room. The problem is that carpet cleaning addresses the wrong location at the wrong temperature and risks spreading the infestation rather than containing it. At Clean Master Carpet Cleaning, we serve the entire DFW area and we’ve encountered situations where carpet cleaning was attempted as a bed bug solution, with results that made the pest control problem more complicated than it was before. Here’s the honest breakdown of what carpet cleaners can and can’t do for bed bugs, and what the actual treatment path looks like. Where Bed Bugs Actually Live and Why Carpet Isn’t the Primary Target This is the foundational misunderstanding that makes carpet cleaning seem like a relevant bed bug solution when it isn’t. Bed bugs are harborers, they seek tight, dark, protected spaces close to their food source (sleeping humans) and spend the vast majority of their time there between feeding. Their primary harborage locations are: Carpet is not where bed bugs establish harborage. They may cross carpet to travel between locations, and eggs or nymphs may occasionally be found in carpet fiber adjacent to infested furniture, but carpet is not the source and not the primary target of any effective bed bug treatment. A carpet cleaner applied to the floor of an infested room addresses a surface that contains a fraction of the population while the infestation remains untouched in mattresses, furniture, and wall voids where the bed bugs actually live. The Temperature Problem: What Kills Bed Bugs vs. What Carpet Cleaners Deliver Bed bugs are killed by sustained heat, specifically, exposure to temperatures above 120°F for a meaningful period. This is established and well-documented in bed bug research, and it’s the basis for professional heat treatment as the most effective elimination method. Consumer and professional carpet cleaning machines use hot water, typically heated to 150°F to 200°F in the tank, but by the time that water travels through the machine’s hose and spray nozzle to contact the carpet surface, the temperature has dropped significantly. The water that actually contacts the carpet fiber may be well below the lethal threshold, and the contact time for any specific point on the carpet is measured in fractions of a second rather than the sustained exposure bed bugs require. Even if a carpet cleaner delivered lethal temperatures at the carpet surface, which it doesn’t reliably do, it would still be cleaning a location that contains minimal bed bug population. The mattress, box spring, and furniture where the actual harborage is established are untouched. Steam cleaners operate at higher temperatures and can deliver potentially lethal heat to surfaces they contact directly, but with the same limitation: they don’t reach the hidden harborage locations where bed bugs actually live, and even thorough steam treatment of visible surfaces is not a substitute for comprehensive treatment. Why Disturbing Bed Bugs Without Eliminating Them Makes Things Worse This is the outcome we’ve seen create real problems for DFW clients who attempted carpet cleaning, or any aggressive surface treatment, as a bed bug response without professional pest control simultaneously. Bed bugs respond to disturbance by scattering. When a vacuum, carpet cleaner, or steam machine moves across the floor and generates vibration and heat, bed bugs in the area disperse, moving away from the disturbance into new harborage locations. In a bedroom, this means bugs that were concentrated in the primary bed harborage scatter to nightstands, baseboards, closets, and adjacent rooms. One client contacted us after running a carpet cleaner and steam cleaner through their bedroom following a bed bug discovery. By the time they called professional pest control, bed bugs had been identified in two adjacent bedrooms that weren’t initially affected. The disturbance had scattered the population rather than eliminating it. This isn’t a hypothetical risk. It’s a documented bed bug behavior pattern, and it’s why pest control professionals consistently advise against aggressive DIY treatment attempts that disturb without eliminate. What Actually Eliminates Bed Bugs Professional Pest Control as the Primary Treatment Bed bug elimination requires either chemical treatment (insecticides applied by a licensed pest control operator to all harborage locations) or heat treatment, or a combination of both. This is not a DIY scenario. A licensed pest control operator inspects the full extent of the infestation before treatment, applies treatment to all harborage locations including mattress, box spring, furniture, baseboards, and wall voids, returns for follow-up inspections and treatment if needed, and monitors for reinfestation. In the DFW area, multiple licensed bed bug treatment companies operate with varying approaches. Get quotes from two to three operators, ask specifically about their treatment method and follow-up protocol, and confirm they provide a warranty period. Heat Treatment: The Most Effective Elimination Method Professional whole-room heat treatment, raising the temperature of the entire room to 120°F to 135°F and maintaining it for several hours, kills bed bugs at all life stages, including eggs, in all harborage locations simultaneously without chemical application. Heat penetrates into mattresses, furniture, wall voids, and every other location where bed bugs and eggs are hiding. It’s the closest thing to a single-treatment elimination method available and is particularly appropriate for DFW homeowners who want to avoid pesticide application in sleeping areas. The cost is higher than chemical treatment but the thoroughness and speed make it the preferred approach for severe infestations or for rooms where chemical treatment isn’t appropriate. Where Clean Master Fits: Post-Treatment Carpet Restoration Once a licensed pest control provider has confirmed the infestation is eliminated, typically after the follow-up inspection period, professional carpet cleaning has a genuine role in the recovery process. Bed bug treatment, particularly chemical pesticide application, leaves residue on carpet surfaces. Heat treatment, while chemical-free, may leave residue from sprays or dusts used in combination. Post-treatment professional carpet cleaning by Clean Master: The sequence matters: pest control first, confirmation of elimination, then
Read more